AC Tips for Reducing Humidity Indoors
Effective ways to use your AC and smart controls to reduce indoor humidity, improve air quality, and keep your home comfortable without overpaying.

Strategic use of AC maintenance and settings is the most cost-effective way to control indoor humidity
Proper fan setting (Auto), clean filters, and a well-maintained drain line allow your existing AC to remove maximum moisture. When those aren’t enough, a smart thermostat or whole-house dehumidifier delivers reliable humidity control without replacing your AC.
What Matters Most
- Set the fan to Auto – a single switch change can cut indoor humidity by up to 20%
- A $10 filter replacement is the most impactful maintenance step for dehumidification
- Short-cycling from an oversized AC is a leading cause of clammy air, and the fix may require a load calculation
- In humid climates, a whole-house dehumidifier often pays for itself through energy savings and comfort
Strengths
- Leverages equipment homeowners already have, minimizing upfront costs
- Simple, safe maintenance tasks deliver immediate improvement in comfort
- Smart thermostats add automation and can target humidity without overcooling
Weaknesses
- A seriously oversized AC may never dehumidify well without replacement
- Whole-house dehumidifiers require professional installation and a notable investment
- Duct leaks or poor insulation can undermine even the best AC-based dehumidification
Decision Summary
| Scenario | Usually do | Why |
|---|---|---|
| Mild, intermittent humidity (50–60% RH) | Set fan to Auto; replace filter; run dehumidify mode if available | Low‑cost, immediate improvement; often resolves the issue |
| Consistent humidity above 60% after AC runs for 30+ min | Have a pro check refrigerant and airflow; consider duct sealing | Points to system underperformance that DIY can’t fix |
| Humidity still high after professional tune‑up | Install a whole‑house dehumidifier | Addresses latent load directly, independent of AC cycling |
| Oversized AC causing short‑cycling (run times <10 min) | Consider replacement with right‑sized unit or add dehumidifier | Short cycles can’t remove enough moisture; long‑term fix is proper sizing |
Why Your Home Feels Sticky Even with the AC On
Does your home feel muggy or smell musty even though the air conditioner is running? High indoor humidity is often the culprit. A properly functioning central air conditioner is designed to remove up to 20 gallons of moisture per day from a typical home, but wrong settings, skipped maintenance, or an oversized unit can turn it into a noisy fan that just blows damp air around. This guide gives you a clear, step‑by‑step plan to fix humidity issues, from simple thermostat changes to knowing when to invest in dedicated dehumidification—without risking safety or breaking your budget.
Quick Answer: 5 Steps to Lower Humidity with Your AC
- Set the fan to AUTO, not ON. Running the fan continuously re‑evaporates moisture off the wet coil back into your home.
- Replace or clean your air filter. A clogged filter starves the system of airflow and cuts its ability to remove moisture.
- Check and clean the condensate drain. A plugged drain line can cause water backup, spiking humidity and risking water damage.
- Use a ‘Dry’ or dehumidification mode if your thermostat or mini‑split offers one; it runs the compressor longer at lower speed to maximize moisture removal.
- Reduce indoor moisture sources. Run bathroom and kitchen exhaust fans and fix any leaks.
How Your AC Pulls Water Out of the Air
Your air conditioner cools the air by passing it over a cold evaporator coil. When warm, humid indoor air hits that cold surface, water vapor condenses into liquid—just like a glass of ice water sweats on a hot day. That condensation drips into a pan and drains outside. This process, sometimes called latent heat removal, is why your AC’s drain line always has water trickling out on a muggy day. For dehumidification to work, the system needs long enough run times and good airflow across the coil. Any factor that shortens cycles or blocks air will leave moisture behind.
Optimize Your Thermostat and Fan Settings
‘Auto’ vs. ‘On’ – The Fan Setting That Matters
The single biggest mistake homeowners make is leaving the fan switch on the thermostat set to ‘On’ instead of ‘Auto.’ In ‘On’ mode, the blower runs constantly, blowing air across the evaporator coil even after the compressor cycles off. That airflow picks up the water that just condensed on the coil and sends it right back into your rooms—undoing the dehumidification. Set it to ‘Auto’ so the fan runs only when the AC is actively cooling.
Use a Dehumidification Mode if Available
Many modern thermostats and ductless mini‑split units have a dedicated ‘Dry’ or dehumidification mode. This setting runs the compressor at a reduced speed for longer cycles, maximizing the amount of water that condenses and drains away while also cooling slightly. If you have a smart thermostat, you may also be able to set humidity target levels.
Maintenance That Boosts Moisture Removal
Even perfectly set controls can’t compensate for a dirty system. Here are three high‑impact checks you can do safely.
Replace the Air Filter
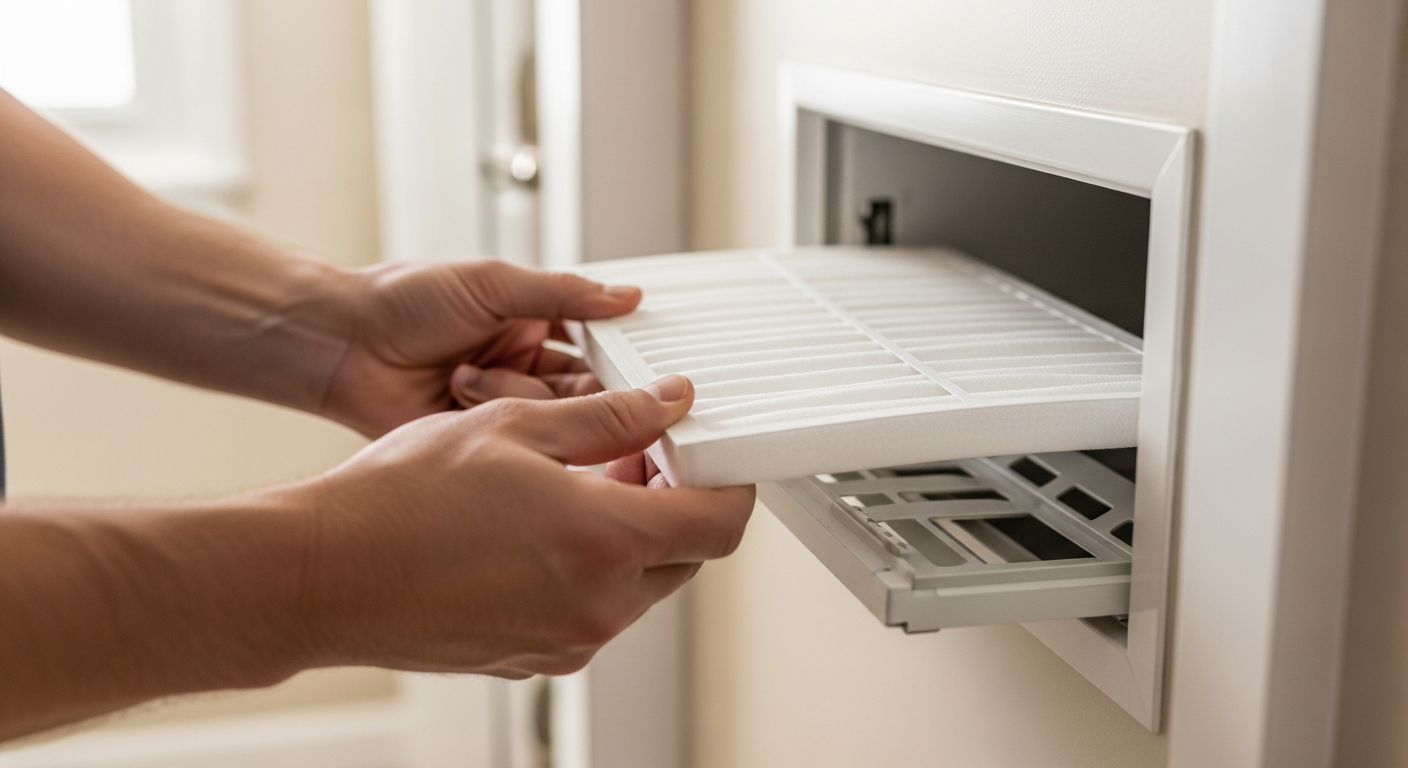
A dirty filter is the #1 cause of poor dehumidification. Check your filter monthly; if it looks gray or clogged, replace it. For most 1‑inch filters, that means every 1–3 months. A clean filter allows proper airflow so the coil can get cold enough to condense water. Step‑by‑step filter replacement guide →
Clear the Condensate Drain Line
Over time, the drain line can clog with algae or sludge. When it backs up, water can pool in the drain pan, spilling back into the home or raising humidity levels. A homeowner‑safe method: pour one cup of distilled white vinegar into the drain‑line access point (often a capped PVC pipe near the indoor unit) once a season. Avoid bleach or chemical drain cleaners—they can damage PVC and create toxic fumes. More on drain‑pan maintenance →
Keep the Outdoor Unit Clean
The outdoor condenser coils need to reject heat efficiently. Remove leaves, grass clippings, and debris from around the unit and gently rinse the fins with a garden hose (low pressure) at least once a year. Clean coils lower the system’s pressure and temperature, indirectly helping indoor dehumidification. Condenser coil cleaning guide →
Is Your AC Too Big? The Short‑Cycling Problem
An oversized AC cools the house down too quickly and then shuts off. Short run cycles (often less than 10 minutes) don’t give the system enough time to pull out meaningful amounts of moisture. The result: cold but clammy air. Short‑cycling can also be caused by mechanical issues like refrigerant leaks, a faulty thermostat, or a dying compressor. If you notice your AC starting and stopping frequently, listen for unusual noises—a clicking sound when it starts, for example, may indicate an electrical component struggling, which requires professional attention immediately.
Table: Common Humidity Symptoms & Likely Causes
| Symptom | Most Likely Cause | What to Check First |
|---|---|---|
| Home is cool but feels damp/sticky | Short‑cycling due to oversized unit or thermostat misplacement | Check run times; is the AC off after less than 15 min? |
| Humidity rises when AC is running | Fan set to ‘On’ or dirty filter | Switch to ‘Auto’; inspect & replace filter |
| Water dripping inside near unit | Clogged condensate drain line | Inspect drain pan & clean with vinegar |
| Some rooms more humid than others | Duct leaks or poor airflow | Check for disconnected ducts, closed vents |
| High humidity year‑round despite normal AC | Excess indoor moisture generation | Use exhaust fans; consider whole‑house dehumidifier |
Stop Adding Moisture to Your Air
Your AC can only handle so much. Help it out by:
- Running bathroom exhaust fans during and for 20 minutes after a shower.
- Using a range hood that vents outside when cooking.
- Fixing leaky faucets and pipes immediately.
- Covering exposed dirt floors in crawl spaces with a vapor barrier.
- Avoiding drying clothes indoors on a line unless you use a dehumidifier in that room.
Advanced Solutions: When a Standard AC Isn’t Enough
Whole‑House Dehumidifiers
In persistently humid climates (Southeast, Gulf Coast), an AC alone often struggles. A whole‑house dehumidifier integrates into your existing ductwork and can remove dozens of pints of moisture per day, independent of cooling. This allows you to set your thermostat higher and still feel comfortable, saving energy. Installation usually costs between $1,500 and $3,500, depending on capacity and duct modifications.
Smart Thermostats & Sensors
Many smart thermostats (ecobee, Nest, etc.) track indoor humidity and can be programmed to overcool slightly to meet a humidity target, or to run just the dehumidifier. These typically cost $200–$400 installed, and may qualify for utility rebates. Use the HVACDatabase Rebate Finder to see what incentives are available in your area.
Safety Boundaries: What Homeowners Can (and Can’t) Do
You can safely perform these checks and tasks:
- Replace air filters
- Clean the condensate drain line with vinegar
- Clear debris around the outdoor unit
- Adjust thermostat and fan settings
- Monitor and reduce indoor moisture sources
- Visually inspect ducts for obvious disconnections or kinks
Always hire a licensed HVAC professional for:
- Checking or adding refrigerant
- Repairing or replacing compressors, capacitors, contactors, control‑boards
- Any work inside the electrical panel or dealing with high‑voltage wiring
- Brazing or soldering refrigerant lines
- Diagnosing refrigerant leaks or combustion exhaust issues
- Cleaning or repairing indoor evaporator coils that require chemical cleaning or removal
Attempting these without training can cause injury, void warranties, and create safety hazards.
Decision Guide: When to DIY, When to Call a Pro
If humidity levels consistently stay above 60% (use a cheap hygrometer to measure) after 1 hour of AC runtime, take the following steps in order:
- Check fan setting (Auto? Yes) and replace filter.
- Clean condensate drain and check for standing water in pan.
- Ensure all supply vents are open and unblocked.
- If humidity still above 55%, have a pro perform a refrigerant level check and measure airflow (cost: $80–$200 diagnostic visit).
- If refrigerant is fine and airflow is adequate, consider a whole‑house dehumidifier or duct‑leak testing.
- If your home was built before 1990, duct leakage is a common hidden cause; professional duct sealing ($800–$2,500) can dramatically improve humidity control.
Use the Repair or Replace Calculator if your system is over 10 years old and you’re facing a costly fix for humidity issues.
Ask Before You Hire: Contractor Checklist
When discussing humidity solutions with a contractor, ask these questions:
- “Will you perform a Manual J load calculation to verify my AC is properly sized?”
- “Do you check static pressure and airflow, or just look at refrigerant levels?”
- “How do you determine whether a whole‑house dehumidifier is needed versus a simple tune‑up?”
- “Can you provide a breakdown of the estimate with line items for labor, materials, and any permits?”
- “What is your warranty on workmanship, and does it include follow‑up humidity measurement?”
- “Are you insured and can you show me your state HVAC license number?”
Find vetted pros in your area and compare quotes with our HVACDatabase Contractor Comparison tool.
Local Factors That Matter
- Hot‑humid climates (e.g., Florida, Texas coast): Latent load is high; focus on long run times and supplemental dehumidification. A standard AC may never keep humidity below 55% without a whole‑house dehumidifier.
- Coastal homes: Salt air accelerates corrosion of outdoor coils and drain pans. Quarterly rinsing of the outdoor unit and annual pro maintenance are critical.
- Older homes (pre‑1970): Leaky ducts and poor insulation allow humidity to seep in. Prioritize air sealing and ductwork before upgrading equipment.
- Cold climates: In winter, high indoor humidity can cause condensation on windows. Consider a mechanical ventilation system or a whole‑house dehumidifier that works independently of the AC.
Search for qualified contractors who understand your local climate: HVACDatabase Contractor Search.
Tools to Help You Make the Right Call
- BTU Calculator: Check if your current AC is oversized, which leads to poor dehumidification.
- Air Quality Score: Get a quick assessment of your home’s humidity and overall air quality.
- Cost Estimator: See typical price ranges for dehumidifiers, duct sealing, and AC repairs in your region.
How We Develop Our Recommendations
The cost ranges and advice in this article are drawn from a combination of industry surveys (including RSMeans and ACCA data), aggregated contractor pricing, and HVACDatabase’s own project database. They represent editorial estimates for typical single‑family homes and may vary significantly by zip code, system complexity, and current demand. Always get three itemized quotes from local licensed contractors before starting work.
Frequently Asked Questions
Can I just run my AC as a dehumidifier?
Yes, if you have a ‘Dry’ mode, that’s exactly what it does—runs the compressor slowly to maximize moisture removal with minimal cooling. If not, setting the fan to Auto and slightly lowering the temperature can help, but it will also lower room temperature, so you may feel chillier than intended.
Why is my house still humid after replacing the filter and cleaning the drain?
Common reasons: the AC is oversized (short‑cycling), there’s a refrigerant undercharge, duct leaks are pulling in humid outside air, or the home has excessive moisture generation (e.g., unvented crawlspace, no bath fans). A professional static pressure test and refrigerant check are the next logical steps.
How often should I really change my AC filter for humidity control?
In peak cooling months, check it monthly. If you have pets, live in a dusty area, or run the system continuously, you may need to replace it every 30 days. A 4‑inch media filter can last 6 months, but still inspect it. A dirty filter is the easiest humidity fix.
Can I install a whole‑house dehumidifier myself?
While some homeowners with advanced DIY skills might tackle the duct connections, the installation involves electrical wiring, cutting into ductwork, and possibly adding a dedicated circuit—all of which should be performed by a licensed HVAC contractor and electrician to meet code and preserve warranties. The typical professional installation cost is $1,500–$3,500.
When should I call a pro immediately for humidity issues?
Call a contractor if you see signs of water damage near the indoor unit, mold growth on walls or ceilings, a musty odor that won’t go away, or if the AC is blowing hot air and humidity skyrockets. Also, seek pro help if you’ve tried the automatic fan setting and clean filter but humidity stays above 60% for more than a day.
Methodology
HVACDatabase estimates combine common contractor price patterns, service-category pricing ranges, equipment complexity, urgency, regional labor variation, and known HVAC safety boundaries. Actual prices vary by city, brand, system size, access, warranty status, permit requirements, and whether the visit discovers ductwork, electrical, refrigerant, gas, or drainage issues. Use these numbers to sanity-check quotes, not as a guaranteed price.
Related articles
Connect this page to adjacent guides so readers keep moving deeper into the topic cluster.
Understanding C Wire Adapters for Smart Thermostats
Missing the C wire for your smart thermostat? C wire adapters solve power issues without pulling new wiring. Compare types, costs, and installation options.

Tips for Choosing a Smart Thermostat for a Heat Pump
Learn which smart thermostat features prevent expensive auxiliary heat mistakes, how to verify compatibility, and when to call a pro.
Tips for Heating a Home With Radiant Barriers
Radiant barriers can reduce winter heat loss through ceilings, but they are not a replacement for insulation. Learn when they help and what else you need for a warm, efficient home.