Tips for Keeping Your Indoor Air Clean During Renovations
Renovations can fill your home with harmful dust and VOCs. Use these proven containment, filtration, and ventilation tactics to protect your health and HVAC system from construction debris.

Proactive containment and filtration is non‑negotiable
By isolating the work zone, turning off the HVAC during heavy dust, and upgrading to MERV 11+ filters, you prevent costly system damage and health risks. When in doubt, hire a pro and verify with monitoring.
What Matters Most
- Always isolate the work area with plastic and zippered barriers
- Turn off the HVAC system during demolition or sanding; seal vents if it must run
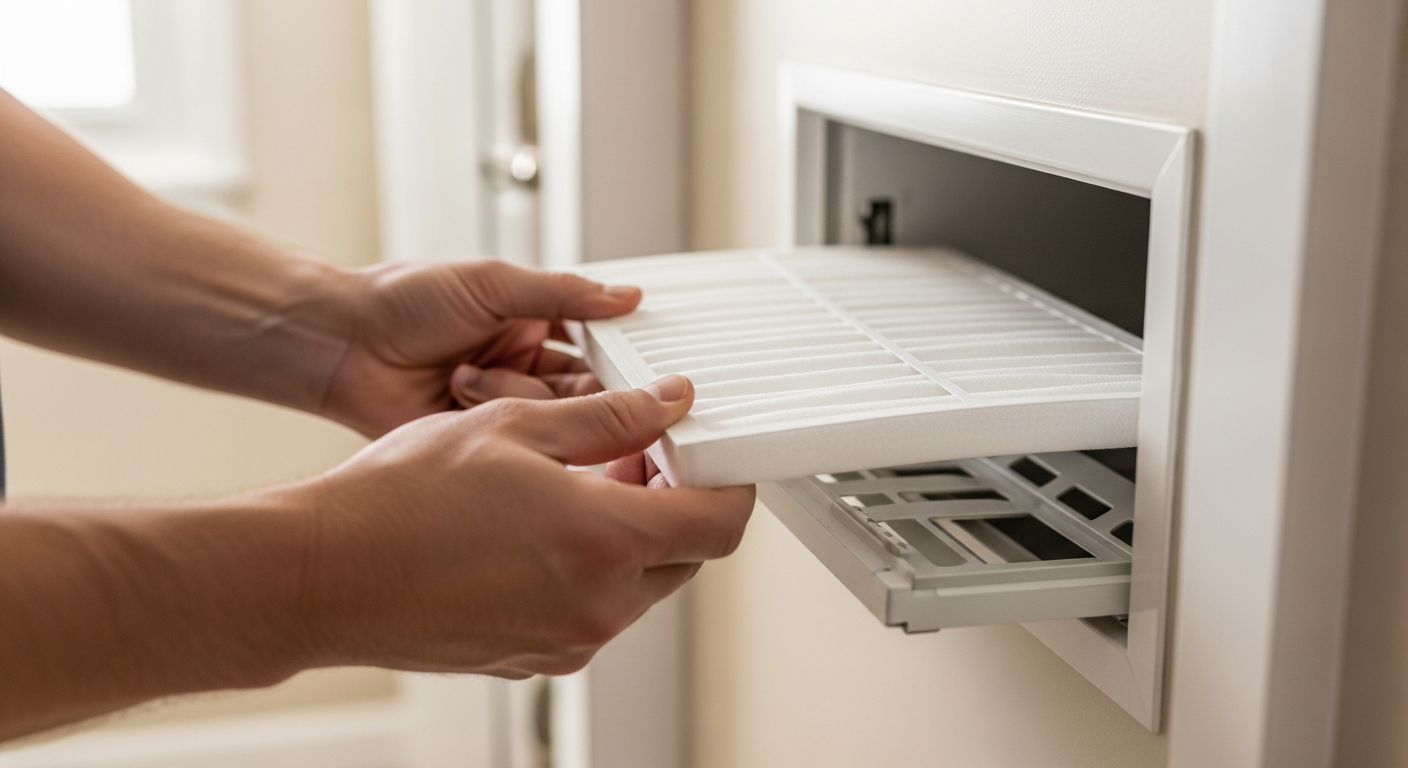
- Use MERV 11–13 filters and check them daily
- Create negative air pressure to pull contaminants outside
- Inspect ducts post‑project and clean only when necessary
Strengths
- Prevents expensive HVAC repairs from clogged coils and blowers
- Reduces occupant exposure to lung‑irritating dust and VOCs
- Actionable steps use common, low‑cost materials
- Clear thresholds for when to bring in professionals
- Addresses both immediate containment and long‑term air quality
Weaknesses
- May require turning off heating/cooling temporarily, which can be uncomfortable
- Higher MERV filters increase static pressure and may not suit every system without modification
- Box fan negative pressure is less effective in very leaky homes without additional sealing
- Consumer air monitors have limitations in accuracy at extreme concentrations
- Post‑renovation deep cleaning requires diligence and time
Decision Summary for Renovation Air Quality
| Scenario | Usually do | Why |
|---|---|---|
| Demolition or drywall sanding | Turn off HVAC, seal vents, use negative pressure, MERV 13 | Extreme dust levels will overwhelm any active system. |
| Painting or varnishing | Ventilate with open windows and fans, run HVAC with MERV 11, add activated carbon if odors persist | VOCs are the main concern; air exchange and filtration help. |
| Replacing carpet or wood floors | Contain work zone, HEPA vacuum daily, turn off HVAC if adhesives emit strong odors | Dust and adhesive VOCs require source control and ventilation. |
| Minor trim work or touch-ups | Keep HVAC running with a MERV 8–11 filter, light containment as needed | Low dust load doesn't demand full shutdown unless near returns. |
| HVAC system modification | Follow safety boundaries; hire a professional and request a post-work duct inspection | Duct alterations can introduce debris and must be verified clean. |
Why Renovation Air Quality Matters
Renovations can fill your home with dust, volatile organic compounds (VOCs), and debris that compromise both health and HVAC equipment. Within minutes of starting demolition, airborne particle levels often spike 10–100 times above normal, traveling through ductwork to every room. Without a containment and filtration plan, you risk clogged evaporator coils, reduced airflow, frozen systems, and respiratory irritation for occupants. The good news: a few low-cost preparation steps can prevent thousands in repair bills and keep your air safe.
Quick Answer: How to Keep Indoor Air Clean During Renovations
- Isolate the work zone with heavy-duty plastic sheeting and zippered doors.
- Turn off the HVAC system during dust-producing tasks and seal vents in the area.
- Upgrade to at least a MERV 11 filter and check it daily; replace when dirty.
- Create negative air pressure by pointing a box fan out a window in the work zone.
- Use HEPA-filtered vacuums and wet-sanding methods to capture dust at the source.
- Monitor chemical odors and ventilate actively for at least 48 hours after painting or flooring installation.
- After the project, inspect ductwork and consider professional cleaning only if dust bypassed filters.
Safety Boundaries
Homeowners can safely perform these tasks without special training:
- Seal off areas with plastic and tape.
- Change HVAC filters (always turn off the system first).
- Use portable box fans for ventilation.
- Monitor air quality with consumer-grade devices (CO2, PM2.5, VOCs).
- Wipe down surfaces and vacuum with HEPA-equipped shop vacs.
Do not attempt any of the following; these require a licensed professional:
- Electrical modifications to the HVAC system or control boards.
- Refrigerant handling or compressor work.
- Duct cleaning that involves cutting into ductwork or accessing the air handler interior.
- Adjusting or installing gas appliances or combustion vents.
- Work involving line voltage, capacitors, or bypassing safety switches.
For these, search vetted local contractors at Find HVAC Pros and compare their credentials at Contractor Comparison.
Decision Rules: What to Do Based on Your Project
| Renovation Scenario | Usually Do | Why |
|---|---|---|
| Demolition or drywall sanding | Turn off HVAC, seal vents, use negative pressure, MERV 13 filter | Extreme dust levels will overwhelm any active system. |
| Painting or varnishing | Ventilate with open windows and fans, run HVAC with MERV 11, add activated carbon if odors persist | VOCs are the main concern; air exchange and filtration help. |
| Replacing carpet or wood floors | Contain work zone, HEPA vacuum daily, turn off HVAC if adhesives emit strong odors | Dust and adhesive VOCs require source control and ventilation. |
| Minor trim work or touch-ups | Keep HVAC running with a MERV 8–11 filter, light containment as needed | Low dust load doesn't demand full shutdown unless near returns. |
| HVAC system modification | Follow safety boundaries above; hire a professional and request a post-work duct inspection | Duct alterations can introduce debris and must be verified clean. |
Thresholds: If visible dust plume travels beyond 6 feet, turn off HVAC immediately. Replace the filter after 8 hours of heavy work or when it appears grey. If post-renovation odors linger beyond 72 hours with active ventilation, contact an IAQ professional to assess.
Containment and HVAC Management
Isolating the Work Area
- Use 6‑mil polyethylene sheeting to cover doorways, sealing all edges with painter’s tape. Install a zippered dust barrier for worker access.
- Cover floors with adhesive film or heavy drop cloths to reduce tracking.
- Block HVAC supply and return vents inside the work zone with plastic and tape – this prevents dust from being sucked into the ductwork.
HVAC System Protection
- For dusty phases, shut off the system entirely. If you must run it (extreme temperatures), close every damper and vent in the work area and seal them. Understand that even off, ductwork can act as a conduit if pressure differences exist; negative pressure helps.
- Upgrade to a pleated filter with MERV 11–13. MERV 11 captures 95% of particles 3–10 µm (typical construction dust); MERV 13 captures <1 µm particles. Check the filter daily.
- After heavy work, leave the system off and visually inspect accessible ducts with a flashlight. If you see dust accumulation, learn about duct cleaning options.
Ventilation and Air Cleaning
Negative Air Pressure
Place a high-velocity box fan blowing outward in a window of the work zone. Seal the remaining window opening with cardboard or plastic. This lowers pressure in the room, pulling clean air from the house under the plastic barrier and pushing contaminated air outside. For large jobs, consider renting a commercial negative air machine (expect $200–$500 per week).
HEPA Vacuums and Source Control
- Require contractors to use tools with integrated dust extraction (e.g., HEPA‑filtered power sanders).
- Wet‑sanding drywall mud reduces airborne dust by over 90%.
- Cut lumber, tile, or pipe outside or in a garage. If indoor cutting is unavoidable, use a HEPA shroud and vacuum.
- Daily cleanup: use a true HEPA vacuum (not a standard shop vac that exhausts fine dust back into the room).
Managing VOCs
- Choose low‑ or no‑VOC paints and adhesives. Off‑gassing peaks in the first 48–72 hours.
- Run portable air purifiers with activated carbon filters in occupied areas. For whole‑house options, see whole‑home air purifier installation.
- Ventilate continuously: open windows (weather permitting) and run exhaust fans. In tight homes, ERV/HRV systems help without introducing outdoor pollutants.
- Consider a consumer air quality monitor (PM2.5, TVOC readings) to know when levels are safe. Typical cost: $100–$250.
Cost Table: Protective Supplies and Services
Editorial estimate ranges; actual costs vary by region and project scope.
| Item | Typical Cost Range | Notes |
|---|---|---|
| 6‑mil plastic sheeting (10’×25’ roll) | $15–$30 | Covers one standard doorway |
| Zippered dust barrier | $25–$50 | Reusable; professional grade lasts years |
| MERV 11–13 pleated filter (1″) | $10–$30 each | Replace as needed; thicker media filters cost more |
| HEPA vacuum (rental, daily) | $30–$60 | Purchase: $200–$400 |
| Negative air machine rental (weekly) | $200–$500 | 500–2000 CFM units |
| Professional duct inspection | $100–$200 | Often credited toward cleaning if needed |
| Full duct cleaning | $300–$600 | Depends on duct length and access |
| IAQ monitor (consumer-grade) | $100–$250 | Measures PM2.5, TVOC, CO2, temp/humidity |
Budgeting tip: use the HVAC Cost Estimator to plan for filter upgrades and potential system tune-ups after heavy renovations. For duct cleaning proposals, run them through the Quote Checker to spot overcharges.
Contractor Checklist: Questions to Ask Before Hiring
When hiring for HVAC adjustments, duct cleaning, or IAQ services, vet candidates with these questions:
- Are you certified by NADCA (National Air Duct Cleaners Association)? Validates duct cleaning expertise.
- Will you seal off vents and use negative pressure during your work to protect the rest of the house?
- What MERV rating do you recommend for my system, and have you verified it won’t exceed my fan’s static pressure limit?
- Can you provide a written, itemized estimate with labor and material breakdowns?
- Do you carry general liability insurance and workers’ compensation? May I see the certificates?
- Can you supply references from similar renovation air quality projects in my area?
- How do you handle post‑cleaning validation – will you show me a before/after visual inspection or particle count?
Compare multiple contractors side‑by‑side to avoid high‑pressure sales.
Local Climate and Home‑Specific Considerations
- Hot, humid regions (Southeast, Gulf Coast): After renovations, dust in moist ducts can become mold food. Keep indoor humidity below 60% using the AC or a standalone dehumidifier. Inspect the evaporator coil for dust buildup – a common post‑reno issue.
- Cold climates (Midwest, Northeast): Turning off the furnace in winter isn’t always possible. Schedule the dustiest work for shoulder seasons, or use electric space heaters in contained areas (never extension cords with high‑wattage heaters). Seal off cold air returns in the work zone so return air is drawn from clean rooms.
- Coastal areas: Salt air can accelerate corrosion on exposed ductwork or handler components; cover equipment with breathable drop cloths during work.
- Older homes (pre‑1978): Disturbing painted surfaces or old insulation may release lead or asbestos. If your renovation involves these materials, federal law requires containment and certified professionals. In such cases, the post‑renovation cleaning verification is mandatory; do not attempt DIY air quality restoration without lab testing.
Use Our Tools to Plan Your Project
Before starting, visit these HVACDatabase interactive tools to make informed decisions:
- HVAC Cost Estimator – Estimate your budget for filter replacements, duct inspection, or a new purifier.
- Quote Checker – Validate proposed cleaning or repair quotes against fair‑market ranges.
- Rebate Finder – See if your utility offers incentives for high‑efficiency air quality equipment or duct sealing.
- Repair or Replace Calculator – If your HVAC was heavily exposed to dust, decide if it’s worth fixing or upgrading.
- System Age Decoder – Decode your unit’s age to anticipate potential post‑renovation issues (older systems may be more fragile).
Post‑Renovation Air Quality Checklist
- Deep clean all surfaces: Wipe walls, ceilings, floors, and furniture with a damp microfiber cloth to capture settled dust.
- Inspect and replace filters: Install a fresh MERV 11+ filter. Check the blower compartment for visible dust.
- Run HVAC in fan‑only mode for 2–4 hours with windows open to flush remaining airborne particles.
- Schedule a duct inspection if dust was visible near returns. A pro can scope the ducts and recommend cleaning only if needed. Read how to clean ducts (pro perspective).
- Monitor air quality for 72 hours. If PM2.5 stays above 35 µg/m³ or VOC levels exceed 500 ppb with windows open, investigate further.
- Consider whole‑home purification if occupants have asthma/allergies. See installation options.
For broader strategies beyond renovations, refer to How to Improve Indoor Air Quality.
Methodology
Cost estimates are editorial ranges drawn from typical retail prices, contractor surveys, and national databases as of early 2025. Actual costs vary by system size, region, season, home layout, and market conditions. Always obtain at least three written quotes for professional services. This article follows HVAC safety standards: consumer‑safe tasks are clearly separated from pro‑only work. We do not offer DIY instructions for gas, refrigerant, or high‑voltage components.
Frequently Asked Questions
Can I run my HVAC during renovations?
Only if you’ve sealed all vents in the work zone and upgraded to a MERV 11+ filter—and even then, it’s safer to turn it off during active dust generation. Systems with variable‑speed blowers can handle slightly higher static pressure from a high‑MERV filter, but always verify with a technician. Consider running just the fan with windows open after work to flush the house.
How often should I change the filter during renovations?
Check the filter daily. In heavy‑dust phases (sanding, demolition), you may need a new filter every 2–3 days. A filter that appears grey or clogged has already lost efficiency and is straining your blower.
Is duct cleaning automatically needed after construction?
Not automatically. Only if a visual inspection finds dust or debris inside the ducts. A professional duct camera inspection ($100–$200) confirms the need. Unnecessary duct cleaning can dislodge settled contaminants and create problems in poorly designed duct systems.
How long do VOCs last after painting or new flooring?
Off‑gassing continues for weeks, but the highest concentrations occur in the first 48–72 hours. Intensify ventilation during that window: open windows, use box fans, and run a portable air purifier with activated carbon. If odors are still strong after three days of active ventilation, test for TVOC levels and consider a professional assessment.
Is negative air pressure essential for small projects?
For any project that generates visible dust or sanding particles, negative pressure is one of the most effective containment strategies. A simple $30 box fan exhausting outward creates enough pressure differential to prevent dust from migrating to living spaces. It’s recommended even for patching drywall or sanding a single room.
Related articles
Connect this page to adjacent guides so readers keep moving deeper into the topic cluster.

Understanding C Wire Adapters for Smart Thermostats
Missing the C wire for your smart thermostat? C wire adapters solve power issues without pulling new wiring. Compare types, costs, and installation options.
Tips for Choosing a Smart Thermostat for a Heat Pump
Learn which smart thermostat features prevent expensive auxiliary heat mistakes, how to verify compatibility, and when to call a pro.
Tips for Heating a Home With Radiant Barriers
Radiant barriers can reduce winter heat loss through ceilings, but they are not a replacement for insulation. Learn when they help and what else you need for a warm, efficient home.