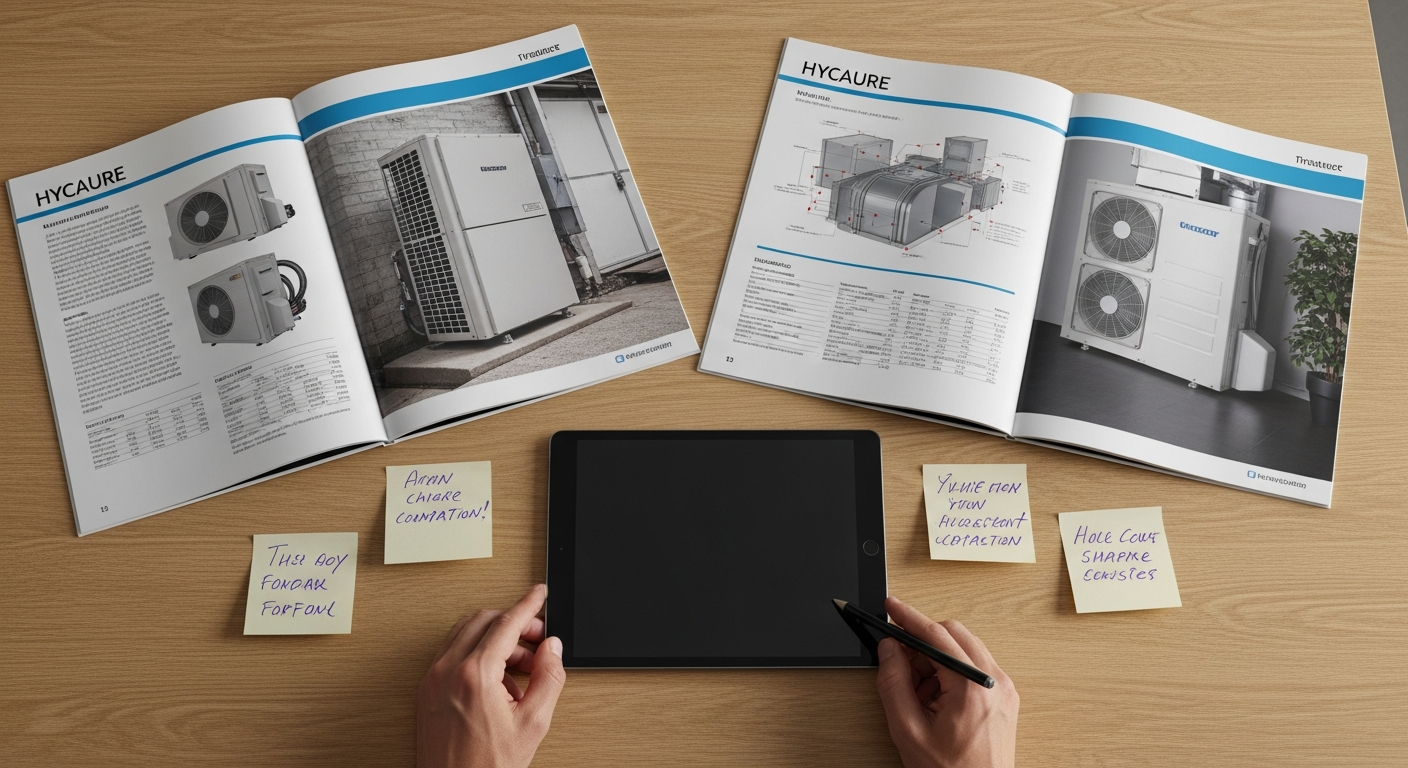
How to Install a Powered Attic Ventilator
A powered attic ventilator can lower cooling costs and protect your roof, but DIY installation risks leaks and fire. Learn what’s involved, realistic costs, and how to find a vetted contractor.
Hire a Pro for Installation; Verify Intake Venting First
Powered attic ventilators can cut AC loads and protect roofs, but improper roof penetrations and electrical work create serious leak and fire hazards. Homeowners should focus on clearing soffit vents, sealing attic floors, and hiring a licensed contractor for the fan installation. The modest energy savings never justi
What Matters Most
- Check attic insulation and soffit vents before adding a fan—inadequate intake makes the fan useless.
- Expect to pay $400–$900 for a professional installation, plus $200–$500 if a new electrical circuit is needed.
- In humid areas, a powered fan can pull moisture into the attic; consider a radiant barrier instead.
- Air seal your attic floor before installation to prevent the fan from sucking conditioned air out of your home.
- Always use a contractor who provides a detailed quote, verifies vent area, and warranties the roof penetration.
Strengths
- May lower AC energy use by 5–15% in hot, dry climates when paired with proper intake.
- Prevents shingle curling and extends roof life by reducing attic temperatures.
- Can be combined with solar power for near‑zero operating cost and no new electrical work.
Weaknesses
- Risk of pulling conditioned air through attic floor leaks, actually raising cooling bills if not properly sealed.
- Can create dangerous negative pressure that backdrafts natural‑draft gas appliances.
- Roof leak risk is high if flashing isn’t perfectly integrated under shingles.
- Motor hum and vibration may be audible indoors, especially in bedrooms under the fan.
- In humid climates, the fan may draw in damp outdoor air, promoting mold.
Decision Summary
| Scenario | Usually do | Why |
|---|---|---|
| High AC bills, hot attic, soffit vents clear, hot/dry climate | Install PAV after air sealing attic floor | Fans effective when intake is balanced and heat gain is the primary problem. |
| Attic hot but soffit vents blocked or insufficient | Fix intake first (clear vents/add more), then reassess | No fan can work without enough incoming air; it will starve and pull from the house. |
| Humid climate, no vapor barrier, attic often muggy | Avoid PAV; consider radiant barrier + passive ridge/soffit upgrades | Fan may increase attic moisture and mold risk; radiant barrier reflects heat without air movement. |
Quick Answer
A powered attic ventilator (PAV) is a thermostatically controlled exhaust fan that pulls hot air out of your attic, reducing temperatures and cooling load on your AC. In the right home—adequate soffit intake, good attic air sealing, hot/dry climate—it can trim 5–15% from cooling bills and prolong roof life. However, the roof penetration and electrical wiring require a licensed pro. Homeowners can prepare by clearing soffit vents and measuring attic size, but should never cut into the roof or wire the fan themselves. Total installed cost typically runs $400–$900, but may reach $1,500+ if a new circuit is needed.
How a Powered Attic Fan Works
When attic temperatures hit a set point (often 95–110°F), a thermostat switches on the fan. It exhausts superheated air and pulls cooler outside air in through soffit vents. This prevents heat from radiating down into living spaces and stops shingles from baking. Effectiveness depends on:
- Intake vent area: At least 1 sq ft of net free area per 150 sq ft of attic floor (or 1:300 with balanced ridge/soffit vents).
- Attic floor air sealing: Gaps around lights, hatches, and duct penetrations will let conditioned air be sucked out, raising bills.
- Climate: Best in hot, dry regions; in humid areas, the fan can pull moisture into the attic, promoting mold.
When a Fan Makes Sense: Decision Rules
Consider a PAV if these are all true:
- Attic regularly exceeds 130°F on sunny days (use an infrared thermometer or sensor).
- Ceilings below the attic feel warm to the touch, and your AC runs long cycles.
- You have unobstructed soffit vents with adequate net free area (check from inside the attic).
- Your attic floor is well air‑sealed and insulated to at least R‑38.
- You live in a hot/dry climate (e.g., Southwest, Mountain states).
Skip a PAV—or fix other issues first—if:
- Soffit vents are undersized, blocked by insulation, or painted shut.
- You use a natural‑draft gas furnace or water heater (backdrafting risk).
- Your region is consistently humid (Gulf Coast, Southeast) without a sealing vapor barrier.
- Your attic floor is porous; negative pressure will pull conditioned air from the house.
Alternatives: Radiant barrier on the roof deck, additional soffit and ridge vents, or increasing attic insulation depth often yield a better return without electric consumption.
What You Can Safely Do Yourself
- Inspect and clear soffit vents: From inside the attic, ensure no insulation, bird nests, or debris block the airflow. Use a flashlight and a stick to gently remove material.
- Measure attic square footage and vent area: Calculate the existing net free area (often stamped on vent covers). Compare against code minimums.
- Check for existing fan operation: Temporarily raise the thermostat dial (if present) to confirm the fan spins freely and isn’t seized.
- Look for daylight at roof penetrations: Any gaps or water stains? These signal potential leak points a pro must address.
- Assess insulation depth and air leaks: Seal any gaps around light fixtures, attic hatches, and duct penetrations with fire‑rated caulk or foam before adding a fan.
Safety Boundaries & Pro‑Only Work
DO NOT attempt these steps yourself
Roof cutting and mounting: One wrong cut can compromise structural rafters and cause catastrophic leaks. Flashing must be integrated under shingles with roofing cement; a poorly sealed penetration leads to wood rot, mold, and expensive repairs.
Electrical wiring: Connecting the fan motor to a circuit requires working inside the main service panel, running cable, and meeting NEC code. Mistakes cause shocks, fires, or equipment damage. Only a licensed electrician should handle this.
High‑voltage thermostat/sensor replacement: While a homeowner can adjust a thermostat dial, swapping out a failed thermal switch or control board is pro‑only work.
If you hear a loud hum, smell burning, or the breaker trips repeatedly, immediately turn off the fan circuit at the panel and call an HVAC or electrical pro.
Costs & Budgeting
Installed costs vary by fan size, roof accessibility, and existing wiring. All figures are editorial estimates, not guaranteed prices.
| Item | Typical Range | Notes |
|---|---|---|
| Fan unit (thermostatic, 1,000–1,500 CFM) | $80 – $250 | Solar‑powered units $250–$600 |
| Labor – roof cut and mounting | $300 – $600 | Includes flashing, sealant, and weatherproofing |
| Electrical rough‑in (if no existing circuit nearby) | $200 – $500 | New breaker, wiring, and junction box |
| Total installed (basic scenario) | $400 – $900 | May reach $1,500+ with complex roof or long wire runs |
Use our HVAC Cost Estimator to get a personalized range for your zip code, and upload quotes to the Quote Checker for an apples‑to‑apples comparison.
Hiring a Pro: Contractor Checklist
Before approving the work, ask these questions:
- Are you licensed and insured for both roofing and electrical? Many jobs require two trades—ensure the primary contractor handles both or will subcontract appropriately.
- Will you verify my soffit vent net free area before installation? A fan without adequate intake is a waste of money.
- Do you include a secondary seal or drip edge in the flashing detail? This prevents wind‑driven rain from sneaking in.
- What thermostat setpoint do you recommend and why? Should be adjustable between 95°F and 115°F; they should explain their choice based on climate.
- Is a humidistat included or available? In mixed‑humid regions, this can prevent the fan from running when outdoor air is muggy.
- What warranty do you offer on the roof penetration? Look for at least a 2‑year workmanship warranty against leaks.
- Will you perform a post‑installation airflow test? Even a simple smoke test at a soffit vent can confirm the fan is pulling air correctly.
You can compare licensed contractors in your area using our database, or search directly for HVAC and roofing pros near you.
Climate & Home‑Specific Considerations
- Hot/Dry (Phoenix, Las Vegas): Ideal candidate. Set thermostat to 105°F. Expect the biggest AC savings.
- Mixed/Humid (Atlanta, Houston): Risky unless a humidistat is integrated to lock out the fan above 70% outdoor RH. Even then, consider a radiant barrier first.
- Cold (Minneapolis, Boston): PAV can cause ice dams if it runs during a thaw. Use a manual winter disconnect or a thermostat with a low shut‑off (40°F).
- Coastal (Miami, Galveston): Choose corrosion‑resistant stainless steel or plastic housings. High‑wind tie‑downs may be required to meet code.
- Older homes (pre‑1970): Check for knob‑and‑tube wiring that cannot handle the additional load. Soffit vents may be nonexistent; adding them is a prerequisite.
Frequently Asked Questions
Do powered attic fans really save money on AC?
In hot, dry climates with at least 1:150 soffit intake, they can reduce cooling energy use by 5–15%. Savings evaporate if attic floor air leaks pull conditioned air out. Always air‑seal first.
Can I install a solar‑powered attic fan instead?
Yes—solar models eliminate the electrical run but still require a roof cut and proper flashing. They tend to move less air (800–1,200 CFM) and cost more upfront. Installation must be done by a roofer to ensure watertightness.
How long does a powered attic ventilator last?
Typical motor lifespan is 10–15 years with occasional cleaning. Thermostat switches may fail sooner. Some premium units have sealed bearings that require no lubrication.
What size fan do I need?
Rule of thumb: 1,000 CFM for every 1,000 sq ft of attic floor. More accurately, calculate attic volume and target 10–15 air changes per hour: CFM = (Volume in cubic feet ÷ 2). Always match intake capacity.
I hear the fan humming inside—is that normal?
A faint hum from the motor is expected. Rattling or vibration often signals loose mounting brackets, an unbalanced blade, or a failed bearing. Have a pro inspect it to prevent motor burnout.
Will a powered fan pull out my AC’s cool air?
If the attic floor is leaky—around can lights, attic hatches, or duct chases—yes. The fan creates negative pressure that can draw hundreds of CFM from your living space. Proper air sealing is essential before installation.
Related Tools & Next Steps
- HVAC Cost Estimator – Get localized price ranges for attic fan installation.
- Quote Checker – Submit contractor bids for expert review.
- Whole‑Home IAQ Improvement Guide – Balance ventilation without losing conditioned air.
- Compare Contractors – Find vetted pros who handle roof ventilation and electrical.
- HVAC Cost Hub – See typical pricing for related services.
Methodology
HVACDatabase estimates combine common contractor price patterns, service-category pricing ranges, equipment complexity, urgency, regional labor variation, and known HVAC safety boundaries. Actual prices vary by city, brand, system size, access, warranty status, permit requirements, and whether the visit discovers ductwork, electrical, refrigerant, gas, or drainage issues. Use these numbers to sanity-check quotes, not as a guaranteed price.
Related articles
Connect this page to adjacent guides so readers keep moving deeper into the topic cluster.

How to Implement a Whole Home Energy Management System
Integrate smart tech and HVAC controls to cut energy waste. This guide shows how to audit, upgrade, and automate your home's energy use, with real savings estimates.

How to Set Up Thermostat Geofencing
Set up thermostat geofencing to automatically adjust home temperature as you come and go. Save energy, extend equipment life, and never return to an uncomfortable house. Get our quick-start guide now.

How to Troubleshoot Smart Thermostat WiFi Issues
Your smart thermostat offline? Most WiFi drops can be fixed with power checks, router adjustments, and simple restarts. Follow our step-by-step guide to regain remote control and energy savings.