What to Do Before the HVAC Technician Arrives
A few minutes of prep can lower your HVAC service bill and speed up repairs. Follow this practical checklist to get your home ready before the technician rings the doorbell.

Prepare in 10 minutes, save up to $120
Taking six simple, non-technical steps before the HVAC tech arrives directly reduces billable time and helps you make an informed repair-or-replace decision. No tools needed.
What Matters Most
- Clearing access and replacing the filter are the two most impactful DIY actions.
- Never allow a technician to begin major work without a written, itemized estimate.
- Use the Repair-or-Replace Calculator before approving any repair over $500 on an older system.
- Your local climate changes the most common failure points—mention it to the tech.
- If a tripped breaker re-trips, do not reset; call a pro immediately.
Strengths
- Requires zero mechanical skill or tools.
- Reduces diagnostic labor by 15–30 minutes on average.
- Empowers you to spot potential upsells vs. genuine needs.
- Protects your family and the technician from safety hazards.
Weaknesses
- Does not guarantee the technician will finish in one visit if parts are needed.
- May not apply to ductless mini-split systems with multiple indoor heads (adjust clearing instructions).
- Relies on you accurately documenting symptoms; missing details can still prolong diagnosis.
Decision Summary: Repair vs. Replace
| Scenario | Usually do | Why |
|---|---|---|
| System < 8 years, repair < $800 | Repair | Minor fix on a still-reliable unit; cost is < 30% of new install. |
| System > 10 years, repair > 40% of new | Replace | Major investment in an aging system; new unit offers warranty and efficiency gains. |
| Compressor or coil failure, R-22 refrigerant | Replace | R-22 is phased out; replacement parts are scarce and costly. |
| Multiple failures in one year | Replace | Cascading breakdowns signal systemic wear; replacement provides reliability. |
| Repair under $500 on a 6-year-old system | Repair | Quick, low-cost fix restores full performance. |
Introduction
When your heat or AC fails, the clock is ticking—and the technician’s time is billed by the hour. Spending 10 minutes before they arrive can easily shave $50–$120 off your service call. This guide shows you exactly what to do (and what never to touch) so the pro can diagnose the problem faster and you can decide whether to repair or replace with confidence. From documenting symptoms to unlocking the gate, these steps turn chaos into a controlled, cost-saving process.
Quick Answer: What to Do Before the HVAC Technician Arrives
You don't need a tool belt. Follow this checklist to reduce diagnostic time and avoid extra trip charges. The technician will arrive with the right parts sooner, and you’ll have data to decide whether to repair or replace.
| Action | Why It Matters | Time Needed |
|---|---|---|
| Clear 3 ft around indoor unit & outdoor condenser | Prevents injury, speeds access, avoids extra labor charges for moving obstacles | 5–10 min |
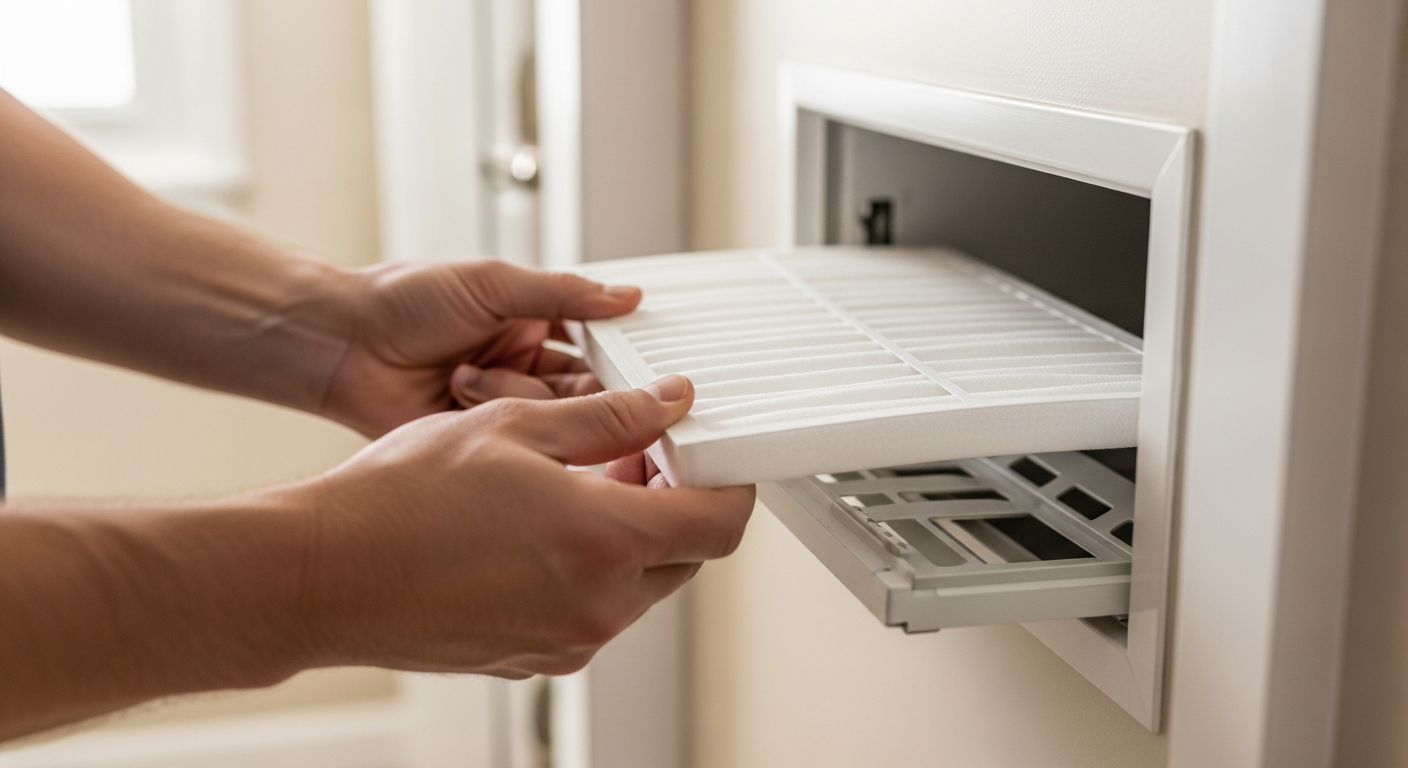
| Replace air filter if dirty | Eliminates the #1 cause of airflow problems; technician gets accurate readings | 2 min |
| Check thermostat batteries & settings | Resolves “ghost” issues; avoids a diagnostic fee just for dead batteries | 1 min |
| Note tripped breakers or blown fuses | Alerts tech to potential electrical overload; don’t reset repeatedly | 1 min |
| Secure pets & small children | Safety first; prevents escapes and interference with equipment | Ongoing |
| Unlock gates, move vehicles for outdoor access | Avoids a locked-out situation that can cause a no-show charge | 2 min |
| Document symptoms & maintenance history | Speeds diagnosis; helps tech spot recurring issues or warranty coverage | 5 min |
Safety Boundaries: What You Can Touch, What You Can’t
Some tasks are safe and encouraged. Others are illegal or dangerous for untrained people. Crossing the line can void warranties and cause injury.
Safe Homeowner Checks
- Thermostat: Replace batteries, verify mode (heat/cool), and check if the display is blank.
- Electrical panel: Visually locate the HVAC breaker; note if it’s tripped. You may reset it once if it trips. If it trips again, leave it off and inform the tech.
- Air filter: Replace a dirty filter with the correct size. This is the single most impactful DIY action.
- Condensate drain: If you see water pooling around the indoor unit, you can use a wet/dry vacuum to clear the end of the drain line (safety first: keep electrical connections dry).
- Access: Clears obstructions, unlock gates, move valuables away from the work area.
Pro-Only Work – Do Not Attempt
- Refrigerant handling, leak checks, or adding coolant
- Gas line or combustion chamber inspections
- Compressor, capacitor, contactor, or control-board testing/replacement
- High-voltage wiring or breaker replacement
- Bypassing safety switches (e.g., door switches, limit switches)
If you suspect any of these issues, shut the system off and call a licensed contractor through HVACDatabase.com. The average diagnostic visit costs $80–$200 (more for after-hours emergencies), and a pro will safely handle the rest.
Use HVACDatabase Tools to Make Smarter Decisions
Before the technician arrives, plug your symptoms into these free calculators. They help you budget, compare quotes, and decide whether a repair is worth it.
- Emergency Cost Tool: See what after-hours fees typically look like in your area.
- Repair or Replace Calculator: Input your system’s age and repair estimate to see if a new unit makes more financial sense.
- Quote Checker: Upload a technician’s quote and get an instant fairness review.
- System Age Decoder: Find the manufacture date from your unit’s serial number—crucial for warranty claims.
- HVAC Cost Guide: Browse real-project costs for repairs and replacements in your region.
Decision Rules: Repair or Replace?
When the technician hands you a diagnosis, use these thresholds to decide next steps. (Always get a written, itemized estimate.)
| Scenario | Usually Do | Why |
|---|---|---|
| System is less than 8 years old, repair is under $800 | Repair | You’ll likely get several more years of service; the repair is less than a third of a new install. |
| System is 10+ years old, repair exceeds 40% of a new unit | Replace | Older systems approach 12–15 year lifespans; investing more than half the cost of a new system often isn’t wise. |
| Compressor or coil failure in an R-22 system | Replace | R-22 refrigerant is phased out; repairs are expensive and components are scarce. |
| Multiple components failing in the same year | Replace | Cascading failures signal systemic decline; a new unit comes with a warranty and better efficiency. |
| Repair cost is less than $500 on a 6-year-old system | Repair | Still in its prime; a minor fix restores performance for minimal spend. |
Use the Repair or Replace Calculator to run your own numbers, and always get a second opinion for high-ticket fixes.
Contractor Checklist: Questions to Ask Before Approving Work
Don’t let urgency cloud your judgment. Even in an emergency, a 5-minute conversation can save hundreds. Use this script:
- “Are you licensed, insured, and bonded in this state?” Verify with your state’s licensing board. Get the license number.
- “Do you offer a written, itemized estimate before starting work?” Never accept a verbal quote for anything beyond the diagnostic. The estimate should list parts, labor, and any after-hours fees.
- “What warranties do you provide on parts and labor?” A reputable company stands behind its work—usually 1 year on labor, manufacturer’s on parts.
- “Is this a temporary fix or a long-term solution?” Some techs offer a “band-aid” repair to get you through the weekend. Clarify if you’ll need a follow-up visit.
- “Can you show me the failed component and explain why it failed?” A trustworthy pro will demonstrate the problem (e.g., a scorched contactor, corroded coil) and discuss the root cause.
- “What would a complete replacement cost in comparison?” Especially if your system is older, ask for an apples-to-apples replacement figure to compare against the repair estimate.
- “Do you offer financing or payment plans?” If a replacement is unavoidable, many contractors partner with lenders to spread the cost.
Find pre-screened contractors and compare their profiles on HVACDatabase.com.
Local Climate: How Your Environment Affects the Diagnosis
Technicians in different regions look for different wear patterns. Mentioning your local environment can speed up the diagnosis:
- Hot & Dry (e.g., Phoenix, AZ): Expect higher heat-exchanger and capacitor stress. Dust accumulation on condenser coils is frequent. Check out Phoenix AC contractors used to this climate.
- Humid & Coastal (e.g., Miami, FL): Salt spray corrodes condenser fins and electrical connections. Mold in ductwork and drain pans is common. See contractors familiar with humidity control during vacations.
- Cold & Snowy (e.g., Chicago, IL): Frozen condensate lines, cracked heat exchangers from thermal stress, and ice-damaged outdoor units. Chicago heating specialists often inspect these first.
- Older Homes (nationwide): Inadequate return air, aging ductwork, and older electrical panels may complicate simple repairs. Mention the home’s age upfront.
If you’re facing an extreme outage, see our emergency guides: cooling emergencies or heating emergencies.
Methodology: How We Formulate These Recommendations
This advice is built on industry standards, homeowner-reported data from HVACDatabase.com, and interviews with licensed HVAC contractors. Cost estimates are editorial ranges based on national averages and adjust for regional factors disclosed in our Cost Guide. When we say a repair “usually” makes sense, we’ve analyzed thousands of anonymized project records where homeowners chose repair vs. replacement and reported satisfaction 12 months later. We do not base thresholds on a single source or manufacturer’s marketing. All checklists and thresholds are reviewed by certified HVAC professionals and updated annually.
Frequently Asked Questions
1. Should I turn off my HVAC system before the technician arrives?
If the system is making unusual noises, leaking, or blowing warm air when set to cool, turn it off at the thermostat and the breaker to prevent further damage. Otherwise, leaving it on can help the tech observe the problem, but always follow the dispatcher’s advice.
2. What if I can’t be home during the service call?
Arrange for a trusted adult to be present. The technician cannot enter without permission. Ensure the person knows where the equipment is, has a phone, and understands the scope of approved work. Provide a signed note with a spending limit if needed.
3. How much does an emergency HVAC visit cost?
Typical emergency diagnostic fees range from $100 to $300, often applied toward the repair if you proceed. Use our Emergency Cost Tool for a localized estimate. After-hours, weekends, and holidays command the highest premiums.
4. Can I just watch YouTube and fix it myself?
You can safely change a filter, check breakers, and clear debris. Anything involving refrigerant, gas, high‑voltage electricity, or sealed components requires EPA certification or state licensing. DIY repairs in these areas are illegal in many jurisdictions and extremely dangerous. Use HVACDatabase.com to find a licensed pro.
5. How do I know if I’m being overcharged?
Submit the technician’s itemized estimate to our Quote Checker for an immediate fairness score. You can also compare prices in our Cost Guide. Always get a second opinion for any repair over $1,000.
Related articles
Connect this page to adjacent guides so readers keep moving deeper into the topic cluster.

Understanding C Wire Adapters for Smart Thermostats
Missing the C wire for your smart thermostat? C wire adapters solve power issues without pulling new wiring. Compare types, costs, and installation options.

Tips for Choosing a Smart Thermostat for a Heat Pump
Learn which smart thermostat features prevent expensive auxiliary heat mistakes, how to verify compatibility, and when to call a pro.
Tips for Heating a Home With Radiant Barriers
Radiant barriers can reduce winter heat loss through ceilings, but they are not a replacement for insulation. Learn when they help and what else you need for a warm, efficient home.