How to Choose HVAC for a Tiny Home
Find the right HVAC for your tiny home: see top system types, sizing rules, and practical decision tools. Learn when to use a mini-split vs. PTAC, and what questions to ask a contractor.
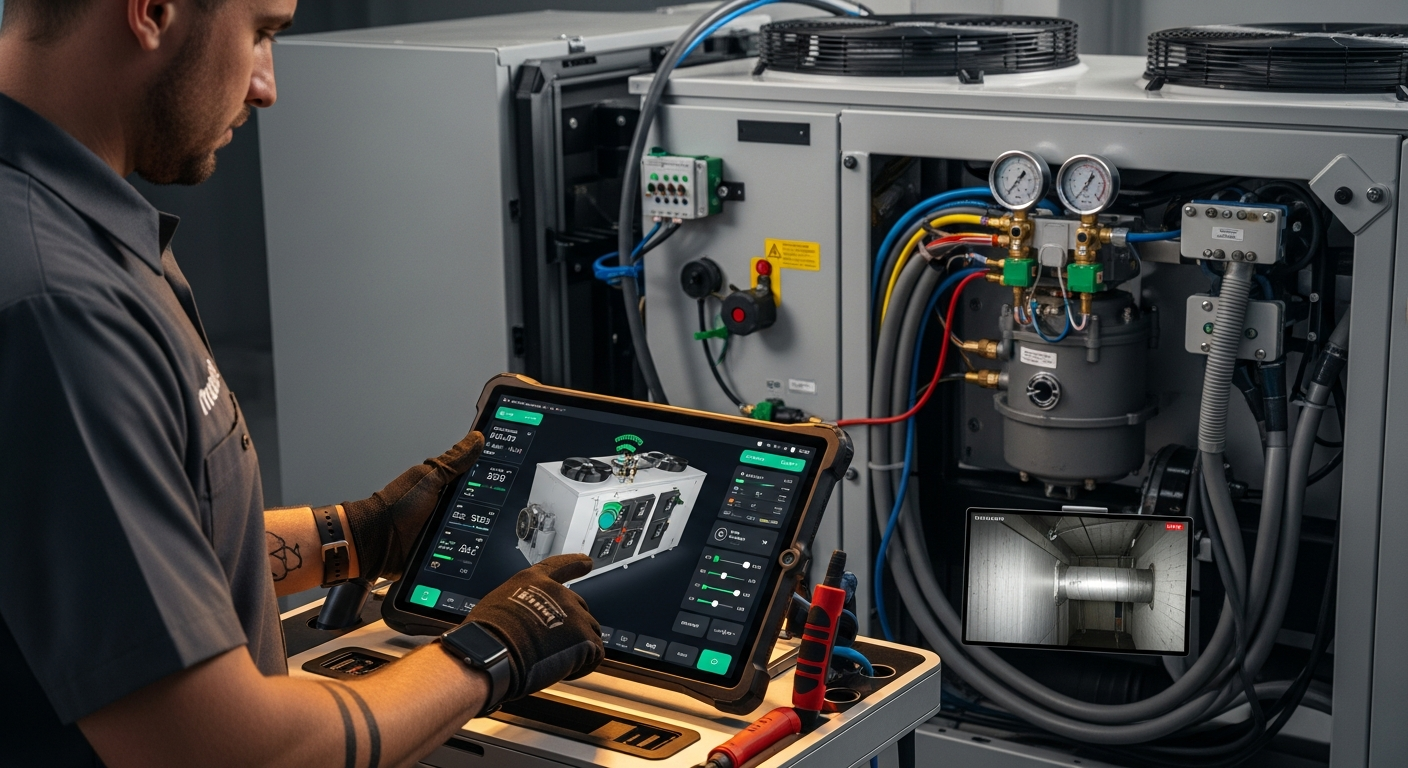
The best system for most tiny homes is a ductless mini-split heat pump, unless space or budget absolutely prevent it.
Mini-splits offer the highest efficiency, quiet operation, and precise zoning for small spaces. Choose a PTAC only if you need a through-wall replacement, and avoid window or portable units unless you have no other option.
What Matters Most
- A right-sized system prevents mold and high bills: never guess—use a load calculation.
- Energy Recovery Ventilators (ERVs) are essential in airtight tiny homes to control humidity and CO2.
- Always hire a pro for wall penetrations, electrical connections, and refrigerant handling.
Strengths
- Unmatched energy efficiency with inverter-driven compressors
- Zoned comfort for loft and living areas
- Ultra-quiet indoor operation improves tiny-space livability
Weaknesses
- Higher upfront cost than portable units
- Requires outdoor space for the compressor
- DIY installation risks refrigerant leaks and voided warranties
Which HVAC Type Fits Your Tiny Home?
| Scenario | Usually do | Why |
|---|---|---|
| You have a permanent tiny home on a foundation, under 600 sq ft, with good insulation. | Install a 9,000–12,000 BTU ductless mini-split heat pump. | High efficiency, heating and cooling, quiet, and zoned. Ideal for year-round comfort. |
| You’re on a tight budget and the home is mobile (< 200 sq ft). | Consider a window or dual-hose portable AC with electric resistance heat. | Low upfront cost, but expect noise, higher energy bills, and humidity struggles. Use only temporarily. |
| You need a through-wall solution and can sacrifice some insulation integrity. | Choose a PTAC unit (check rebates with the Rebate Finder). | Durable hotel-style heating/cooling, easy to replace, but loud and less efficient. |
| You live in a humid climate and want to prevent mold. | Mini-split with dry mode + standalone ERV for ventilation. | Controls moisture without overcooling. ERV exchanges stale air while preserving energy. |
Tiny homes—whether on wheels or a foundation—demand HVAC systems that respect every inch and watt. With high-performance insulation and large windows, these compact spaces can overheat quickly in summer or lose warmth fast in winter. Choosing the wrong equipment leads to mold, wasted energy, and uncomfortable temperature swings. This guide replaces guesswork with clear rules: which system fits, how to size it precisely, and what you can safely check yourself. You’ll also find direct links to load calculators, cost tools, and a contractor vetting checklist to avoid expensive mistakes.
Quick Answer: Your Best HVAC Options for Tiny Homes
For most tiny homes under 600 sq ft, a ductless mini-split heat pump (9,000–12,000 BTU) is the top pick—it’s efficient, quiet, and handles both heating and cooling. If you need a through-wall unit and can accept more noise, a PTAC may work. Window and portable units are last-resort options due to noise and inefficiency. Always pair your system with an Energy Recovery Ventilator (ERV) if your home is tightly sealed.
Comparing System Types
Below is a breakdown of the three main HVAC categories for tiny homes, with editorial cost ranges to aid budgeting. Actual prices vary by brand, region, and installation complexity (try our cost estimator for a personalized range).
| System Type | Best For | Pros | Cons | Installed Cost Range* |
|---|---|---|---|---|
| Ductless Mini-Split | Permanent tiny homes on foundation; well-insulated spaces under 600 sq ft | High SEER efficiency, quiet operation, heating & cooling, zoned comfort | Requires outdoor space for compressor; higher upfront cost | $3,000–$6,000 (single zone) |
| PTAC (Packaged Terminal AC) | Through-wall applications; replacements in older builds | Durable, easy to replace, heat and cool in one unit | Large wall cutout required; less efficient and louder than mini-splits | $1,500–$3,000 |
| Window or Portable AC | Budget, mobile tiny homes under 200 sq ft (temporary use) | Low purchase cost, no professional install needed | Noisy, takes up window/floor space, struggles with humidity, high energy bills | Window: $150–$600; Portable: $300–$800 |
*Editorial estimate ranges based on national averages; your price may differ. Always get multiple quotes and check local rebates.
Ductless Mini-Split Systems
Mini-splits are the gold standard for tiny house living. The outdoor compressor connects to a slim indoor air handler via a small conduit—no bulky ducts. Inverter-driven compressors adjust speed to match load, saving energy and maintaining ultra-stable temperatures. For a deep dive into how HVAC principles apply here, see our guide on HVAC fundamentals.
Packaged Terminal Air Conditioners (PTAC)
PTACs are often used in hotel rooms. They protrude through an exterior wall and contain all components in one chassis. While they’re a familiar sight in modular construction, the large wall sleeve can compromise insulation and air sealing if not professionally installed. Consider them only if you already have the sleeve or are replacing a failed unit in an older tiny home.
Portable and Window Units
These are strictly for temporary, low-budget situations. They struggle to dehumidify effectively and can spike your electric bill. In a tiny home, the noise and physical obstruction quickly become intrusive. Use only when permanently installed systems aren’t feasible.
How to Size an HVAC Unit for a Tiny Home
An oversized unit short-cycles, failing to remove humidity, while an undersized one runs nonstop and can’t keep up on extreme days. The only reliable method is a Manual J load calculation, but you can get a rough starting point with our BTU calculator.
- Under 200 sq ft, well-insulated: 6,000–9,000 BTU cooling
- 200–400 sq ft, average insulation: 9,000–12,000 BTU
- 400–600 sq ft, or with large glass/loft: 12,000–18,000 BTU
Always add heat capability; a mini-split heat pump handles both functions efficiently. For step-by-step load calculation guidance, read our detailed article on load calculations.
Decision Rules for Climate and Location
Your local weather determines critical equipment features. Use these thresholds to narrow choices.
Hot, humid climates (e.g., Southeast, Gulf Coast)
Choose a mini-split with a dedicated “dry” mode and a SEER2 of at least 18. Pair with an ERV to lower indoor humidity without overcooling. Avoid single-hose portable units—they create negative pressure and pull in humid outdoor air. See Phoenix, AZ contractors familiar with desert cooling.
Cold climates (below 10°F regularly)
Insist on a heat pump rated for “hyper-heat” or “extended capacity” (HSPF2 of 9+). Below -13°F, a backup electric resistance heater or small propane furnace may be needed. Chicago, IL heating specialists often design for such extremes.
Coastal / salt-spray areas
Outdoor units require corrosion-resistant coatings (e.g., Gold Fin, Blue Fin). Wall penetrations must be sealed meticulously to prevent salt-laden air from corroding interior components. Look for contractors experienced with coastal applications.
Older tiny homes or retrofits
Check existing insulation and air leakage before sizing. An ERV becomes essential after air-sealing to prevent stale air buildup. Use our repair-or-replace calculator if you’re upgrading an existing unit.
Safety Boundaries: What Homeowners Can and Cannot Do
Protect your warranty and your safety. Here’s what you can safely check and what must be left to a licensed pro.
Safe Homeowner Tasks
- Change or clean air filters monthly (filter replacement guide).
- Gently clean indoor unit front cover and ensure nothing blocks airflow.
- Keep outdoor unit clear of leaves, dirt, and snow at least 2 feet around.
- Listen for unusual rattling, grinding, or hissing—report these to a technician.
- Set thermostat modes according to season and verify the unit responds.
- Monitor for ice on refrigerant lines (pro should check).
Pro-Only Work (Never DIY)
- Adding, checking, or removing refrigerant (requires EPA certification).
- Cutting, brazing, or repairing refrigerant lines.
- Working inside the electrical panel, replacing capacitors, contactors, or control boards.
- Installing or replacing the compressor.
- Adjusting or installing gas/propane heating components (combustion safety).
- Drilling large wall penetrations for PTAC sleeves or conduit—poor sealing leads to air/water leaks.
- Any high-voltage wiring or breaker work.
If you suspect a refrigerant leak, electrical fault, or compressor failure, call a qualified technician immediately via Emergency HVAC finder. Trying to fix these yourself can cause injury, property damage, and void warranties.
Tools to Estimate Load and Cost
- HVAC BTU Calculator: Enter square footage, insulation level, and window details for an initial cooling load estimate.
- HVAC Cost Estimator: Get a personalized installation price range for your zip code.
- Repair or Replace Calculator: Decide whether to fix your existing unit or invest in a new system.
- Rebate Finder: Discover local utility rebates that can slash the upfront cost of high-efficiency equipment.
Finding and Vetting a Contractor
Tiny home HVAC requires specialized knowledge. Use this checklist when interviewing pros, and always compare multiple contractors on HVACDatabase.
- “Have you installed HVAC in a tiny home (on wheels or foundation) before? Can I see photos or references?”
- “Will you perform a Manual J load calculation specific to my insulation, windows, and orientation?”
- “Are you licensed, insured, and bonded in this state?”
- “Do you have experience with ERV/HRV ventilation systems and sealing wall penetrations?”
- “What is the warranty on labor and did you register the equipment warranty?”
- “Will you pull a permit if required by local code?”
- “How do you handle the outdoor unit mounting on a trailer—vibration isolation, secure brackets?”
- Red flags: no Manual J, pressure to sign immediately, refusal to provide a written estimate, or no mention of proper clearance/re-sealing.
Once installed, set up a simple maintenance schedule (see our template) and consider monitoring your system’s performance via phone (smart monitoring guide) to catch issues early.
FAQs
What size mini-split do I need for a 200-square-foot tiny home?
For a well-insulated, air-sealed 200 sq ft space, a 9,000 BTU ductless mini-split heat pump is typical. If you have high ceilings or a loft, consider 12,000 BTU. Always perform a Manual J load calculation to confirm; our BTU calculator can provide a starting estimate.
Can I install a mini-split myself to save money?
No. Mini-split installation involves refrigerant handling, electrical wiring, and precise vacuuming of the lines—all of which are pro-only tasks under EPA regulations. Improper DIY installs risk system damage, safety hazards, and voided warranties. Hire a certified HVAC technician through our contractor search.
How do I control humidity without an ERV?
A mini-split with a dedicated dry mode can help, but in a tightly sealed tiny home, you still need fresh air exchange to prevent CO2 and pollutant buildup. An Energy Recovery Ventilator (ERV) is the best solution because it brings in fresh air while removing excess moisture, without wasting energy. Portable dehumidifiers add heat and use floor space, so they’re second best.
Is a heat pump enough for winter heating in cold climates?
Modern cold-climate mini-splits can provide 100% of heating down to -13°F or lower, but if you regularly experience temperatures below that, consider a backup electric resistance coil or a small propane furnace. Check the unit’s HSPF2 rating and low-temperature performance specs before buying.
What’s the most energy-efficient HVAC option for a tiny home?
A ductless mini-split heat pump with a SEER2 of 22+ and an ENERGY STAR Most Efficient label. Pair it with an ERV to minimize loss from ventilation. Proper insulation, air sealing, and regular maintenance (filter cleaning) are just as important for real-world efficiency. Use our rebate finder to offset the higher initial cost.
How We Form Our Recommendations
This guide draws on industry standards (ACCA Manual J load calculation method, ASHRAE ventilation guidelines), manufacturer performance data, and feedback from HVACDatabase’s network of contractors and homeowner reviews. Cost ranges are editorial estimates synthesized from publicly available job-cost surveys and our cost estimator tool. They are not guaranteed quotes. Always get at least three written bids for your specific project. Equipment sizing follows Manual J principles; final sizing must account for local climate, insulation, glazing, and occupancy. Our safety boundaries align with EPA regulations and national electric/mechanical codes.
Methodology
HVACDatabase estimates combine common contractor price patterns, service-category pricing ranges, equipment complexity, urgency, regional labor variation, and known HVAC safety boundaries. Actual prices vary by city, brand, system size, access, warranty status, permit requirements, and whether the visit discovers ductwork, electrical, refrigerant, gas, or drainage issues. Use these numbers to sanity-check quotes, not as a guaranteed price.
Related articles
Connect this page to adjacent guides so readers keep moving deeper into the topic cluster.
How to Implement a Whole Home Energy Management System
Integrate smart tech and HVAC controls to cut energy waste. This guide shows how to audit, upgrade, and automate your home's energy use, with real savings estimates.

How to Set Up Thermostat Geofencing
Set up thermostat geofencing to automatically adjust home temperature as you come and go. Save energy, extend equipment life, and never return to an uncomfortable house. Get our quick-start guide now.
How to Troubleshoot Smart Thermostat WiFi Issues
Your smart thermostat offline? Most WiFi drops can be fixed with power checks, router adjustments, and simple restarts. Follow our step-by-step guide to regain remote control and energy savings.