Why You Should Test Your Home for Radon
Radon is invisible but dangerous. This guide shows you exactly when to test, what your numbers mean, how to use HVAC and ventilation to protect your home, and the real costs of mitigation—with no fluff.
Introduction
Radon is an odorless, invisible radioactive gas that causes over 20,000 lung cancer deaths yearly in the U.S.—more than drunk driving. It rises from the soil and gets trapped inside homes. The only way to know your risk is to test. This guide gives you clear action thresholds, shows how your HVAC influences radon levels, and helps you compare mitigation options and hire the right pro. Get the facts, not fear.
Quick Answer: What to Do About Radon
Test your home every 2 years with a short‑term kit (or better, a long‑term monitor). If levels come back above 4 pCi/L (the EPA action level), install a radon mitigation system—usually a sub‑slab depressurization fan and pipe. Costs range from $800–$2,500. Your HVAC can help by maintaining neutral pressure and introducing fresh air via an ERV/HRV, but it’s not a substitute for a dedicated mitigation system. Always hire a certified radon professional.
How Radon Gets In & Why It Matters
Radon forms naturally from uranium in soil, rock, and water. It moves through the ground and enters your home through cracks in the foundation, gaps around pipes, sump pits, crawl spaces, and even through concrete. Indoor air pressure is often lower than soil pressure, so your house acts like a vacuum, pulling radon inside. Long‑term exposure damages lung tissue and dramatically increases lung cancer risk—especially if you smoke. There are no immediate symptoms; the damage is cumulative and invisible.
Radon Testing Options at a Glance
- Short‑term DIY kit: 2–90 days. Quick snapshot. $15–$40.
- Long‑term DIY kit: 90+ days. Much better average. $25–$50.
- Professional continuous monitor: 48+ hours, calibrated electronic device. $100–$300.
Short‑term tests are fine for an initial screen, but if results are between 2–4 pCi/L, follow up with a long‑term test or hire a pro. Radon levels fluctuate with weather, seasons, and home use.
Your HVAC System: Friend or Foe in Radon Control
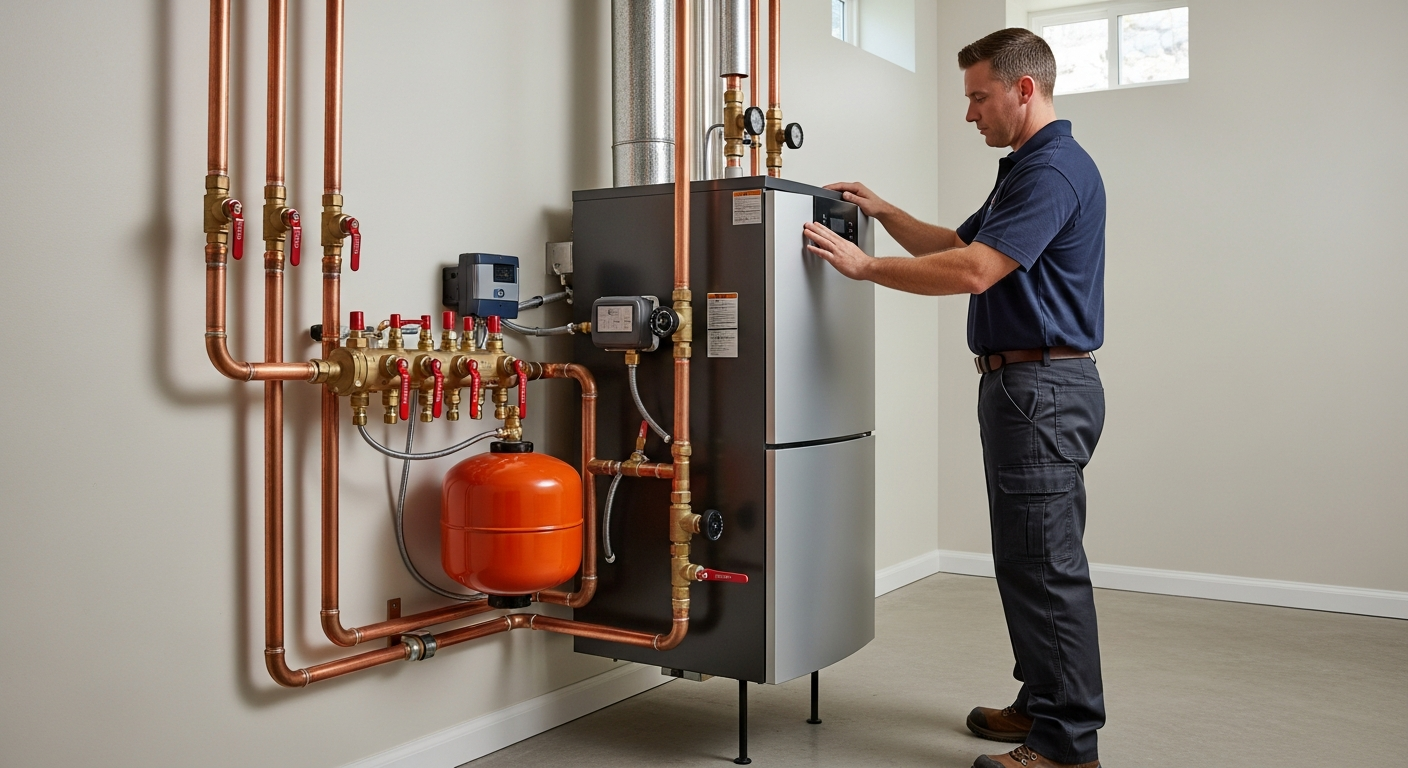
Your heating and cooling system profoundly impacts how radon moves. If your ductwork is leaky or unbalanced, it can create negative pressure zones that suck more soil gas indoors. A properly designed and sealed duct system helps maintain neutral pressure. Mechanical ventilation can dilute radon: an ERV or HRV system brings in fresh, filtered air without upsetting pressure balance. However, never rely on a bathroom fan or kitchen exhaust alone—they often worsen negative pressure. If you have a forced‑air system, running the fan continuously can sometimes help if the home has a dedicated outdoor air intake, but consult an HVAC professional first.
Radon Mitigation Options & Editorial Cost Ranges
| Method | Typical Cost Range | Notes |
|---|---|---|
| Sub‑slab depressurization system | $800–$2,500 | Most common; fan draws radon from beneath slab and vents outside. Active, fan‑powered. |
| Crawl space encapsulation + depressurization | $1,500–$15,000+ | Plastic barrier plus fan; price varies with crawlspace size and access difficulty. |
| Foundation crack sealing (as complement) | $500–$2,000 | Rarely sufficient alone; used with active systems. |
| ERV/HRV installation (ventilation approach) | $2,000–$4,000 | Dilutes radon by adding fresh air; helpful but not always a stand‑alone fix. |
Costs are editorial estimates based on 2025 U.S. residential data from HomeAdvisor, Angi, and manufacturer MSRP. Actual prices vary by home size, foundation type, accessibility, local codes, labor rates, and required electrical upgrades. Always obtain at least three quotes.
Decision Tree: When to Act on Radon
- Below 2 pCi/L: Low risk. No immediate action. Retest every 2 years or after major renovations. Consider a system age decoder to check if HVAC upgrades would improve air distribution.
- 2–4 pCi/L: Moderate risk. The EPA recommends considering mitigation. At a minimum, improve basic ventilation, seal visible foundation cracks, and perform a long‑term test. If smokers or children live in the home, mitigation is strongly advised.
- Above 4 pCi/L: EPA action level. Install a radon mitigation system within a few months. Integrate HVAC balancing strategies to maintain neutral pressure. Retest after installation to verify levels drop below 4 pCi/L and preferably below 2.
Safety Boundaries: What You Can Do vs. Leave to a Pro
Safe Homeowner Checks & Tasks
- Purchase and deploy EPA‑approved test kits following instructions.
- Visually inspect your foundation, floor‑wall joints, and sump lids for gaps.
- Seal hairline cracks with polyurethane caulk (not structural repairs).
- Replace HVAC filters regularly and ensure vent fans exhaust to the outside.
- Keep your basement or crawl space access doors closed to reduce stack effect.
Pro‑Only Work (Do Not Attempt Yourself)
- Installing any active radon mitigation system (fan, piping, electrical).
- Modifying your home’s pressure envelope, including large‑scale sealing or encapsulation.
- Designing or modifying ductwork to alter air pressure.
- Installing or adjusting ERV/HRV systems or whole‑house ventilation.
- Any work that involves combustion appliances (backdrafting risk).
- Electrical wiring, capacitor/contactor replacement, or refrigerant handling.
Tools to Plan Your Radon & HVAC Strategy
Make data‑driven decisions with these free HVACDatabase calculators and tools:
- HVAC Cost Estimator — budget for ventilation upgrades or system replacement that may help pressure balance.
- Quote Checker — compare mitigation and HVAC bid fairness.
- System Age Decoder — see if your ductwork or HVAC unit is due for an upgrade.
- Repair or Replace Calculator — weigh if it’s time for a new system that can better manage indoor air quality.
Contractor Vetting Checklist
Before you approve radon or HVAC work, ask these questions:
- Are you certified by NRPP or NRSB for radon mitigation? (Verify online.)
- Will you perform pressure‑field diagnostics and fan‑sizing calculations?
- Do you guarantee radon levels below 4 pCi/L? (Many will include a post‑mitigation test.)
- How will the system be routed — interior or exterior? Will it match the home’s look?
- Will the fan’s location prevent backdrafting of my furnace, water heater, or fireplace?
- Can you assess my HVAC system’s impact on radon and suggest ventilation improvements?
- What warranty covers the fan and installation workmanship?
- Will sealing cracks reduce the size of the fan needed, and do you include that in your quote?
Use our contractor comparison tool to weigh bids alongside local customer reviews.
Local Climate & Home Type Considerations
- Cold climates (e.g., Midwest, Northeast): Stack effect is strongest in winter, driving radon up from basements. An HRV is often preferred over ERV to retain heat while diluting radon.
- Hot, humid climates (e.g., South, Southeast): Air conditioners can create negative pressure zones. Ensure your return ducts are properly balanced. Test in summer when the system runs most.
- Coastal & sandy soil: Radon is often lower but not absent; still test. High water tables may make sub‑slab depressurization less effective, so a pro must assess.
- Older homes: More foundation cracks. Encapsulation and sealing are critical as part of a comprehensive plan.
Find radon‑certified contractors familiar with your local soil and building codes through our contractor search.
Methodology: How We Estimate Costs & Recommendations
All cost ranges are editorial estimates based on 2025 U.S. residential market averages from HomeAdvisor, Angi, manufacturer MSRP, and trade publications. Actual costs vary by region, home size, foundation complexity, accessibility, seasonal demand, permitting fees, and local labor rates. We recommend always getting at least three written, itemized quotes before any work. Our decision thresholds follow EPA’s A Citizen’s Guide to Radon and ANSI/AARST standards. Safety boundaries align with EPA guidelines and HVAC industry codes—homeowners should never tamper with sealed components, electrical connections, or pressure envelopes without professional training.
FAQs
- Is radon only a problem in basements? No. Stack effect can pull radon to upper floors, especially in homes with leaky ductwork. Always test the lowest lived‑in level; if that floor shows elevated radon, test the upper floors too.
- How long does a radon test take? Short‑term kits: 2–90 days. Long‑term: 90+ days. Professional continuous monitors often run 48–96 hours for a reliable report.
- Will running my HVAC fan reduce radon? Possibly not—and it can make things worse. Without a fresh‑air intake, the fan can create negative pressure that draws more radon from the soil. A balanced ventilation strategy (ERV/HRV) is safer.
- Can I seal cracks myself and skip a fan? Sealing alone rarely solves a radon problem, but it can reduce the fan size needed. It’s a good supplementary step, not a replacement for an active mitigation system.
- How much does a radon mitigation system cost? Expect $800–$2,500 for a typical sub‑slab depressurization system. Complex homes or crawl‑space setups can run higher. Ask for a quote check to ensure fairness.
Related articles
Explore related maintenance, equipment, and hiring questions.
Nest Learning Thermostat (4th gen) vs ecobee Premium
Both models offer remote room sensors. Compare the exact generation, wiring compatibility, controls, and installed quote before choosing.
MERV 11 vs MERV 13: check filtration and equipment compatibility
Compare particle filtration, verify the filter your equipment supports, and use a buying checklist without assuming a universal health or energy saving.
How to check an HVAC contractor before hiring
Use a documented shortlist: business identity, applicable credentials, job experience, a written scope, and a clear handover.