Why Your Upstairs Is Hotter Than Downstairs
Tired of an upstairs that’s 10°F hotter? Discover why heat rises and how to fix it. This decision tool covers attic insulation, duct leaks, vent balancing, and zoning—with safety checks and cost estimates.

Quick Answer
If your upstairs feels like a sauna while the main floor is comfortable, you’re not alone. The most common reasons: 1) heat naturally rises and accumulates; 2) insufficient attic insulation; and 3) leaky or poorly designed ductwork. Quick low-cost fixes: partially close downstairs vents (never fully), draw blinds on sunny windows, and run ceiling fans in forward mode (summer). For lasting relief, you’ll likely need to upgrade attic insulation, seal ducts, or add zoning. Use our decision tree below to pick the right next step.
Why Your Upstairs Stays Warmer
Warm air is less dense than cool air, so it moves upward through stairwells and open spaces. In summer, a hot roof radiates heat through the attic floor into upstairs rooms. If your thermostat sits on the cooler first floor, the system shuts off before the upstairs reaches the set temperature. Stack effect in multi-story homes also pushes warm air upward even in winter, making both heating and cooling uneven. Solar gain through windows and poor attic ventilation worsen the problem.
Symptom Checker: What’s Causing the Imbalance?
Use this table to match what you observe with likely causes and safe next steps.
| Symptom | Likely Cause | Safe DIY Check | Professional Next Step |
|---|---|---|---|
| Upstairs 8°F+ warmer than thermostat floor | Heat rising with poor air circulation | Log upstairs and downstairs temps; note thermostat location | Professional load calculation and duct design review |
| Some rooms hot, others okay | Duct leaks or crushed/kinked flexible ducts | Feel for weak airflow at vents; check accessible ducts for disconnections | Blower door and duct leakage test; seal and balance system |
| Attic ceiling hot to touch upstairs | Inadequate attic insulation (R-value too low) | Look in attic: if joist tops are visible, insulation is too shallow; measure depth | Blow-in insulation to reach local code R-value (R-30 to R-60) |
| Sun-facing rooms overheat by afternoon | Solar heat gain through windows | Install blackout curtains or low-e film; check window seals | Exterior solar screens or low-e windows (long-term) |
| Airflow weak from upstairs vents | Duct design issues, dirty filter, or closed dampers | Change filter (how-to guide); open all vents fully; check for return blockage | Professional air balancing, static pressure test, and possibly duct modification |
| House feels “sticky” upstairs | AC oversized or poor dehumidification | Use a portable hygrometer; ensure bathroom fans vent outside | Right-size AC replacement or add whole-home dehumidifier |
Safety Boundaries: What You Can and Cannot Do
Safe DIY Tasks
- Adjust vents and dampers you can reach without entering ductwork.
- Change disposable air filters monthly (see our filter guide).
- Clean condenser coils with a garden hose after turning off power (cleaning walkthrough).
- Inspect attic insulation from a safe walkway; do not walk on joists unless properly supported.
- Seal small duct gaps with foil tape or mastic on accessible, low-voltage ducts.
- Use ceiling fans and window coverings to manage comfort.
Leave to a Licensed Professional
- Refrigerant handling, charging, or leak detection.
- Electrical repairs, including capacitors, contactors, or circuit boards.
- Any gas or combustion work.
- Installing zoning dampers, new thermostats requiring control wiring, or modifying ductwork.
- Diagnosing high static pressure or performing a Manual J load calculation.
- When in doubt, find a vetted contractor near you.
DIY Fixes That Often Work
1. Adjust Supply Vents
Partially close downstairs registers to force more air upstairs. Never close more than 60% of vents on any floor, and avoid closing returns. Make small changes over two days, noting comfort changes. This is a free fix that can reduce a 3–5°F gap.
2. Use Ceiling Fans and Blinds
Ceiling fans create a wind-chill effect; set to counterclockwise in summer. Blackout curtains or reflective blinds on south- and west-facing windows can drop room temperatures by 2–4°F. This costs little and works instantly.
3. Change Your Air Filter
A clogged filter reduces airflow, making the system work harder and delivering less cooling upstairs. Replace monthly in heavy-use months. Step-by-step filter replacement.
4. Check Attic Insulation
Enter your attic safely and measure the insulation depth. Fiberglass or cellulose should be at least 10–14 inches (R-30 to R-49) depending on your climate. If you see the tops of ceiling joists, you need more. Adding insulation is a high-return job often eligible for utility rebates.
5. Spot Duct Leaks
In a basement or open attic, look for gaps where round ducts meet the main trunk. Use foil tape (not duct tape) or brush-on mastic to seal. Do not climb into cramped or hazardous attic spaces. If you feel little improvement, a professional duct blaster test pinpoints hidden leaks in wall cavities.
Professional Solutions: What They Cost and When to Consider
Costs are editorial estimates and vary by region, home size, and scope.
Attic Insulation Upgrade
Blowing in cellulose or fiberglass to reach R-38 typically costs $1.50–$3.50 per square foot. For a 1,500-sq-ft attic, expect $2,250–$5,250. This can reduce upstairs temperatures by 3–8°F and pay for itself in energy savings within 3–5 years.
Duct Sealing
Manual sealing of accessible ducts runs $400–$1,200. Aeroseal (injected particle sealing) costs $1,500–$3,500 and reaches hidden leaks. Both improve airflow and efficiency.
Zoning System
Adding motorized dampers, a zone control panel, and extra thermostats costs $2,500–$5,500 depending on number of zones. This lets you set different temperatures for each floor. Use our cost estimator for a detailed local price.
Mini-Split for Hot Rooms
Ductless mini-splits range from $3,500–$8,000 per zone installed. They provide independent cooling and heating without new ductwork. Ideal for bonus rooms or large master suites.
Full System Replacement
If your AC is over 12 years old and struggling, a new variable-speed system with proper sizing costs $8,000–$16,000+. This often solves airflow and capacity problems. See our repair-or-replace calculator to decide.
Decision Tree: Which Fix Should You Try First?
- Measure the gap: On a hot day (90°F+), run your AC and record temperatures upstairs and downstairs with a digital thermometer. If the difference is less than 5°F, skip to step 5.
- Check attic insulation: If you can see joist tops or have less than 10 inches, add insulation first. This is your best value (cost: $2,250–$5,250).
- Inspect ducts: Feel for weak airflow at upstairs registers. Look for visible gaps in accessible ductwork. Seal minor leaks with mastic/tape. For whole-system duct leakage, hire a test (cost: $400–$3,500).
- Thermostat location: If your only thermostat is downstairs, upgrade to a zoning system or add a mini-split. This resolves the root control problem.
- System age and capacity: If your AC is over 10 years old or struggles to keep any room cool, consider a replacement with a higher SEER rating and variable-speed blower for better air distribution.
For personalized guidance, try our BTU calculator or upload quotes for expert review.
Cost Comparison Table
| Fix | Editorial Cost Range | Best For | DIY Possible? |
|---|---|---|---|
| Attic insulation upgrade | $1,500–$5,000 | Homes with insufficient attic insulation (R-value <30) | No (requires professional equipment) |
| Manual duct sealing | $400–$1,200 | Accessible
Contractor ChecklistBefore approving HVAC work, ask for a written scope rather than a one-line price.
Local ContextHVAC advice changes by market. In hot cities such as Phoenix or Las Vegas, cooling failures become urgent faster and summer schedules fill quickly. In humid markets such as Houston, Tampa, or Miami, drainage, mold risk, and humidity control matter as much as temperature. In cold markets such as Chicago or Minneapolis, no-heat calls can become safety issues during severe weather. Coastal homes may see faster outdoor-unit corrosion, while older homes often need duct, electrical, venting, or access corrections before equipment performs as advertised. FAQCan I handle Why Your Upstairs Is Hotter Than Downstairs myself?You can handle basic checks such as thermostat settings, filter replacement, blocked vents, visible debris, and obvious water or ice. Anything involving refrigerant, gas, combustion, high-voltage electrical components, compressors, or sealed system work should be left to a qualified technician. When should I call an HVAC contractor?Call a contractor if the problem repeats, the system trips a breaker more than once, cooling or heating is weak after basic checks, you see ice or water where it does not belong, or the repair requires opening equipment panels. How do I know if a quote is fair?Compare the written scope, not just the price. A fair quote should explain the diagnosis, parts, labor, warranty, exclusions, and whether follow-up work may be needed. Should I repair or replace the system?Repair usually makes sense for newer equipment with minor failures. Replacement becomes worth comparing when the system is older, the repair is major, comfort is poor, or the repair approaches 40-50% of replacement cost. What is the safest next step?Do the safe homeowner checks first, document symptoms, then use HVACDatabase tools or contractor comparison pages if the issue points to mechanical, electrical, refrigerant, gas, or combustion work. Keep reading Related articlesExplore related maintenance, equipment, and hiring questions. 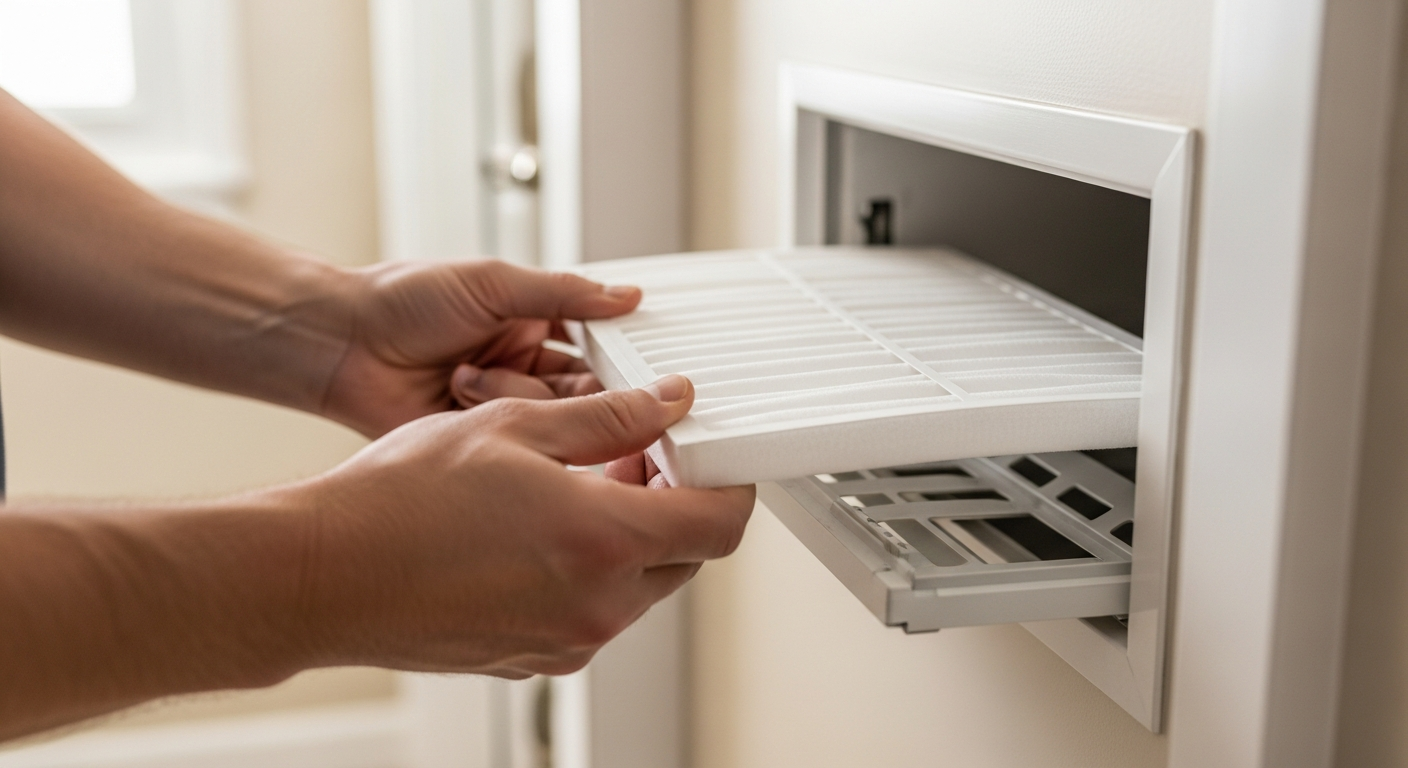 COMPARISON Nest Learning Thermostat (4th gen) vs ecobee PremiumBoth models offer remote room sensors. Compare the exact generation, wiring compatibility, controls, and installed quote before choosing. 2 min read  COMPARISON MERV 11 vs MERV 13: check filtration and equipment compatibilityCompare particle filtration, verify the filter your equipment supports, and use a buying checklist without assuming a universal health or energy saving. 2 min read  HOW_TO How to check an HVAC contractor before hiringUse a documented shortlist: business identity, applicable credentials, job experience, a written scope, and a clear handover. 2 min read |