How to Change a UV Bulb in Your HVAC System
Is your HVAC UV light flickering or past its prime? Follow our step-by-step guide to safely replace your bulb and maintain peak indoor air quality.

Maintain Your Air Quality: Changing Your HVAC UV Bulb
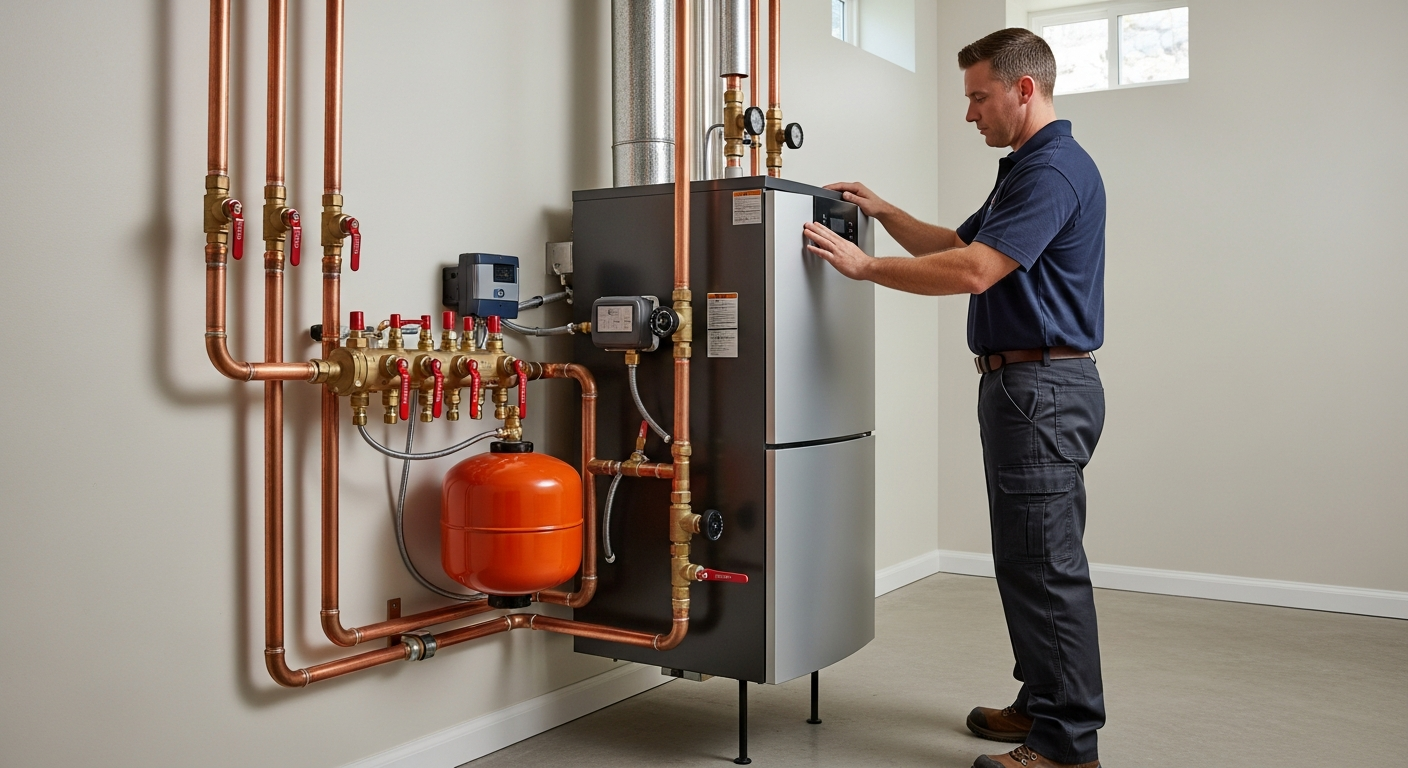
Ultraviolet (UV) lights are secret weapons in the fight against mold, bacteria, and allergens. These systems sit inside your ductwork or near the evaporator coil, neutralizing organic growth before it circulates through your home.
However, UV bulbs don't last forever. Even if the light is still glowing, the germicidal effectiveness of the bulb drops significantly after about 9,000 to 12,000 hours of use. Replacing it regularly ensures your family breathes the cleanest air possible.
Preparation and Safety First
Before you begin any maintenance on your heating and cooling system, safety must be your top priority. UV radiation is harmful to your eyes and skin, so never look directly at a lit bulb.
Start by turning off the power to your entire HVAC system at the breaker or the local disconnect switch. You should also learn how to safely handle hvac electrical components to avoid any accidental shocks during the process.
Gather Your Tools and Materials
- Replacement UV bulb (check your manual for the exact model number)
- Clean cotton gloves or a soft cloth
- Screwdriver (usually Phillips or Nut driver)
- Safety glasses
Avoid touching the new glass bulb with your bare hands. The oils from your skin can create hot spots on the glass, leading to premature bulb failure.
Step-by-Step UV Bulb Replacement
1. Power Down and Access the Unit
Verify the unit is completely off. Locate the UV light assembly, which is typically mounted on the side of the air handler or ductwork. Use your screwdriver to remove the mounting screws holding the UV housing in place.
2. Remove the Old Bulb
Carefully pull the housing away from the duct. You will see the bulb attached to a socket or base. Gently pull the old bulb out of the socket. It is a good idea to tips for taking photos before diy hvac work so you can remember exactly how the wiring and pins were oriented.
3. Inspect the Housing
While the bulb is out, take a moment to wipe down the reflective housing with a dry cloth. Dust buildup can reduce the effectiveness of the UV rays. This is a great time to perform other maintenance, such as learning how to change your hvac filter yourself to keep the entire system clean.
4. Install the New Bulb
Put on your clean gloves. Take the new UV bulb out of its packaging and align the pins with the socket. Push it in firmly but gently until it clicks or seats fully into place. Slide the assembly back into the duct opening and secure the screws.
When to Call a Professional
While bulb replacement is a straightforward task, some UV systems are hardwired or located in difficult-to-reach areas within the plenum. If you are uncomfortable working with electrical wiring, it is best to consult an expert. You can find trusted HVAC contractors on HVACDatabase.com who specialize in air quality systems.
Attempting complex repairs without the right knowledge can lead to diy hvac mistakes that cost homeowners money in the long run. If the light doesn't turn on after a bulb swap, there may be a ballast issue that requires professional diagnostic tools.
Optimizing Your System Beyond the Bulb
Changing your UV light is just one part of a comprehensive home maintenance plan. Homeowners often look for ways to improve their environment, such as learning how to soundproof your hvac system for a quieter living space. Maintaining your system also boosts your home's value.
If you are planning to sell, you might want to how to calculate hvac roi on upgrades to see how much value a new UV system or high-efficiency unit adds to your property. For landlords, knowing how to choose hvac for a multi-family home can ensure tenant satisfaction and lower maintenance costs.
Summary and Final Checklist
To keep your UV system running perfectly, remember these three rules: change the bulb every 12 months, never touch the glass with bare skin, and always keep the power off during service. By following these steps, you ensure that your HVAC system remains a powerful tool for your family's health.
If you encounter any issues during this process, don't hesitate to visit HVACDatabase.com to find a local professional who can help you get your indoor air quality back on track.
Related articles
Connect this page to adjacent guides so readers keep moving deeper into the topic cluster.

How to Inspect Your HVAC Blower Wheel
A dirty blower wheel can sabotage your HVAC efficiency. Follow this guide to inspect your blower wheel and decide when it is time to call a pro.
How to Use a Manometer for HVAC Duct Testing
Discover how to measure static pressure and improve your home's airflow by using a digital manometer for HVAC duct testing.
How to Use a Multimeter for HVAC Troubleshooting
Master your HVAC system by learning how to use a multimeter to test voltage, continuity, and components for faster home repairs and diagnostics.