How to Install a Makeup Air Unit
Discover how to install a makeup air unit to balance home pressure, improve air quality, and ensure your high-CFM exhaust fans operate safely.

Why Your Home Needs a Makeup Air Unit
Modern homes are built with tight envelopes to maximize energy efficiency. While this keeps utility bills low, it can lead to negative air pressure when high-powered exhaust fans are running.
A makeup air unit (MAU) solves this by replacing the air that is pulled out of your home. Without one, your house may experience 'backdrafting,' where carbon monoxide and other combustion gases are pulled back down your water heater or fireplace chimney.
Signs of Negative Air Pressure
If you notice doors slamming shut on their own, whistling around window frames, or lingering cooking odors, your home likely needs more fresh air. Installing a makeup air unit ensures your HVAC system doesn't struggle to pull air through cracks in the foundation.
Preparation and Required Tools
Before beginning the installation, you must calculate the required airflow. Most building codes require makeup air if your range hood exceeds 400 CFM. You can find trusted HVAC contractors on HVACDatabase.com to help with these calculations if you are unsure.
You will need the following tools and materials:
- Makeup air damper (motorized or barometric)
- Insulated flexible or rigid ductwork
- Exterior wall vent cap with bird screen
- Drill and hole saw attachment
- HVAC foil tape and mastic sealant
- Low-voltage wiring (for motorized units)
Step 1: Selecting the Installation Site
Choose a location for the intake vent that is at least 10 feet away from any exhaust outlets, such as dryer vents or furnace flues. You want to pull in clean, fresh air, not recycled exhaust.
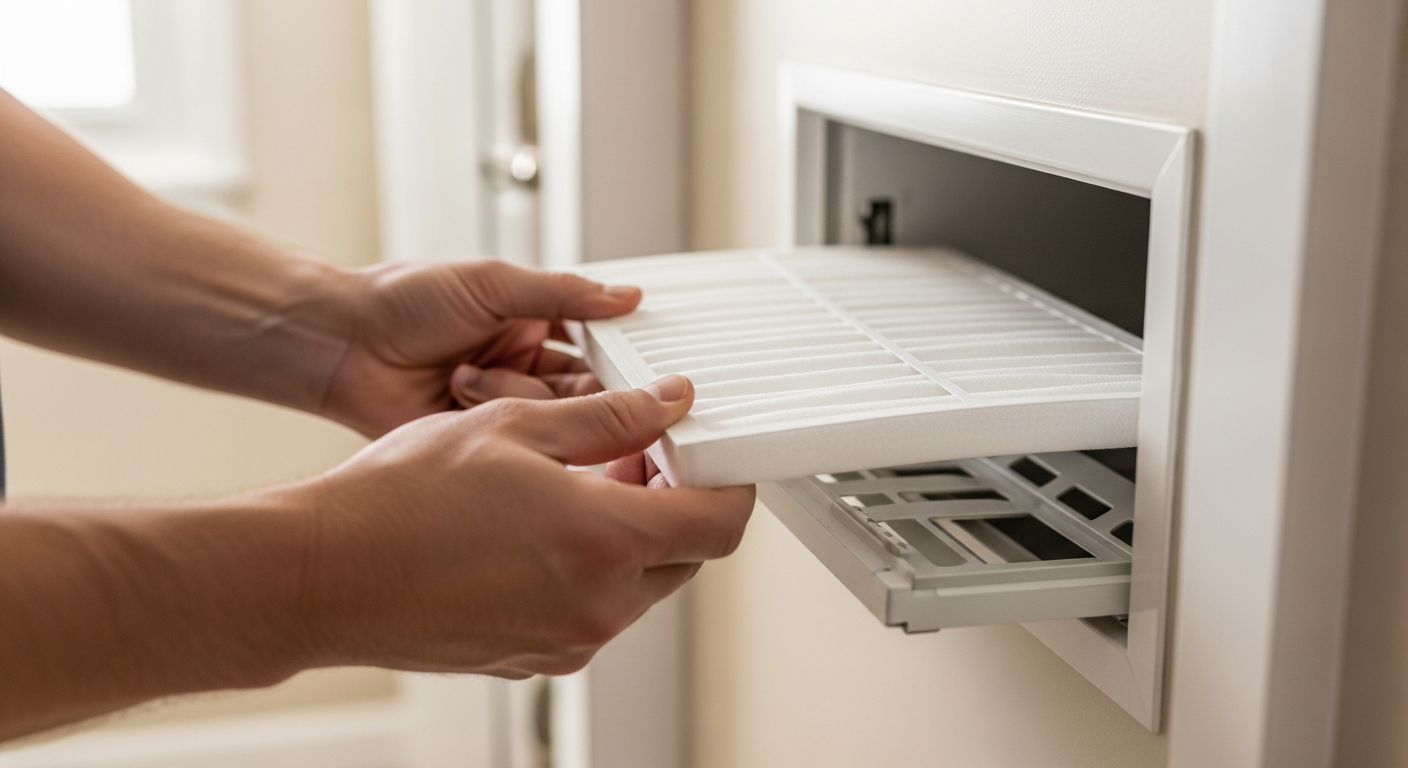
The interior side of the unit is typically connected to the return air plenum of your existing furnace. This allows the incoming fresh air to be filtered and tempered before it circulates through the house. Proper filtration is key, similar to how often you should change your HVAC filter to maintain system health.
Step 2: Cutting the Exterior Opening
Once you have marked your spot, use a hole saw or reciprocating saw to cut an opening through the exterior wall. Ensure there are no electrical wires or plumbing pipes in the way before you cut.
Install the exterior vent cap and secure it with screws. Apply a thick bead of high-quality exterior caulk around the edges to prevent moisture from leaking into your wall cavity.
Step 3: Installing the Ductwork
Run the ductwork from the exterior vent to the makeup air unit. If you are using flexible duct, ensure it is pulled taut to minimize airflow resistance. Using insulated ducting is critical to prevent condensation from forming on the outside of the pipe during winter months.
If you are looking to optimize your home's airflow further, you might also consider the cost to install register booster fans for specific rooms that stay too hot or cold.
Step 4: Mounting the Damper and Controls
The makeup air unit usually features a motorized damper that opens only when the exhaust fan is turned on. Mount the damper housing in-line with your ductwork using foil tape and zip ties.
For homeowners who have learned how to set up HVAC for a home office, adding a makeup air unit can significantly improve cognitive function by reducing CO2 buildup in tight spaces.
Wiring the Unit
If you are using a motorized damper, you will need to wire it to a pressure switch or a relay connected to your range hood. When the range hood activates, it sends a signal to the damper to open. If you are uncomfortable with electrical work, this is a great time to consult a professional via HVACDatabase.com.
Step 5: Connecting to the Return Air Plenum
Cut a hole in your furnace's return air plenum and attach the final section of the makeup air duct. Use a starting collar to ensure a tight fit. Seal all joints with mastic or foil tape to prevent leaks.
This is also an excellent opportunity to perform maintenance on your system. While you have the tools out, you might want to look into how to clean your HVAC ductwork to ensure the entire system is free of dust and debris before introducing fresh air.
Step 6: Testing and Calibration
Turn on your kitchen exhaust fan or any other high-CFM devices. Check the damper to ensure it opens smoothly. You should feel a slight suction at the exterior intake vent.
If the air coming in is too cold, you may need to install an inline heater. For those in colder climates, balancing air temperature is just as important as balancing pressure. You can compare this to other heating solutions, such as learning how to install a baseboard heater for supplemental warmth.
Final Maintenance Tips
Check the exterior intake screen every few months to ensure it isn't clogged with leaves, spider webs, or snow. A clogged intake renders the makeup air unit useless and returns your home to a negative pressure state.
If you are managing a larger building, you may also want to understand how to monitor commercial HVAC performance to keep multiple units running efficiently. For residential setups, simply checking the seals and filters once a year is usually sufficient.
Finally, consider the distribution of your air. Understanding the difference between a floor register vs ceiling diffuser for HVAC can help you decide where to vent the makeup air if you choose not to go directly into the furnace plenum.
Related articles
Connect this page to adjacent guides so readers keep moving deeper into the topic cluster.

How to Set Up Cross Ventilation in Your Home
Discover the science of cross ventilation to cool your home naturally, reduce energy bills, and improve air circulation without relying solely on your AC.

How to Choose a Ventilation System for a Tight Home
Modern airtight homes need mechanical ventilation to stay healthy. Discover which system is right for your home to ensure fresh air and lower energy bills.
How to Reduce Pollen in Your Home With HVAC
Discover how your HVAC system can act as a powerful defense against seasonal allergies by filtering out pollen and improving indoor air quality.