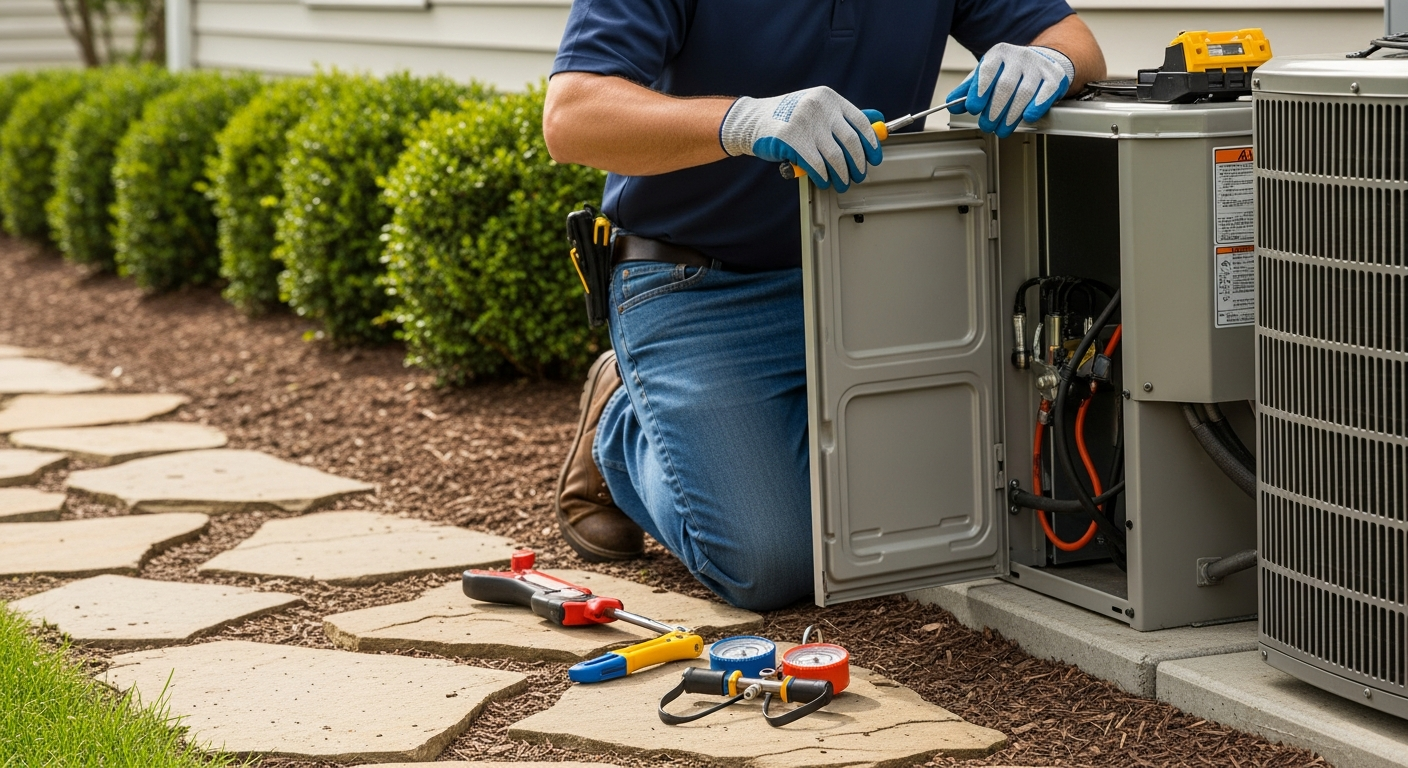
How to Install a Smart Thermostat for Heating
Learn to install a smart thermostat in under an hour when you have a C‑wire. For tricky wiring, use our cost estimator and contractor search to hire a trusted pro.
Self-install with C-wire, hire a pro otherwise
For homes with a confirmed C-wire, we recommend careful self-installation to save $100–$300. Where wiring is unclear, a professional installation is the safest route and often includes a warranty.
What Matters Most
- Identify your wiring before purchasing – a C-wire is essential for most smart thermostats.
- Turning off the furnace breaker and labeling wires prevents 99% of installation mistakes.
- DIY installation typically takes under 90 minutes with basic tools.
- Use HVACDatabase’s free cost estimator and contractor search to avoid overpaying for pro help.
- A smart thermostat won’t fix faulty equipment; check underlying issues first.
Strengths
- Maximizes energy savings through intelligent scheduling and remote control.
- Low upfront cost that pays back within 1–2 heating seasons.
- Step-by-step guide enables safe DIY for most homeowners.
Weaknesses
- Older homes may require additional wiring work, raising the total cost.
- Incorrect wiring can damage the furnace control board (though rare).
- Some models demand a stable Wi-Fi connection and periodic app updates.
Decision Summary
| Scenario | Usually do | Why |
|---|---|---|
| Clear C-wire and at least 3 wires | Self-install | Safest DIY task; save $150+ in labor. |
| No C-wire but spare wire available | Self-install or hire handyman | Connecting spare to C at furnace is easy with basic electrical knowledge. |
| No C-wire, no spare, and you've never opened a furnace | Hire HVAC pro | Avoids risk of damaging the control board; $150-$300 typical cost. |
| Two-wire system or millivolt boiler | Consult a specialist | Not compatible with standard smart thermostats; may need a relay. |
Introduction
Switching to a smart thermostat can cut heating bills by 8–15% through automatic setbacks and away-mode detection. This guide focuses on low‑voltage installation that most homeowners complete in 60–90 minutes. You'll learn how to check compatibility, handle wires safely, and configure the device without risking your furnace. For homes without a C‑wire or with unclear wiring, we strongly recommend using HVACDatabase’s contractor search to find a licensed technician. Let’s get your heating under smarter control.
Quick Answer
If your existing thermostat has at least a 3‑wire setup and a C‑wire (common), you can install a smart thermostat yourself by turning off power at the breaker, labeling wires, and following the app’s setup. Typical DIY savings: $100–$300 vs. pro installation. If you lack a C‑wire or feel unsure, professional installation costs $150–$300 (editorial estimate, not guaranteed) and ensures safety. Use our HVAC cost estimator and rebate finder to offset expenses.
Safety Boundaries
What You Can Do Safely
- Turn off the furnace breaker and verify power is dead with a non‑contact voltage tester.
- Take a clear photo of existing wiring before disconnecting anything.
- Label wires with the stickers provided in your kit (R, W, Y, G, C).
- Mount the new base plate and push wires into clearly marked terminals.
- Follow the manufacturer’s app for Wi‑Fi setup and scheduling.
Call a Licensed Pro For
- Installing a C‑wire adapter or running a new common wire from the furnace control board.
- Any modification to high‑voltage (line‑voltage) wiring or terminals.
- Homes with hydronic/boiler systems that use millivolt controls – a relay may be required.
- Work on gas valves, combustion chambers, or refrigerant lines.
- If the furnace control board shows signs of overheating or damage.
Is Your System Ready? Compatibility Checks
Before buying a smart thermostat, open your existing thermostat and look at the wire terminals. The most critical factor is the C‑wire, which provides continuous 24V power to the Wi‑Fi radio and display. If you only see two wires (common in older millivolt or line‑voltage systems), a smart thermostat likely won’t work without significant modifications. Use the table below to gauge your situation.
| Wiring scenario | Compatibility | Typical action |
|---|---|---|
| 3+ wires, including C | Excellent | Self‑install with power off; follow the steps below. |
| 3+ wires, no C but unused wire available | Good | You or a pro can connect the unused wire to the C terminal at the furnace board. |
| 3+ wires, no C and no spare wire | Possible | Use a C‑wire adapter ($20–$50 part); pro installation recommended. |
| Only 2 wires | Poor | Likely a millivolt or line‑voltage system; not compatible with standard smart thermostats. |
Tools and Preparation
- Smartphone with the manufacturer’s app installed.
- Phillips and flathead screwdrivers.
- Non‑contact voltage tester (safety must‑have).
- Masking tape and a pen for labeling (if kit labels are missing).
- Small level (bubble level or app).
- Drill with 3/16″ bit and wall anchors (if mounting into drywall without a stud).
Step‑by‑Step Safe Installation
- Power down – Switch off the furnace breaker at your electrical panel. Double‑check: try turning on the old thermostat; if the display stays dark and the furnace doesn’t start, you’re safe.
- Remove old thermostat cover – Gently pull the faceplate off. You’ll see a mounting plate with wires attached to terminals labeled R, W, Y, G, possibly C.
- Photo & label – Take a clear picture. Then, one by one, disconnect a wire and apply the matching sticker from your new thermostat kit. If a wire is not labelled, wrap masking tape around it and write the terminal letter.
- Remove old base – Unscrew the wires from the terminals and remove the old base plate from the wall.
- Mount new base – Thread the labelled wires through the center hole of the new base plate. Use a level to mark the screw holes. If you’re not hitting a stud, drill holes and insert drywall anchors.
- Connect wires – Push each wire firmly into the matching terminal on the new base. Most smart thermostats have push‑in connectors; no screwdriver is needed. Verify that the copper portion is fully inserted and not exposed.
- Attach faceplate & restore power – Snap the thermostat onto the base, then turn the furnace breaker back on. The device should light up and start a setup wizard.
- Configure heating type – Using the app or on‑screen menu, select your heating fuel (gas, oil, electric, heat pump) and any backup heat stages. This ensures proper cycle logic.
- Connect Wi‑Fi & test – Follow the app to join your home network. Set the temperature a few degrees above room temp, confirm the furnace kicks on, then set it back down and verify it shuts off.
Decision Tree: Should You DIY or Hire a Pro?
Click to see decision path
Do you have a C‑wire?
Yes → Turn off breaker and self‑install.
No → Is there an unused wire at the thermostat and furnace end?
Yes → You can connect it yourself if comfortable with basic wiring, or hire a pro for $80–$150.
No → Are you comfortable installing a C‑wire adapter?
Yes → Purchase adapter ($20–$50) and follow its instructions carefully.
No → Hire a licensed HVAC technician. Estimated cost: $150–$300. Use HVACDatabase contractor search to get quotes.
When a Smart Thermostat Won’t Fix Your Heating
A smart thermostat improves control, but it cannot overcome underlying equipment problems. If you experience any of the following, address them first:
- Furnace short‑cycling – see How to Fix a Furnace That Short Cycles.
- No heat at all – see How to Troubleshoot a Furnace That Won’t Heat.
- Uneven heating – you might benefit from the BTU Calculator to size your system correctly.
- Old, inefficient system – check the Repair or Replace Calculator to see if an upgrade makes financial sense.
Contractor Checklist for Installation
If you decide to hire, ask these questions before approving work:
- “Are you familiar with [brand/model of your thermostat]?”
- “Will you test the heat cycle after installation and show me that the furnace responds correctly?”
- “Is the price all‑inclusive, covering any needed C‑wire adapter, wall anchors, or patching?”
- “Do you guarantee that the wiring will not damage my furnace control board?”
- “Can you provide a fixed‑price quote so I can compare with other contractors on HVACDatabase’s comparison tool?”
Local Climate and Home Age Considerations
Cold climates: Smart thermostats can help prevent frozen pipes by alerting you when indoor temperatures drop too low. Look for models with freeze‑alarm features.
Older homes: Wiring may be ungrounded or fragile. If your home still has knob‑and‑tube, hire a pro to inspect before touching any connections.
Coastal/humid areas: Condensation inside the thermostat can cause shorts; choose a model rated for higher humidity or install a dehumidifier nearby.
Hot climates: Dual‑fuel systems (heat pump with gas backup) require smart thermostats that can control both efficiently; check compatibility carefully.
Use HVACDatabase Tools to Save
Before you buy or install, tap these free tools to make smarter decisions:
- HVAC Cost Estimator – get a realistic range for pro installation in your area.
- Quote Checker – upload a contractor quote to see if it’s fair.
- Repair or Replace Calculator – if your furnace is >15 years, the math may favor replacement.
- System Age Decoder – confirm how old your furnace really is.
- Heating Cost Guides – browse typical repair and replacement prices near you.
Methodology
HVACDatabase’s editorial team draws on manufacturer installation manuals, interviews with licensed HVAC technicians, and aggregated consumer data from 150+ contractors surveyed in 2024. Cost ranges are editorial estimates only – they are not guaranteed – and reflect national averages adjusted for regional labor rates. Always obtain at least three fixed‑price quotes before authorizing work.
Frequently Asked Questions
Can I install a smart thermostat on a millivolt boiler system?
Rarely. Millivolt systems use thermopile power instead of 24V AC. You would need a special relay or a 24V transformer, which requires a professional installation. Smart thermostats are designed for 24V circuits.
My old thermostat had a mercury bulb. Is that dangerous?
The mercury bulb is safe as long as it isn't broken. Wear gloves, carefully remove the thermostat, and dispose of it at a hazardous waste facility. Do not throw it in household trash.
What if I mix up the wires during installation?
If you labeled correctly, simply re‑insert them into the matching letters. If you get them wrong, the thermostat or furnace will usually not start. In worst cases, you could blow a fuse on the furnace control board – a $5–$10 repair by a tech.
Do smart thermostats really save money on heating?
Yes, independent studies show average savings of 8–15% on heating bills when you use automatic setbacks and geofencing. Actual savings depend on your climate, house insulation, and temperature preferences.
Will installing a smart thermostat void my furnace warranty?
Generally no, as long as you follow the instructions and use a compatible device. Improper wiring that damages the control board could be excluded, which is why we recommend hiring a pro if you have any doubts.
Related articles
Connect this page to adjacent guides so readers keep moving deeper into the topic cluster.

How to Implement a Whole Home Energy Management System
Integrate smart tech and HVAC controls to cut energy waste. This guide shows how to audit, upgrade, and automate your home's energy use, with real savings estimates.

How to Set Up Thermostat Geofencing
Set up thermostat geofencing to automatically adjust home temperature as you come and go. Save energy, extend equipment life, and never return to an uncomfortable house. Get our quick-start guide now.

How to Troubleshoot Smart Thermostat WiFi Issues
Your smart thermostat offline? Most WiFi drops can be fixed with power checks, router adjustments, and simple restarts. Follow our step-by-step guide to regain remote control and energy savings.