How to Replace an AC Thermostat
A thermostat swap can boost comfort and lower bills, but wiring mistakes can damage your HVAC. This guide helps you decide DIY vs. hiring a pro, with cost tables, safety rules, and local climate tips.
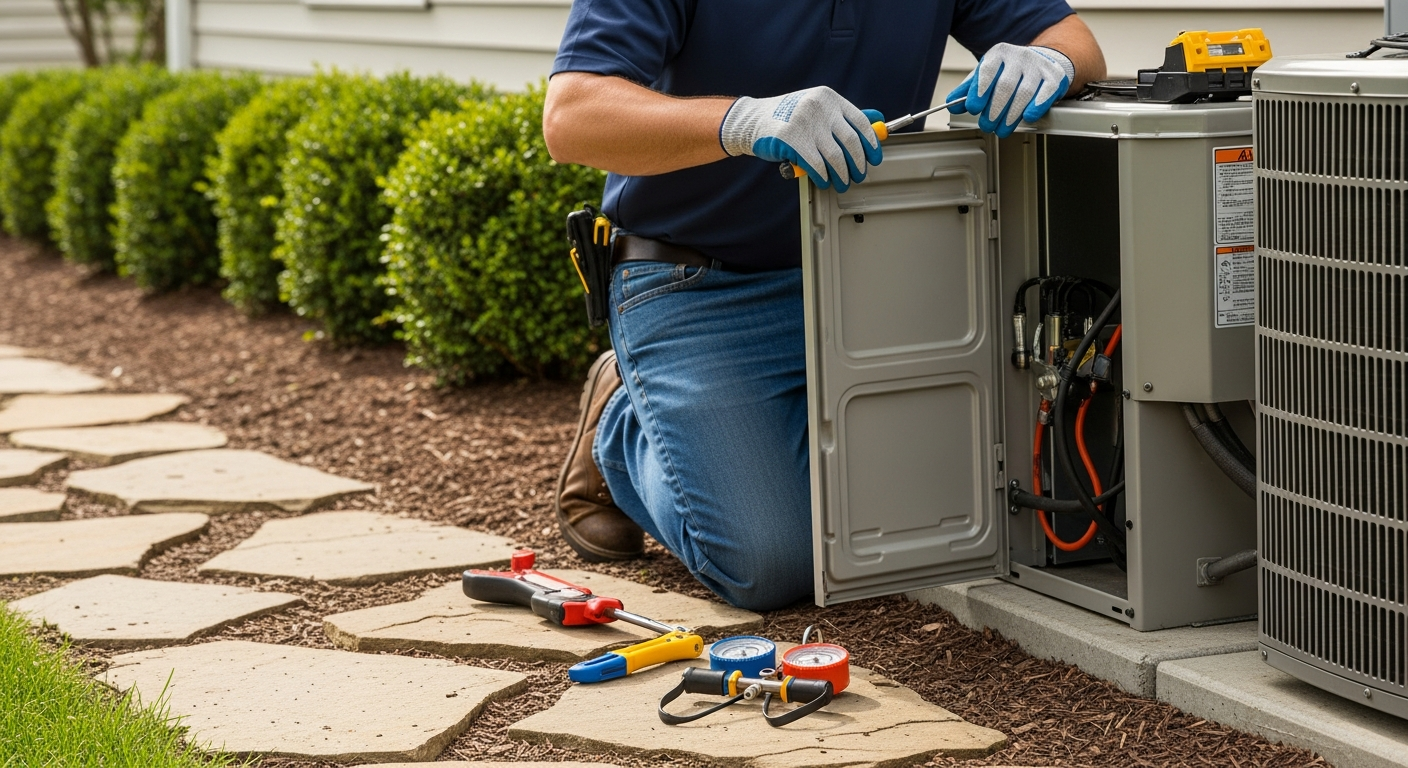
Introduction: Why a Thermostat Upgrade Matters
If your AC thermostat is slow to respond, inaccurate, or just old, an upgrade can slash cooling bills and eliminate hot spots. But a hasty DIY job can fry your control board, void warranties, or leave you without air when you need it most. This guide gives you a clear decision path—DIY or pro—based on your system type, wiring, and comfort level. We cover typical costs, safety boundaries only a qualified technician should cross, and a step-by-step checklist for those who choose the DIY route. Use our free tools and contractor questions to make a choice that fits your home and budget.
Quick Answer: Should You DIY?
In most homes, you can safely replace a low‑voltage thermostat yourself if you are comfortable with basic wiring and have the right tools. The job typically takes 30–60 minutes and costs $0–$100 in materials if you already own a screwdriver and voltage tester. Hire an HVAC pro if: you discover high‑voltage (line‑voltage) wiring, your system lacks a C‑wire and you’re not comfortable installing an adapter, you have a communicating or proprietary thermostat, or you see any sign of burning or damaged wires. Professional thermostat installation usually runs $150–$350 including labor, and many contractors will verify system operation and warranty compliance.
Safety Boundaries: What Homeowners Can (and Cannot) Do
Replacing a thermostat involves low‑voltage wiring, but safety must come first. You can safely:
- Turn off the HVAC breakers at the electrical panel and verify no voltage with a non‑contact tester.
- Remove the old thermostat faceplate and backplate.
- Label wires using tape and pen according to terminal letters (R, G, Y, W, C).
- Take a clear photo of the wiring before disconnecting anything.
- Mount the new backplate using drywall anchors if not anchored in a stud.
- Insert the low‑voltage wires into the matching terminals of the new thermostat.
- Snap on the faceplate, restore power, and follow the on‑screen setup.
Do NOT attempt:
- Any work on line‑voltage (120 V or 240 V) thermostats—these are used for electric baseboard heat and require a licensed electrician.
- Modifying or connecting wires inside the air handler, furnace, or outdoor unit.
- Handling refrigerant, gas lines, or combustion controls.
- Replacing capacitors, contactors, compressors, or control boards. These components involve high voltage or specialised tools.
- Bypassing safety switches or performing any repair that requires you to open sealed panels on the HVAC equipment
If you ever feel unsure, find a local HVAC contractor and get it done right.
Is This a DIY Job? Use This Decision Tree
Walk through these four questions. If you answer “No” to any, stop and call a pro.
- Is your existing thermostat low‑voltage (24 V)? (Check the wires: low‑voltage wires are thin, usually 18‑gauge, in a bundle of 2 to 8 colors. High‑voltage wires are thicker and often connected with wire nuts.)
→ No? Hire an electrician or HVAC contractor. This is not a DIY thermostat swap. - Can you clearly identify all terminals and match a C‑wire if your new thermostat needs one? (Most smart thermostats require a C‑wire. If your old thermostat had no C‑wire, you may need a power extender kit. Those are doable but add complexity.)
→ If the wiring diagram confuses you, or you’d be uncomfortable adding an adapter, hire a pro. - Do you have a heat pump with auxiliary/emergency heat? (Extra wires labeled W2, E, or AUX mean dual‑fuel or staged heating. This wiring is more complex and mistakes can damage the compressor.)
→ If you’re not 100% sure, hire a pro. Simple single‑stage heat pumps are manageable with care. - Is your new thermostat a drop‑in replacement with the same terminal letters? (If labels differ—e.g., your old unit uses B for common but new uses C—consult the installation manual or a pro.)
→ When in doubt, hire a pro to avoid blowing the low‑voltage fuse on the control board.
If you answered “Yes” to all four, proceed with the steps below.
What You’ll Need: Tools and Materials
| Tool / Material | Purpose |
|---|---|
| New compatible thermostat | The main unit. Verify compatibility with your system type (single‑stage, heat pump, etc.) |
| Voltage tester (non‑contact) | Confirm power is off before touching wires |
| Phillips & flat‑head screwdrivers | Backplate screws, terminal screws |
| Needle‑nose pliers | Gripping and bending wires |
| Painter’s tape & pen | Label each wire with its terminal letter |
| Smartphone camera | Take a clear “before” photo |
| Drywall anchors & screwdriver | Secure the new backplate if not hitting a stud |
| Patching compound & paint (if needed) | Cover old mounting holes or larger footprint left by previous thermostat |
Step‑by‑Step: How to Replace Your Thermostat Safely
1. Turn Off Power & Confirm
Locate the breakers labeled “HVAC,” “Air Conditioner,” or “Furnace” and flip them off. Use your voltage tester near the thermostat wires to ensure no power is present. This step protects you and the equipment.
2. Remove Old Faceplate & Photograph Wires
Gently pull the thermostat faceplate off its backplate. Most snap off, but look for small set screws if stuck. Take a sharp, well‑lit photo of the wiring from multiple angles. Do not rely on wire colors alone. The terminal labels (R, G, Y, W, C, etc.) are what matter.
3. Label Every Wire
Wrap a piece of painter’s tape around each wire and write the terminal letter on the tape. If a wire was not connected, label it “Not used.” Keep the photo as backup.
4. Disconnect Wires & Remove Old Backplate
Loosen the terminal screws (or press the release tabs on press‑fit terminals) and pull each wire free. Tape the bundle to the wall or wrap them around a pencil so they don’t fall back into the wall cavity. Unscrew the old backplate from the wall.
5. Prepare the Wall & Mount New Backplate
If the new backplate is smaller and leaves visible holes, patch and paint them now. Thread the wires through the new backplate’s opening. Use a bubble level to align it, mark hole positions, then install drywall anchors if needed. Drive the included screws until the backplate is firm but not cracking the drywall.
6. Connect Wires to the New Thermostat
Using your labels and the photo, insert each wire into the matching terminal on the new backplate. For screw terminals, wrap the bare copper around the screw clockwise and tighten. For push‑in terminals, strip the wire to the manufacturer’s recommended length and push fully until it clicks. If you are adding a C‑wire adapter, follow that kit’s instructions carefully—they often require a small connection at the air handler. Never force a wire where it doesn’t belong.
7. Attach New Faceplate & Restore Power
Align the new faceplate with the backplate and snap it in place. Do not force it—misaligned pins can bend. Turn the breakers back on. The thermostat should light up.
8. Configure & Test
Follow the on‑screen setup. Set mode to “cool,” fan to “auto,” and lower the temperature a few degrees below room temp. You should hear the system start within a minute. Repeat with heating if applicable. Test each mode (fan only, emergency heat if present) before finishing.
What It Costs: DIY vs. Professional Installation
These are editorial estimate ranges, not guaranteed prices. Actual costs vary by region, system complexity, and warranty conditions.
| Option | Typical Range | What’s Included |
|---|---|---|
| DIY | $30 – $250 | Cost of the thermostat itself. You may also need a C‑wire adapter ($15–$40) or drywall patching supplies if the old unit was larger. |
| Professional – basic swap | $150 – $350 | Labor for a straightforward replacement of a standard low‑voltage thermostat with existing wiring in good condition. |
| Professional – complex wiring | $350 – $600+ | Labor plus materials for running a new C‑wire, installing an adapter at the air handler, and configuring multi‑stage or heat pump systems. |
| Professional – line‑voltage thermostat | $200 – $500 | Often requires an electrician rather than an HVAC tech. Material cost for the thermostat can be higher. |
Get an instant range with our HVAC cost estimator or compare detailed quotes with the quote checker.
When to Call an HVAC Pro
Even handy homeowners should recognize these signs that professional help is needed:
- High‑voltage (line‑voltage) wiring. Thick wires with wire nuts are a dead giveaway. Stop immediately.
- No common wire, and you’re unsure about adapter installation. Power extender kits require opening the air handler—a task that can cross safety boundaries.
- Proprietary communicating system. Brands like Carrier Infinity or Trane ComfortLink use digital data lines, not standard on/off signals. Only compatible thermostats work, and installation often requires setup through dealer software.
- Multiple stages and dual fuel. Heat pumps with backup gas furnaces need nuanced wiring and programming.
- Burned or melted terminals. A sign of a larger electrical problem that needs diagnosing.
- Asbestos or old cloth wiring. If your home was built before the 1980s, the thermostat cable may be wrapped in asbestos insulation. Do not disturb it; hire a trained professional.
- Warranty concerns. Some manufacturer warranties stipulate professional installation. Check your paperwork.
Checklist: Questions to Ask Before Hiring a Contractor
Protect yourself with these verification questions when getting quotes:
- “Will you pull a permit?” – Thermostat replacements rarely require one, but if any new wiring is run inside walls, a permit may be needed. Ask.
- “Does this installation include verifying system operation and safety limits?” – A good tech will test all modes, check airflow, and measure temperature splits.
- “Are you licensed and insured for HVAC work in this municipality?” – Get the license number and verify it online.
- “Does the thermostat price include programming and Wi‑Fi setup?” – Some leave that to the homeowner, potentially leaving your system unconfigured.
- “Will you dispose of the old mercury thermostat legally?” – Mercury‑containing thermostats must be taken to a hazardous waste facility, not thrown in the trash.
- “Do you offer a workmanship warranty on the installation?” – 90 days to 1 year is standard. Get it in writing.
Use our side‑by‑side contractor comparison tool to evaluate quotes before you commit.
Use Our Free Tools to Plan Your Installation
Make a data‑driven decision with these HVACDatabase tools:
- HVAC Cost Estimator – Enter your zip code and project details for a personalized price range.
- Quote Checker – Upload an itemized quote and see if the pricing is fair.
- Repair or Replace Calculator – If your old thermostat was a symptom of a larger HVAC issue, explore the full system numbers.
- System Age Decoder – Decode your equipment’s serial number to see if a thermostat upgrade is worth it on your aging unit.
- Rebate Finder – Smart thermostats often qualify for utility rebates; don’t leave money on the table.
Climate and Home Factors to Consider
Where you live changes the thermostat features that matter most:
- Hot, dry climates (e.g., Phoenix): Aggressive setback during the day can actually increase cooling costs because the system has to run longer to recool a heat‑soaked house. Use mild setbacks (3–5°F) and programmable “vacation” modes. Find Phoenix AC specialists familiar with desert homes.
- Humid climates (e.g., Southeast): Set the temperature too high when you’re away and humidity can climb to mold‑friendly levels. Look for thermostats with humidity control or overcooling options. Pair this upgrade with clean condensate drains.
- Cold climates (e.g., Chicago): A thermostat with smart recovery learns how long your home takes to heat up and starts early. Ensure it is compatible with your furnace’s staging. Chicago heating contractors can verify integration.
- Coastal homes: Salt air corrosion can affect thermostat sensors over time. Use a model rated for high‑humidity environments.
- Older homes (pre‑1980): Watch for asbestos wrap on thermostat wires. If you see white tape on old wiring, do not touch it. Hire an environmental contractor for safe removal before a thermostat upgrade.
Methodology: How We Form These Recommendations
Frequently Asked Questions
Can I install a smart thermostat if I don’t have a C‑wire?
Yes, often. Many smart thermostats come with a power extender kit (PEK) that re‑purposes existing wires. Installation requires opening the air handler or furnace to connect the adapter. This is more advanced—if you’re uncomfortable removing panels on your HVAC unit, hire a pro. Alternatively, some smart models work with a C‑wire adapter that plugs into an outlet, but read reviews on reliability.
Will replacing my thermostat void my HVAC warranty?
Unlikely if the thermostat is compatible and installed correctly. However, some premium manufacturer warranties (like Lennox’s “Complete Comfort” plan) require professional installation of all system controls. Check your warranty booklet or call the equipment manufacturer to confirm.
How do I handle an old mercury thermostat?
Mercury thermostats contain a small amount of liquid mercury in a glass tube. Never throw them in the trash. In the U.S., many HVAC wholesalers and some hardware stores accept them for safe recycling. Use the Thermostat Recycling Corporation’s locator to find a drop‑off near you. Some states (CA, IL, NY) ban disposal of mercury thermostats in landfills entirely.
My new thermostat has different letters than my old one. What do I do?
Refer to the installation guide’s “alternate wiring” table. Common cross‑references: some systems use B for common (C) or O for aux heat (W2). If you can’t find an exact match, stop. Incorrect connections can blow the 3‑amp fuse on the control board or damage the transformer. A professional can sort it out in minutes.
How long does a typical thermostat installation take?
For a straight‑forward low‑voltage swap where the new backplate covers the old footprint and no C‑wire issues exist, expect 30‑60 minutes for a careful DIYer. Pros often take 15‑30 minutes because they have the experience and tools. Complex jobs that require patching drywall, running new cable, or adapter wiring can take 1‑2 hours.
Related articles
Explore related maintenance, equipment, and hiring questions.
How to check an HVAC contractor before hiring
Use a documented shortlist: business identity, applicable credentials, job experience, a written scope, and a clear handover.
How to compare HVAC quotes using the same scope
Use an itemized comparison worksheet to separate equipment, labor, exclusions, allowances, and warranty terms before choosing a contractor.
Nest Learning Thermostat (4th gen) vs ecobee Premium
Both models offer remote room sensors. Compare the exact generation, wiring compatibility, controls, and installed quote before choosing.