How to Seal AC Ductwork Leaks
Learn the safe, effective methods to seal your home’s ductwork, stop energy waste, and improve indoor air quality—plus when to call a professional for lasting results.
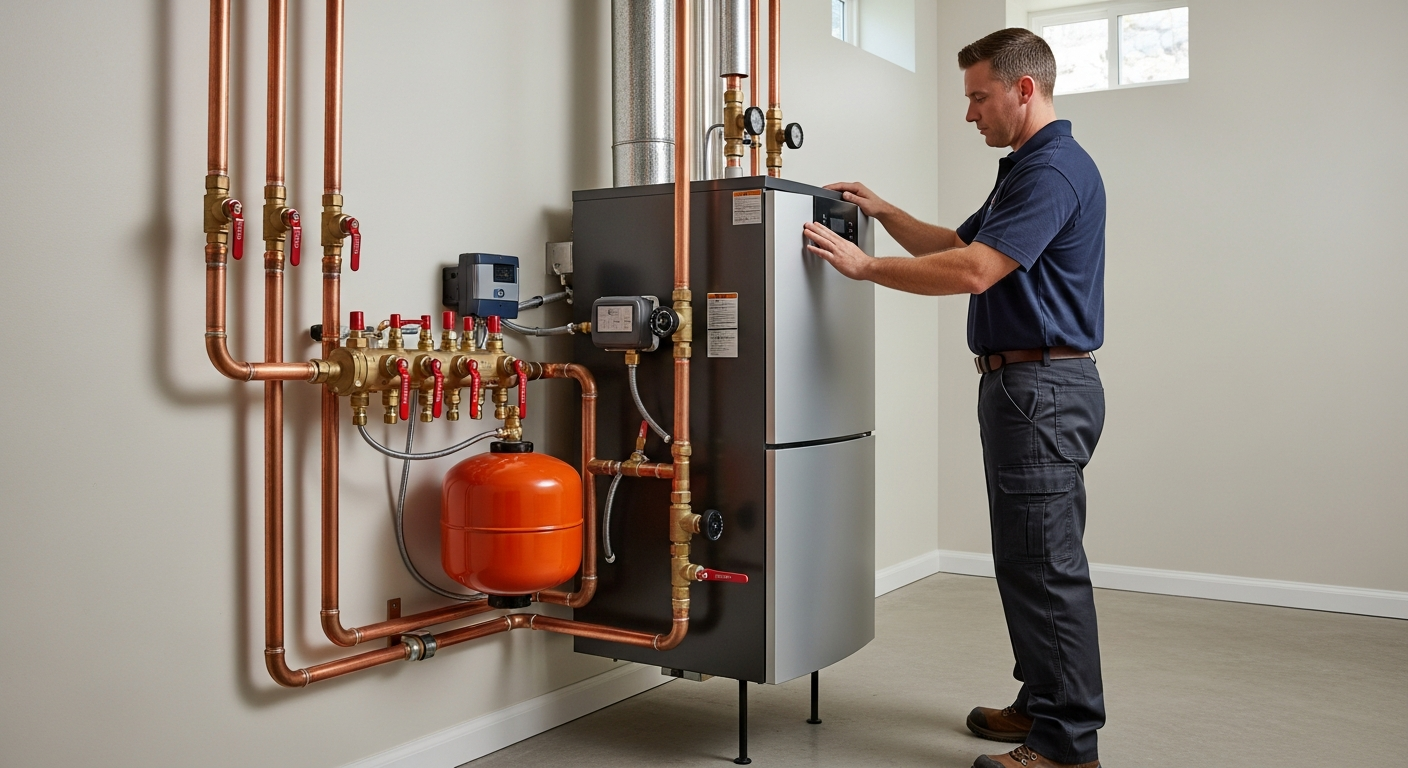
Seal accessible ducts yourself with mastic/foil tape; call a pro for hidden leaks or whole-house sealing.
Homeowners can safely seal visible, reachable duct joints using mastic and UL 181 foil tape, saving energy and improving comfort. For inaccessible ducts, high leakage rates, or older systems, professional Aeroseal or comprehensive sealing is recommended for guaranteed results.
What Matters Most
- Sealing duct leaks can cut HVAC energy losses by 10-30%, often paying for itself within months.
- Use only mastic sealant or UL 181-rated foil tape; standard duct tape fails quickly.
- DIY sealing is safe for accessible ducts in attics, basements, and crawlspaces with proper PPE.
- If after DIY sealing your energy bills remain high, consider a professional duct leakage test and Aeroseal treatment.
- Sealed ducts improve indoor air quality by blocking dust, pollen, and insulation fibers from entering the air stream.
Strengths
- Low-cost DIY materials ($50-$150) can yield immediate energy savings.
- Mastic creates a permanent, flexible, airtight seal that outlasts the ductwork.
- Professionally sealed ducts often come with performance guarantees and improved system balance.
Weaknesses
- DIY sealing is limited to visible, reachable areas; hidden leaks require pro equipment.
- Applying mastic is messy and requires curing time (typically 2-4 hours).
- Aeroseal can cost $1,500-$3,500 and may not be necessary for minor leakage.
- Older ducts with fragile connections may collapse if handled roughly during DIY.
Decision Summary: DIY vs. Professional Duct Sealing
| Scenario | Usually do | Why |
|---|---|---|
| Only a few visible joint leaks; accessible attic/basement | DIY sealing | Cheap, quick, and safe with mastic/foil tape |
| High energy bills, suspect >30% leakage, or ducts in walls | Hire a pro for assessment and Aeroseal | Pro equipment can test total leakage and seal hidden leaks |
| System is over 15 years old or has other issues | Evaluate replacement vs repair | Old systems may need upgrade; use repair-or-replace calculator |
If your AC runs constantly but some rooms stay stuffy, you may be losing 20–30% of conditioned air through leaky ducts. Sealing those leaks is one of the fastest ways to slash utility bills, improve comfort, and stop dust from circulating. This guide shows you exactly how to find and fix duct leaks using professional-grade materials—no specialized tools required. We’ll also help you decide when to call a pro, what costs to expect, and how to verify the job is done right.
Quick Answer
Homeowners can safely seal accessible, visible ductwork using mastic sealant and UL 181-rated foil tape. For inaccessible ducts, whole-house leakage over 30%, or systems over 15 years old, hire a professional for assessment and possibly Aeroseal treatment. DIY sealing costs $50–$150; pro manual sealing runs $300–$1,000; Aeroseal typically $1,500–$3,500. Start with a visual inspection and incense test, then follow the steps below.
Why Duct Leaks Cost You Money
The U.S. Department of Energy confirms that typical duct systems lose 20–30% of the air they carry—air you’ve already paid to cool or heat. This forces your equipment to work harder, raising utility bills and wearing out parts sooner. Use our energy waste calculator to estimate how much leaky ducts are costing you each year.
How to Identify Duct Leaks Safely
Visual Inspection
Look for loose or disconnected sections, especially at elbows, T-joints, and where ducts meet the main trunk. Dark streaks of dust near seams indicate escaping air. Check the plenum (the large box attached to your indoor unit) and the register boots in every room.
Smoke or Incense Test
Set your thermostat to fan-only mode—do not run the AC or heat. Light an incense stick and hold it near all accessible joints and seams. If the smoke wavers, blows away, or is sucked inward, you’ve found a leak. This test is safe and requires no special tools.
Feeling for Airflow
With the fan running, move your hand along duct connections. Drafts or temperature changes signal air escaping. Pay close attention to spots you can’t see but can reach.
Safety note: If you smell gas or suspect a combustion appliance backdraft, leave the area immediately and call a professional. Do not attempt duct sealing if it would trap combustion gases.
What to Use (and What Not to Use)
Forget standard silver “duct tape.” Its adhesive dries out and fails within a year. Professionals rely on two materials:
- Mastic sealant: A thick, paintable paste that creates a permanent, flexible, airtight bond. It’s messy but lasts the life of the ductwork.
- UL 181-rated foil tape: Heavy-duty metal tape with temperature-resistant adhesive. Good for flat seams and small gaps, but must be UL 181 listed for HVAC use.
Never use cloth duct tape, masking tape, or anything not specifically rated for ducts. The wrong tape will peel off, allowing leaks to return.
Step-by-Step Sealing for Accessible Ducts
Follow these steps only on ducts you can see and safely reach in an attic, basement, or crawlspace with adequate lighting and ventilation.
- Clean the surface: Wipe the area around the leak with a damp rag to remove dust and grease. Peel off any old tape. For oily residue, use a mild degreaser and let dry completely.
- Bridge large gaps: If a gap is wider than ¼ inch, cover it with fiberglass mesh tape, then apply a thick layer of mastic over the mesh to create a structural bridge.
- Apply mastic to joints: Using a disposable paintbrush or gloved hand, spread mastic over every connection, elbow, and branch. Aim for a coat about the thickness of a nickel, overlapping the joint by at least 1 inch on all sides.
- Seal register boots: Remove floor or ceiling grilles. Seal the gap between the metal boot and the drywall or subfloor with caulk or mastic. This stops conditioned air from leaking into wall cavities.
- Let it cure: Mastic typically needs 2–4 hours to set before you run the system. Check the product label for exact times.
Safety Boundaries
You can safely inspect and seal exposed ductwork as described above. The following tasks are strictly for qualified HVAC technicians:
- Working on or near refrigerant lines, gas piping, or electrical wiring.
- Entering tight or hazardous crawlspaces without proper personal protective equipment (PPE).
- Sealing ducts that contain asbestos insulation—disturbing it can release harmful fibers.
- Performing duct pressure testing or using Aeroseal equipment.
- Any repair that requires opening the air handler, furnace, or electrical panels.
If you encounter any of these situations, stop and find a trusted contractor using our HVAC contractor search.
Cost Comparison: DIY vs. Professional Duct Sealing
| Approach | Typical Cost Range | Pros | Cons |
|---|---|---|---|
| DIY mastic/foil tape | $50–$150 (materials) | Lowest cost, immediate action, no scheduling | Limited to visible, reachable ducts; labor intensive; no performance guarantee |
| Professional manual sealing | $300–$1,000 | Thorough coverage of accessible ducts; can include minor duct fixes | Higher cost; scheduling required; may not reach hidden leaks |
| Aeroseal (injection sealing) | $1,500–$3,500 | Seals the entire system from the inside, including hidden leaks; often includes before/after leakage testing; long warranty | Highest cost; requires temporary closing of registers; not always needed for minor leakage |
These are editorial estimates, not guaranteed prices. Final costs depend on home size, duct accessibility, and local labor rates. Use our HVAC cost estimator to narrow your budget.
Decision Rules: When to DIY vs. Hire a Pro
Ask yourself these questions:
- Can I see and reach every leak? If yes, and you’re comfortable in the attic or crawlspace, DIY with mastic and foil tape is safe and effective.
- Are my energy bills still high after DIY? Use the energy waste calculator. If estimated leakage exceeds 30%, or you feel warm/cold spots persist, call a professional for a duct leakage test and possible Aeroseal.
- Is my HVAC system over 15 years old? Consider the age and condition. If the AC or furnace is near the end of its life, investing in a full system replacement might be smarter than sealing old ducts. Check our repair or replace calculator.
- Do I have respiratory issues or allergies? Improper sealing can stir up dust and mold. A pro can seal ducts while minimizing airborne particles.
Contractor Checklist
Click to expand questions to ask before approving duct sealing work
- Do you use only mastic and UL 181-rated foil tape—never standard duct tape?
- Will you perform a duct leakage test (e.g., duct blaster) before and after the job to quantify improvement?
- Are you licensed, bonded, and insured in my state?
- Can you provide a written, itemized estimate that includes labor, materials, and testing?
- How do you handle inaccessible ducts—do you offer Aeroseal or similar technology?
- Do you guarantee your work, and for how long?
- Can you provide references from recent duct sealing projects?
Compare quotes and reviews from multiple contractors using our contractor comparison tool.
Local Considerations
- Hot, humid climates (Southeast, Gulf Coast): Unsealed ducts can pull in muggy outside air, overwhelming your AC and causing mold. Sealing is critical for humidity control.
- Cold climates (Midwest, Northeast): Duct leaks in unconditioned attics or basements can lose heated air, increasing heating bills. Pay special attention to supply ducts—cold air leaking into living spaces feels drafty.
- Older homes (pre-1970s): Ducts may be wrapped in asbestos insulation. Do not disturb; hire an asbestos abatement professional before sealing.
- Coastal areas: Salt air can corrode metal ducts faster. Use stainless steel fasteners and consider professional coating after sealing.
Tools to Help You Decide
Before you start, use these HVACDatabase resources:
- Energy waste calculator — estimate savings from sealing leaks
- Cost estimator — get a personalized budget range
- Repair or replace calculator — decide if an old system is worth fixing
- Contractor search — find trusted pros in your area
Methodology
This guide draws on U.S. Department of Energy data, HVAC industry best practices, and feedback from certified technicians. Cost ranges are editorial estimates based on national averages as of 2025 and may vary by region, home size, and labor market. Always get multiple written quotes for any professional work. The advice here is for informational purposes and should not replace on-site evaluation by a qualified HVAC contractor.
Frequently Asked Questions
How much does professional duct sealing cost?
Manual sealing by a technician typically costs $300–$1,000 depending on duct accessibility and home size. Advanced Aeroseal injection sealing runs $1,500–$3,500. These are editorial estimates; get at least three quotes for accurate pricing.
Can I use regular duct tape from the hardware store?
No. The adhesive on standard cloth duct tape degrades rapidly with temperature changes, causing it to peel off within a year. Use only mastic sealant or UL 181-rated foil tape specifically designed for HVAC use.
How long does mastic sealant last?
When applied to clean, dry surfaces, mastic can outlast the ductwork itself—often 20 years or more. It remains flexible and airtight even under extreme temperature swings.
Will sealing ducts fix uneven cooling in my home?
It’s a major first step. Leaky ducts can cause pressure imbalances that starve certain rooms of airflow. Sealing often improves comfort, but if problems persist, you may need professional air balancing or duct modification.
Is it safe to seal ducts myself?
Yes, as long as you work on accessible visible ducts, wear appropriate PPE (gloves, dust mask, eye protection), and avoid any duct insulation that may contain asbestos. Never attempt to work on gas lines, refrigerant circuits, or electrical components. If in doubt, call a professional.
Related articles
Connect this page to adjacent guides so readers keep moving deeper into the topic cluster.
How to Implement a Whole Home Energy Management System
Integrate smart tech and HVAC controls to cut energy waste. This guide shows how to audit, upgrade, and automate your home's energy use, with real savings estimates.

How to Set Up Thermostat Geofencing
Set up thermostat geofencing to automatically adjust home temperature as you come and go. Save energy, extend equipment life, and never return to an uncomfortable house. Get our quick-start guide now.
How to Troubleshoot Smart Thermostat WiFi Issues
Your smart thermostat offline? Most WiFi drops can be fixed with power checks, router adjustments, and simple restarts. Follow our step-by-step guide to regain remote control and energy savings.