How to Test Your HVAC Capacitor Safely
Your AC hums but won't start? Discover whether DIY capacitor testing is worth the risk. Use our decision tree and contractor checklist to find the safest, most cost-effective fix.
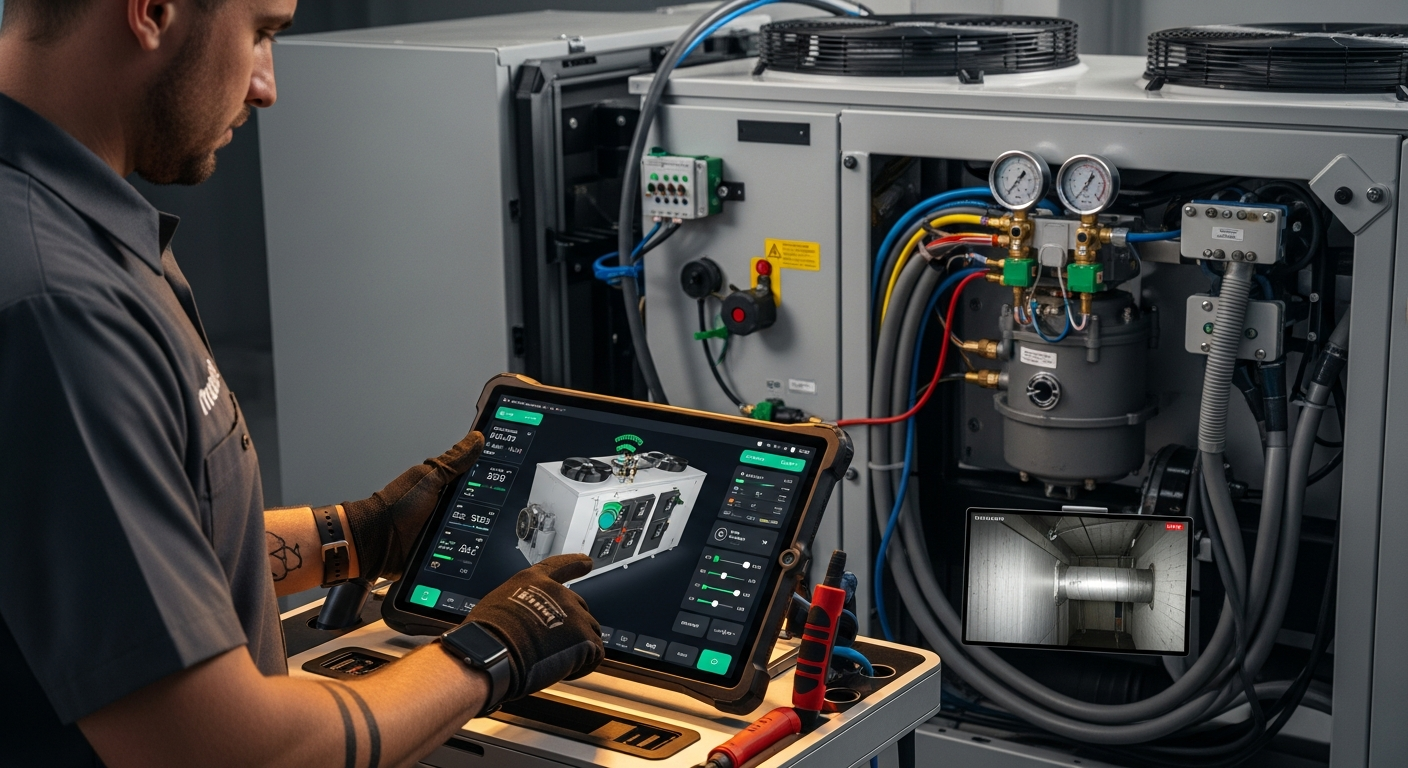
Understanding Your HVAC Capacitor
Your air conditioner’s capacitor stores and releases energy to start the compressor and fan motors. Without it, the fan won’t spin, and the compressor can’t engage—leaving you with nothing but a humming outdoor unit. A failing capacitor is one of the most common AC problems, especially during peak cooling season.
Quick Answer: Should You Test Your Own Capacitor?
For most homeowners, hiring a professional is the safest, most efficient path. Capacitors retain lethal voltage even with the power off, and testing requires careful, informed steps. However, if you’re experienced with electrical work and own the right tools, you can perform a basic capacitance test—but any component replacement or high‑voltage handling is best left to a licensed technician.
Signs Your AC Capacitor Might Be Failing
Before you touch any tools, look for these red flags. A visual check is safe and can help you decide whether to call a pro.
| Symptom | What It Usually Means | Safe Homeowner Check |
|---|---|---|
| Outdoor unit hums, fan doesn’t spin | Fan capacitor likely failing | Listen for humming; if present, tap the unit lightly—never touch electrical parts |
| AC takes a long time to start | Weak start capacitor | Note if delays happen regularly; don’t keep resetting the system |
| Clicking sound from the cabinet | Contactor or capacitor fault | Stand near the unit and note the sequence—pro will need this info |
| Swollen, bulging, or leaking oil on capacitor | Internal failure—definitely bad | Visually inspect the capacitor (with power off and after discharge by a professional only) |
Safety Boundaries: What You Can and Cannot Do
Your safety is non‑negotiable. High‑voltage components can cause serious injury or death.
Safe Homeowner Checks
- Listen for humming or unusual noises
- Check if the fan blade spins freely (with power off)
- Visually confirm if the capacitor casing is domed or leaking—only after a qualified person has discharged it
- Replace the air filter and clear debris—simple maintenance that reduces strain
- Schedule professional diagnosis using our contractor search
Pro‑Only Work
- Opening the electrical service panel
- Discharging the capacitor
- Measuring capacitance with a multimeter
- Replacing any capacitor or wiring
- Handling refrigerant, gas, or high‑voltage lines
DIY Testing: What’s Involved? (And Why Pros Are Better)
If you still consider testing yourself, understand the process a technician follows. This is not a how‑to guide—it’s a heads‑up about the risks and equipment required.
- Disconnect power completely: Shut off the breaker and the outdoor disconnect. Pros use a voltage tester to confirm zero current.
Risk: If power isn’t fully disconnected, you face electrocution. - Discharge the capacitor: Even with power off, it holds a charge. Technicians use an insulated screwdriver to bridge the terminals.
Risk: A mistake can cause a violent arc flash or shock. - Test with a digital multimeter: On the capacitance setting, they measure between the common terminal and each of the fan/herm terminals, comparing to the label’s microfarad (±6%) tolerance.
Risk: Incorrect probing can damage the capacitor or meter. - Replace only exact match: Same MFD rating, same or higher voltage (e.g., 440V for 370V). Wrong value can destroy motors.
Risk: This is always a job for a qualified professional.
Pros carry insurance, calibrate meters regularly, and dispose of old capacitors safely. They also check for underlying causes like failing contactors or short‑cycling.
Cost Comparison: DIY Multimeter vs. Professional Diagnosis
| Path | Typical Cost | What It Includes | Pros/Cons |
|---|---|---|---|
| DIY testing kit | $30–$100 for a quality multimeter; $10–$30 for the capacitor itself | Multimeter, capacitor (if needed) | Pro: tools for future use. Con: skill requirement, safety risk, no warranty. |
| Professional diagnostic visit | $80–$200 (may be waived if you proceed with repair) | Full system check, accurate testing, written report | Pro: safe, quick, guaranteed work. Con: higher upfront cost. |
| Typical capacitor replacement by pro | $150–$400 (part + labor) | New capacitor, installation, testing, and disposal | Pro: peace of mind, often includes 1‑year warranty. Con: none if safety matters to you. |
Decision Tree: When to DIY and When to Hire a Pro
Answer these questions to guide your next move. Remember, attempting capacitor work without training is dangerous—when in doubt, call.
Decision path: Is DIY testing right for you?
- Is the capacitor visibly swollen or leaking oil?
Yes → Skip testing; it’s dead. Hire a pro for replacement. No → Go to step 2. - Do you own a true‑RMS multimeter with capacitance function?
No → Hiring a pro is more economical than buying a one‑time tool. Yes → Go to step 3. - Are you 100% comfortable with safely discharging a capacitor and working around high‑voltage panels?
No → Stop. Even seasoned homeowners often choose a technician. Yes → You can perform a basic capacitance test, but still a pro should handle replacement. - If test shows the capacitor is weak, will you replace it yourself?
No → Just call a pro from the start. Yes → Strongly reconsider. Incorrect installation can cause motor burnout. Hire a verified local contractor.
Tools & Calculators: Make an Informed Decision
Before you commit to a repair, use our free tools to evaluate the bigger picture. A failing capacitor might be a sign that your system is aging—repair could be a stopgap.
- Repair or Replace Calculator: See if investing in a new capacitor makes sense given your unit’s age and condition.
- HVAC Cost Estimator: Get ballpark repair and replacement costs tailored to your region.
- Quote Checker: Submit a quote from a contractor; we’ll help you verify if the price is fair.
Contractor Checklist: Questions to Ask Before Approving Work
When you’ve decided to hire, use these questions to vet any technician. A reputable pro will answer them without hesitation.
- “Will you provide a written diagnostic report before any work?”
They should document the capacitor’s measured value, label rating, and overall system condition. - “Do you carry general liability and workers’ compensation insurance?”
Always confirm coverage; don’t settle for a verbal “yes.” - “Is the capacitor you’re using a direct OEM match or a universal replacement?”
Universal parts can work but may need minor wiring changes—a good tech will explain. - “Does the price include all labor, the part, and disposal fees?”
Get it in writing to avoid surprise charges. - “What warranty do you provide on parts and labor?”
Expect at least 1 year. Some manufacturers offer extended warranties if registered. - “Can you check the contactor and wiring while you’re here?”
A thorough contractor will do this anyway, but asking shows you’re informed.
Local Considerations: Climate and Capacitor Lifespan
Where you live directly affects capacitor health:
- Hot climates (Phoenix, Las Vegas): Capacitors degrade faster due to heat. You might need replacements every 5–8 years. Stay ahead with annual maintenance. Find Phoenix AC contractors here.
- Humid or coastal regions: Corrosion can shorten electrical component life. Look for rust on terminals.
- Older homes: Outdated electrical panels may cause voltage fluctuations that stress capacitors, leading to premature failure.
Methodology: How We Create Estimates
Frequently Asked Questions
Can I test a capacitor with just a voltage meter?
No. A basic voltmeter cannot measure capacitance. You need a multimeter with a microfarad (μF) setting. Even then, a professional’s diagnostic includes more than a simple capacitance check—they verify bleed resistors, relay switching, and system pressures.
Is a bulging capacitor always the problem?
Yes, a bulged or domed top indicates internal gas buildup and compromised integrity. It must be replaced. However, a capacitor can fail electrically without visible signs, so a reading is still necessary.
Is it cheaper to replace the capacitor myself?
If you already own a quality multimeter and have the skills, the part cost alone is low ($10–$30). But factor in safety risk, the possibility of misdiagnosis, and no labor warranty. Hiring a pro often costs more upfront but usually includes a system check and guarantees.
How long does a capacitor last?
In moderate climates, a capacitor can last 10–20 years. In extreme heat or with frequent start‑stop cycles, life drops to 5–10 years. Regular maintenance and clean condenser coils help extend its life.
Will a bad capacitor damage my AC if I keep running it?
Yes. A failing start capacitor forces motors to draw high current, which can overheat windings and cause permanent compressor or fan motor failure. If you hear humming but no start, shut the system off at the thermostat and breaker immediately.
Related articles
Explore related maintenance, equipment, and hiring questions.
How to check an HVAC contractor before hiring
Use a documented shortlist: business identity, applicable credentials, job experience, a written scope, and a clear handover.
How to compare HVAC quotes using the same scope
Use an itemized comparison worksheet to separate equipment, labor, exclusions, allowances, and warranty terms before choosing a contractor.
Nest Learning Thermostat (4th gen) vs ecobee Premium
Both models offer remote room sensors. Compare the exact generation, wiring compatibility, controls, and installed quote before choosing.