Why Your Thermostat Reading Is Wrong
Discover why your thermostat lies: poor placement, dust, sensor failure. Learn safe DIY checks, when to call a pro, and smart upgrade options to restore comfort and efficiency.

Simple First, Then Upgrade if Needed
Start with free placement fixes and cleaning; if your thermostat is over 10 years old or showing erratic behavior, replace it with a smart model for better accuracy and savings.
What Matters Most
- Placement is the #1 cause of wrong readings
- DIY checks (battery, dust, level) fix 40% of issues
- Test accuracy twice a year with a separate thermometer
- Replace mercury thermostats immediately for safety and efficiency
- Smart thermostats with remote sensors resolve placement problems
Strengths
- Cost-effective : Most fixes require a brush, batteries, or relocating the thermostat
- Improves comfort : An accurate thermostat keeps temperatures steady
- Reduces energy waste : Every degree off can cost $50–$200/year
- Safe for homeowners : All suggested tasks avoid high‑voltage or gas
Weaknesses
- DIY limits : Sensor failure and wiring require a pro
- Upfront cost : Quality smart thermostats cost $100–$250 + install
- Compatibility : Older homes may need a C‑wire adapter ($100–$300)
- Placement constraints : Relocation might not be feasible in every home
Decision Summary: What to Do for Wrong Thermostat Readings
| Scenario | Usually do | Why |
|---|---|---|
| Reading off by 1–2°F | Recalibrate or use offset | Minor drift; quick fix extends life |
| Old mercury thermostat (any age) | Replace with digital | More accurate, no hazardous mercury |
| Thermostat unresponsive | Replace batteries; if dead, replace unit | Often just low batteries; sensor failure otherwise |
| Unit in sun/draft | Relocate or use remote sensor | False readings from environment |
| Age >10 years, erratic | Upgrade to smart model | New sensors, energy reports, rebates available |
Why Your Thermostat Might Be Lying to You
You set the thermostat to 72°F, but the room feels like a freezer—or you’re sweating while the display claims 70°F. An inaccurate thermostat isn’t just annoying; it ramps up energy bills (by 10% or more) and strains your HVAC system. Before blaming the furnace or AC, check the thermostat itself. In the next 5 minutes, you’ll learn the most common causes, safe DIY fixes, and concrete rules to decide when to upgrade or call a pro.
Quick Answer: What to Do When Your Thermostat Reads Wrong
- Verify with a separate thermometer placed nearby.
- Check for obvious placement problems (sunlight, drafts, heat sources).
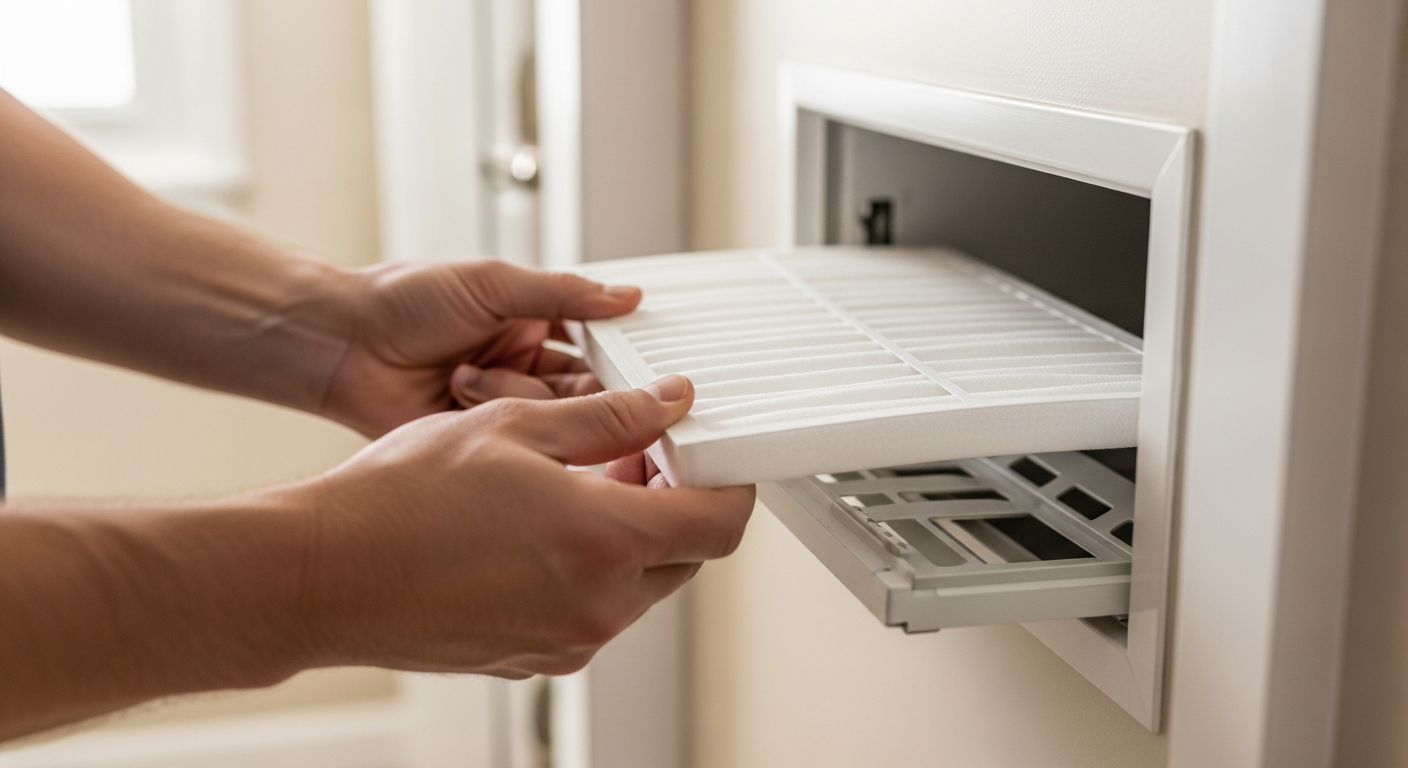
- Clean dust from vents and sensors with a soft brush or compressed air.
- Replace alkaline batteries in digital thermostats.
- If the unit is over 10 years old or still off by more than 2°F, consider a professional recalibration or replacement.
- Use our repair or replace calculator to compare costs.
Common Causes of Inaccurate Thermostat Readings
Below is a table linking what you see to the likely culprit and a safe check you can perform.
| Symptom | Likely Cause | Safe Homeowner Check |
|---|---|---|
| Displayed temp seems too high or low compared to feel | Poor placement (sun, draft, exterior wall, near vent) | Inspect thermostat location; use a glass thermometer 4–6 inches away. |
| Temp reading “sticks” or changes slowly | Dust accumulation or not level (mercury thermostats only) | Gently clean with soft brush; check level with a spirit level. |
| Digital display fades or shows erratic numbers | Low batteries or failing thermistor sensor | Replace batteries; if erratic readings continue, sensor may need professional attention. |
| System short-cycles or never reaches setpoint | Thermostat misreading causing overcool/overheat | Compare setpoint to actual room temperature; recalibrate or replace. |
| Noticeable temperature swings between rooms | Thermostat location bias or HVAC zoning issue | Consider zoning with smart thermostats for multi-room control. |
Safety Boundaries: What You Can (and Can’t) Do Yourself
Click to see safe vs. pro-only tasks
✅ Safe Homeowner Checks & Adjustments:
- Relocating the thermostat to an interior wall away from heat sources, drafts, or direct sun (if you’re comfortable patching drywall).
- Gently cleaning dust from the exterior and sensor vents.
- Replacing batteries with fresh alkaline types.
- Testing accuracy with a separate thermometer.
- Resetting a programmable thermostat to factory defaults per the manual.
❌ Pro-Only Work (to avoid shock, fire, or equipment damage):
- Opening the thermostat to check or repair internal wiring (line-voltage thermostats carry 120/240 V).
- Replacing thermistors, capacitors, or soldered components.
- Handling mercury switches—these contain hazardous material and require EPA-approved disposal.
- Installing a new thermostat that requires a C-wire or altering low-voltage wiring if you’re unsure about your system.
- Any work involving refrigerant lines, gas valves, combustion chambers, or high-voltage connections.
DIY Accuracy Test and Simple Fixes
Perform this 15‑minute check before calling anyone:
- Tape a reliable glass thermometer to the wall 4–6 inches from the thermostat.
- Wait 15 minutes without touching either device.
- Compare readings. A difference of 1–2°F is usually acceptable; more than 2°F indicates a problem.
If the error is minor:
- Mercury thermostat: Ensure it’s perfectly level. Gently adjust the mounting plate if needed. If not level, readings are off.
- Digital thermostat: Many have a “temperature offset” setting—check the manual. You can adjust ±3°F to match your thermometer. If no offset exists, the unit may need replacement.
- Clean sensors: Use a can of compressed air (hold upright) to blow dust from the sensor area through the vent openings.
When to Call an HVAC Pro: Signs and Estimated Costs
If basic steps don’t fix the problem, or you notice any of the following, schedule a diagnostic visit:
- Thermostat is unresponsive or shows a blank screen even after battery change.
- Temperature reading jumps wildly or gets stuck.
- HVAC system doesn’t turn on/off when it should.
- Wiring shows corrosion or insect damage.
Editorial cost estimates (not guaranteed):
- Diagnostic service call: $80–$200; after-hours may be $150–$350.
- Thermostat recalibration or minor wiring fix: $100–$250 on top of the diagnostic fee if no parts needed.
- Thermostat replacement (standard digital): $150–$400 including labor; smart thermostat installation often $200–$600 depending on C‑wire availability.
- Smart thermostat upgrade with potential C‑wire adapter: $250–$700.
Use our HVAC cost estimator to see local pricing and compare options.
Decision Rules: Repair, Recalibrate, or Replace?
Follow these thresholds to decide your next move.
| Condition | Action | Why |
|---|---|---|
| Thermostat age < 5 years, error ≤ 2°F | Recalibrate or use offset; clean sensors | Minor drift; unit still has life. |
| Age 5–10 years, error > 2°F or erratic | Professional diagnosis; likely replacement if sensor failed | Mid-life failures are common; part costs may approach new unit price. |
| Age > 10 years (any type) | Replace with a new digital or smart model | Technology is outdated; newer units improve accuracy and efficiency. |
| Mercury switch (any age) | Replace—mandatory if moving or remodeling | Mercury is hazardous; digital offers better comfort and energy savings. |
| Battery change fixed it | No further action; replace batteries annually | Low batteries cause 30% of “wrong reading” service calls. |
Not sure? Try our repair or replace calculator to weigh costs against expected lifespan.
Local Factors That Skew Thermostat Readings
- Hot climates (Phoenix, Las Vegas): Direct afternoon sun through a window can raise thermostat readings 5–10°F, causing unnecessary AC run time. Install on an interior, north-facing wall.
- Cold climates (Chicago, Boston): Drafts from poorly sealed windows or exterior walls make the thermostat think the whole house is colder, overheating the space.
- Humid regions (Houston, Atlanta): Damp basements or crawlspaces can corrode older thermostat internals; use a dehumidifier and consider a sealed electrical box.
- Coastal homes (salt air): Corrosion accelerates on exposed wiring; opt for a thermostat with conformal-coated electronics or keep it away from open windows.
- Older homes: Lack of a C‑wire limits smart thermostat choices. A C‑wire adapter (installed by a pro) solves this.
Contractor Checklist: Questions to Ask Before Hiring
When you call an HVAC pro, ask these questions to avoid surprises:
- Are you licensed, insured, and EPA‑certified (if mercury removal)?
- What is your diagnostic fee, and is it waived if I approve the repair?
- Do you have experience with my thermostat brand and HVAC system type?
- Will you provide a written, itemized estimate before any work?
- If a replacement is needed, what models do you recommend—and are there rebates? (Check our rebate finder).
- Can you install a C‑wire if my home lacks one, and what’s the additional cost?
Why You Can Trust Our Recommendations
Methodology: Cost ranges are editorial estimates compiled from HVACDatabase’s network of licensed contractors surveyed in 2024, adjusted for ZIP‑code cost of living, permit fees, and typical labor hours. Actual prices vary by system, access, urgency, and warranty. Always get three local quotes before committing. We do not guarantee pricing; use our contractor comparison tool to vet pros. Content is reviewed for safety and excludes step‑by‑step instructions for high‑voltage, refrigerant, or combustion work.
Frequently Asked Questions
How often should I check my thermostat accuracy?
At least twice a year—during spring and fall HVAC tune‑ups. Also check if you notice comfort changes or higher bills.
Can a wrong thermostat reading really increase my energy bill?
Yes. If the thermostat reads 2°F low in summer, the AC runs longer, adding 5–10% to cooling costs. Over a year, that’s $50–$200 in wasted energy for a typical home.
Why does my thermostat say 72°F but it feels colder?
Possible causes: thermostat near a supply vent blowing cold air, drafts from windows, or inaccurate sensor. Also, humidity affects comfort—low humidity makes air feel cooler. A smart thermostat with humidity sensing can help.
Does a smart thermostat automatically solve wrong readings?
Not entirely. Smart thermostats have better sensors, but poor placement still matters. Many support remote sensors you can place in the room you use most, improving accuracy. They also learn your schedule, saving energy. Check our vacation tips for using smart features.
What’s the average cost to replace an inaccurate thermostat?
Basic digital replacement: $150–$400 installed. Smart thermostat with installation: $250–$700. If new wiring is needed, add $100–$300. Use our cost estimator for your area.
Related articles
Connect this page to adjacent guides so readers keep moving deeper into the topic cluster.

Understanding C Wire Adapters for Smart Thermostats
Missing the C wire for your smart thermostat? C wire adapters solve power issues without pulling new wiring. Compare types, costs, and installation options.

Tips for Choosing a Smart Thermostat for a Heat Pump
Learn which smart thermostat features prevent expensive auxiliary heat mistakes, how to verify compatibility, and when to call a pro.
Tips for Heating a Home With Radiant Barriers
Radiant barriers can reduce winter heat loss through ceilings, but they are not a replacement for insulation. Learn when they help and what else you need for a warm, efficient home.