How to Replace an AC Expansion Valve
A failing AC expansion valve needs a licensed pro. Understand symptoms, cost ranges, and the 7 questions to ask before approving the work.

Is Your AC Expansion Valve the Problem?
The thermostatic expansion valve (TXV) controls refrigerant flow into the evaporator coil. When it fails, cooling drops, ice forms on the indoor coil, or the compressor runs nonstop. Replacing it is not a DIY repair—it requires recovering refrigerant, brazing under nitrogen, and EPA 608 certification. This guide helps you identify symptoms, understand professional replacement costs, and hire the right technician.
Quick Answer: What You Need to Know
- Who fixes it: Only a licensed HVAC technician with EPA 608 certification can legally and safely replace a TXV.
- Typical cost: $500–$1,500 including labor, refrigerant, and parts (editorial estimate, not a guarantee).
- Repair or replace? If your AC is over 10 years old or uses R-22, weigh the cost against a new system ($5,000–$15,000+).
- Next step: Use our Repair or Replace Calculator to compare options.
Symptoms That Point to a Faulty TXV
| Symptom | Possible Causes (Pro must confirm) | Homeowner Action |
|---|---|---|
| Ice on evaporator coil or refrigerant lines | Low refrigerant, TXV stuck open/closed, dirty filter, airflow blockage | Turn off AC; check filter and vents; call a pro for diagnosis |
| Compressor runs constantly, no cooling | TXV overfeeding or underfeeding, refrigerant leak, bad compressor | Note system behavior; schedule diagnostic ($80–$200 typical) |
| Intermittent or uneven cooling | TXV hunting (thermal bulb issue), non-condensables in lines | Monitor thermostat patterns; inform technician |
| High electric bills with weak cooling | System struggling due to TXV or other restriction | Compare bills; use Cost Estimator to gauge repair costs |
Safety Boundaries: What Homeowners Can and Cannot Do
Safe homeowner checks:
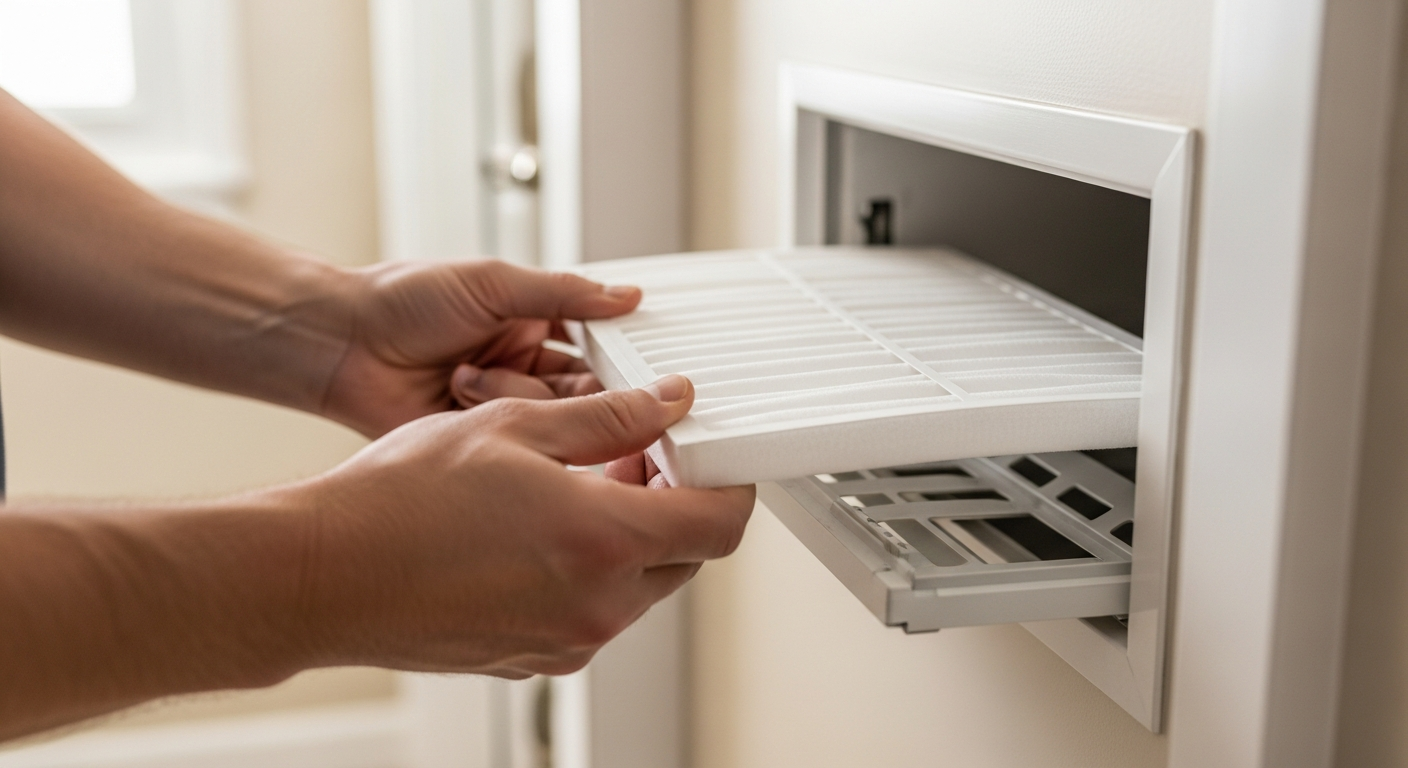
- Replace the air filter—a dirty filter can cause coil icing that mimics TXV symptoms. See How to Replace an AC Air Filter.
- Inspect accessible ductwork and vents for blockages.
- Ensure thermostat settings are correct and batteries are fresh.
- Look for visible ice or water around the indoor unit and report it to the tech.
Never attempt these pro-only tasks:
- Opening refrigerant lines—ventilation is illegal and dangerous.
- Brazing or soldering—requires specialized torches and nitrogen purge to prevent internal damage.
- Handling refrigerant or using manifold gauges—requires EPA 608 certification.
- Accessing high-voltage electrical components or control boards.
Improper DIY work can cause compressor failure, refrigerant burns, or environmental fines.
What a Professional TXV Replacement Involves
The technician will:
- Recover all refrigerant using a certified recovery machine.
- Remove the old TXV, often brazed, while protecting the evaporator coil with heat-blocking paste.
- Install a matched TXV, braze with nitrogen purge to prevent oxidation inside the tubing.
- Pressure-test with dry nitrogen, evacuate with a vacuum pump to below 500 microns, then recharge with new or reclaimed refrigerant.
- Run the system and verify superheat/subcooling within manufacturer specs.
This process typically takes 3–8 hours depending on system size and access.
Cost Estimator and Repair-or-Replace Thresholds
| Service/Scenario | Editorial Estimate Range | Notes |
|---|---|---|
| Diagnostic visit | $80–$200 | May be waived if repair proceeds |
| TXV replacement (R-410A system) | $500–$1,200 | Includes labor, valve, filter-drier, minor materials |
| TXV replacement (R-22 system) | $800–$1,500+ | R-22 refrigerant is phased out and costly |
| Add-on repairs (blower motor, capacitor) | $200–$600 extra | Often recommended when system is opened |
| Full system replacement (central AC) | $5,000–$15,000+ | Varies by SEER, size, brand, ductwork |
Use our Repair or Replace Calculator to plug in your system’s age, efficiency, and repair quote for a personalized recommendation. In general:
If repair cost exceeds 50% of a new system’s price, or your AC is over 10 years old and uses R-22, replacement often makes more financial sense.
Decision Rules for Homeowners
- System age: <10 years and R-410A → repair if TXV is only issue.
- System age: 10–15 years and R-22 → weigh repair vs. replacement using the calculator; factor in 30%+ energy savings with a new system.
- System age: >15 years → strongly consider replacement; avoid high-cost repairs.
- Multiple symptoms (noisy compressor, dirty coils) → get a full system evaluation; you may learn to clean condenser coils while deciding.
- In hot climates (e.g., Phoenix) where the AC runs >2000 hours/year, a failed TXV often indicates overall wear; replacement may offer better reliability.
Contractor Checklist: 7 Questions to Ask
- Are you licensed and insured? Ask for state HVAC license and liability coverage specifics.
- Do you hold EPA 608 certification? Required for any refrigerant handling.
- Will you provide a written quote with labor, parts, refrigerant, and warranty broken out? Use our Quote Checker to compare bids.
- Do you pressure-test with nitrogen and pull a vacuum below 500 microns? These steps prevent early TXV failure.
- What brand of TXV will you use, and does it match my system’s tonnage and refrigerant?
- Will you include a new filter-drier? Cheap insurance against debris.
- Is there a labor warranty on the repair? 12+ months is standard.
Need local pros? Search our directory or see Phoenix AC repair for a market example.
Local Climate Considerations
- Hot, dry climates (Southwest): High runtime accelerates TXV wear. Prioritize a high- SEER system if replacing.
- Humid climates (Southeast): A failing TXV can cause coil ice that melts and damages ceilings/floors; act quickly.
- Cold climates (heat pump with TXV): Incorrect TXV sizing reduces heating efficiency; ensure technician checks heating mode superheat.
- Coastal areas (salt air): Corrosion on sensing bulb or lines may require a stainless steel TXV; ask about materials.
- Older homes: If ductwork or electrical is outdated, replacement might require extra work; get a whole-home assessment.
Methodology: How We Create Cost Estimates
Frequently Asked Questions
Can a dirty filter cause TXV-like symptoms?
Yes. A severely clogged filter reduces airflow, freezing the coil and mimicking a stuck-open TXV. Replace the filter and run the system for a few hours before calling for service.
How long does a TXV replacement normally take?
3 to 8 hours, including refrigerant recovery, brazing, vacuuming, and recharging. Some jobs may run longer if the TXV is difficult to access.
Is it worth fixing a TXV on an R-22 system?
R-22 is phased out and expensive—$100–$200+/lb today. If the system is otherwise sound and the leak is minimal, repair may be viable. Otherwise, replacement is typically smarter. Use the Repair or Replace Calculator.
What happens if the TXV is installed without a nitrogen purge?
Oxidation forms inside the copper during brazing, which can clog the new TXV’s tiny orifice or contaminate the system. Failure often occurs within months. Always ask how they prevent oxidation.
Can I just replace the TXV without touching the compressor?
Yes, the TXV is at the indoor coil and doesn’t require compressor work, but the technician must handle refrigerant and high-side pressures. Only a trained pro can do this safely.
Related articles
Explore related maintenance, equipment, and hiring questions.

How to check an HVAC contractor before hiring
Use a documented shortlist: business identity, applicable credentials, job experience, a written scope, and a clear handover.
How to compare HVAC quotes using the same scope
Use an itemized comparison worksheet to separate equipment, labor, exclusions, allowances, and warranty terms before choosing a contractor.
Nest Learning Thermostat (4th gen) vs ecobee Premium
Both models offer remote room sensors. Compare the exact generation, wiring compatibility, controls, and installed quote before choosing.