How to Clean Your AC Evaporator Coils
Boost AC efficiency and lifespan by cleaning your evaporator coils. Our guide covers DIY steps, safety rules, cost comparisons, and tools to decide between cleaning, repair, or replacement.
Quick Answer
Clean your AC evaporator coils once a year—or more often if you have pets, allergies, or live in a humid climate. The process is straightforward for most homeowners: turn off power, remove the access panel, gently brush/vacuum debris, apply a no-rinse foam coil cleaner, and clean the drain line. If the coil is frozen, heavily moldy, or you suspect refrigerant leaks, shut down the system and call an HVAC professional. Professional coil cleaning typically costs $100–$400, while a damaged coil replacement runs $1,500–$4,000+. Use our Repair or Replace Calculator to weigh your options.
Why Cleaning Evaporator Coils Matters
Your evaporator coil is the indoor component that absorbs heat from your home's air. Over time, dust, pet hair, and grime coat the coil, acting as an insulator. This forces your system to work harder, increasing energy bills by up to 30% and shortening equipment life. Regular cleaning restores efficiency and prevents bigger problems like frozen coils or compressor strain. If neglected long enough, you may face a full coil replacement—a $1,500+ repair. This guide gives you safe DIY steps and clear thresholds for when to hire a pro.
Signs Your Coils Need Cleaning
| Symptom | Likely Cause | Action |
|---|---|---|
| Higher energy bills, same usage | Dirty coils reducing heat transfer | Inspect and clean coils; change air filter |
| Longer cooling cycles, home never reaches set temp | Restricted airflow from debris | Clean coils and check for frost/ice |
| Ice or frost on indoor copper lines | Low airflow or refrigerant issue | Turn off AC, thaw, then clean coils and change filter. If ice returns, call a pro. |
| Musty odors from vents | Mold or mildew on coil or in drain pan | Clean coil with antimicrobial cleaner; flush drain line |
| Water leaks around indoor unit | Clogged condensate drain | Clean drain line; check drain pan. See our drain pan guide. |
Safety Boundaries: What Homeowners Can and Cannot Do
Safe DIY tasks: Turning off power at the breaker and air handler switch, removing the access panel, gentle brushing/vacuuming of coil and fins, applying over-the-counter no-rinse coil foam, and flushing the condensate drain with water/vinegar. Always wear safety goggles and gloves.
Strictly pro-only: Handling refrigerant, repairing refrigerant leaks, replacing or testing electrical components (capacitors, contactors, control boards), working on the compressor, and any task requiring a torch or gauge manifold. These involve high voltage, pressurized refrigerant, and EPA certification. If you see oily residue on refrigerant lines or suspect a leak, shut the system off and call a licensed technician. For contractor search, use our find a pro tool.
Before any DIY work, double-check the power is off using a non-contact voltage tester. Never force access panels or tools near copper refrigerant lines.
How to Clean Your AC Evaporator Coils: Step-by-Step DIY
- Turn off power: Switch off the air handler at the thermostat, then turn off the circuit breaker for the HVAC system. Verify with a voltage tester if you have one.
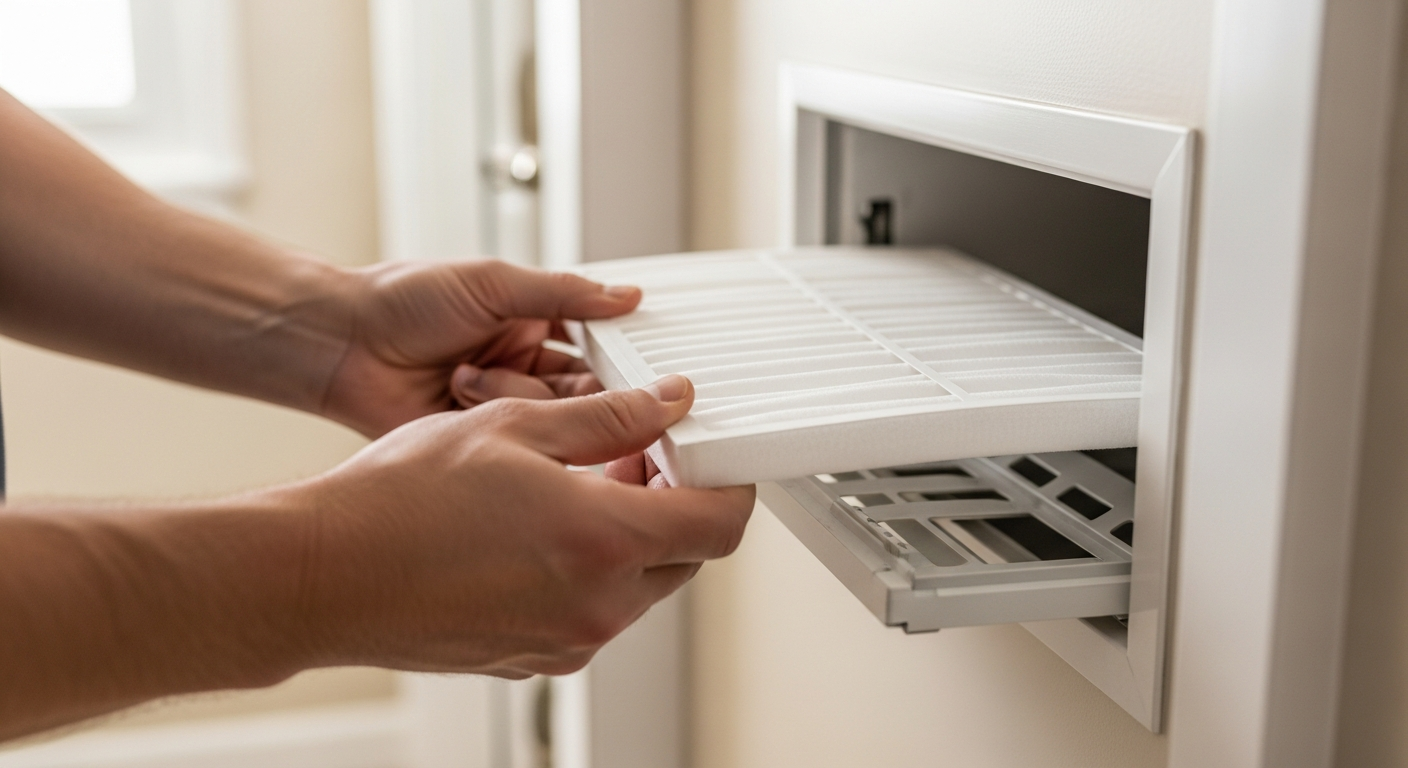
- Access the coil: Remove the air handler's access panel using a screwdriver or nut driver. Keep screws in a safe place. The evaporator coil is usually above or behind the filter slot.
- Inspect the coil and drain pan: Use a flashlight to look for heavy debris, mold, or frost. Check the drain pan for standing water—if it's full, your drain line may be clogged.
- Loosely remove debris: With a soft-bristled brush or a vacuum with a brush attachment, gently clean off loose dust and hair. Work in the direction of the fins (usually vertical). Do not bend the aluminum fins—they are fragile and bending restricts airflow.
- Apply coil cleaner: Spray a no-rinse aerosol coil cleaner onto the coils in a sweeping motion, starting from the bottom up. The foam will expand and lift grime. Do not use household cleaners, bleach, or pressure washers—they can damage the coil and cause chemical reactions.
- Clean the condensate drain: While the cleaner dwells, flush the drain line with a mixture of warm water and white vinegar to kill algae and clear clogs. For severe clogs, a wet/dry vacuum can help suction the line from outside.
- Reassemble and test: Replace the access panel securely, turn the power back on, and set the thermostat to cool. Listen for unusual noises and check for proper airflow.
If the system doesn't start after cleaning, see our troubleshooting guide. For outdoor coil care, read how to clean condenser coils.
When to Call a Professional
While annual cleaning is a great DIY maintenance task, certain situations demand a pro:
- Refrigerant leaks: Indicated by oil stains, hissing sounds, or a frozen coil that won't thaw after cleaning.
- Heavy mold deep in fins: Requires antimicrobial treatment and possible coil removal.
- Bent or corroded fins: A technician can comb fins straight or recommend replacement if too damaged.
- System over 12 years old: Before investing in deep cleaning, evaluate overall system health. Use our System Age Decoder and Repair or Replace Calculator.
Professional coil cleaning is often part of an HVAC maintenance visit, which ranges $80–$250 for a standard tune-up. Standalone coil cleaning may run $200–$400 depending on accessibility. If the coil is leaking and must be replaced, costs typically fall between $1,500 and $4,000+ (editorial estimates). Always get at least three written quotes. For ongoing savings, check available rebates before replacing equipment.
Decision Rules: Clean, Repair, or Replace?
Use these thresholds to decide next steps after inspecting your coil:
- Coil is dirty but no damage: Perform the DIY cleaning above. Replace the air filter with a high-MERV pleated filter (check your system's spec). Schedule yearly cleanings.
- Coil freezes repeatedly after cleaning and filter change: Call a pro to check refrigerant levels and airflow. May indicate a leak or metering device issue.
- Coil is physically damaged (leaks, heavy corrosion, severe fin damage): Replacement is likely. Compare cost of coil-only replacement vs. full system if unit is over 10 years old. Use our Repair or Replace Calculator to model long-term savings.
- System is over 12 years old, needs coil work, and uses R-22 refrigerant: Strongly consider full system replacement. R-22 is phased out and extremely expensive. Modern units are 20–40% more efficient.
For a detailed cost-benefit analysis, use our HVAC Cost Estimator and BTU Calculator to right-size a new system.
Use Our Tools to Make Smarter Decisions
Before spending on cleaning or repairs, leverage these free HVACDatabase tools:
- System Age Decoder – Decode your AC's manufacture date from the serial number.
- Repair or Replace Calculator – Compare cumulative costs of keeping vs. replacing your unit.
- HVAC Cost Estimator – Get editorial cost ranges for common repairs and installations.
- Rebate Finder – Uncover local utility incentives for high-efficiency upgrades.
- Quote Checker – Submit contractor bids for fairness review.
Contractor Checklist: Questions to Ask Before Approving Work
If you decide to hire a pro, ask these questions to ensure quality and fair pricing:
- Are you licensed, bonded, and insured in my state? (Verify on your state's licensing board.)
- Will you provide a written, itemized estimate separating labor, materials, and any diagnostic fees?
- Will you inspect for refrigerant leaks as part of the cleaning? How do you test (e.g., electronic detector, dye)?
- Can you show me before and after photos of the coil? Can I see the coil condition myself?
- What coil cleaner do you use? Is it non-acidic and safe for my type of coil?
- If the coil needs replacement, what warranty do you offer on parts and labor?
- Do you recommend a maintenance plan? How many cleanings per year? (Expect $150–$500 annually for plans.)
To compare contractors, use our Contractor Comparison tool or search local pros.
Local Factors: Adjusting by Climate and Home Type
- Hot, humid climates (e.g., Southeast, Gulf Coast): Coils are prone to mold and mildew. Clean every 6 months and use a coil cleaner with antimicrobial properties. Consider a UV light in the air handler.
- Cold climates: Heat pumps run year-round, so indoor coils need cleaning before heating season too. Check the outdoor unit for ice and snow blockage.
- Coastal areas: Salt air accelerates corrosion. Rinse coils more frequently and look for corrosion-resistant coil coatings during replacement.
- Older homes: Dust and debris may be higher due to leaky ducts. Upgrade to a high-MERV filter and consider duct cleaning. Read our guide on filter replacement and summer prep.
FAQs
How often should I clean my evaporator coils?
At minimum once per year, ideally in spring before cooling season. Homes with pets, allergy sufferers, or high runtime should clean every 6 months. Pair cleaning with filter changes (monthly for 1–2 inch filters, quarterly for 4–5 inch media filters).
Can I use household cleaners like vinegar or bleach?
No. Vinegar is too acidic and can corrode aluminum fins. Bleach can cause dangerous chemical reactions with refrigerant residue and is not effective on oily grime. Use only a commercially available, no-rinse HVAC coil cleaner labeled for evaporator use.
What if my coil is frozen when I open the panel?
Turn the system off immediately and let the ice thaw completely. Check your air filter—if it's clogged, replace it. After thawing, clean the coil per the steps above. If the coil freezes again after cleaning, call a technician. Low refrigerant or a faulty blower may be the cause. See our guide on refrigerant levels (homeowner checks only).
Does cleaning coils really save money?
Yes, the U.S. Department of Energy estimates that a clean coil can improve efficiency by up to 30%. For a typical central AC, that could mean $50–$150 in annual electricity savings, paying for the cleaning many times over.
How much does a professional evaporator coil cleaning cost?
As part of a standard maintenance visit, cleaning usually adds little to the base $80–$250 tune-up fee. Standalone cleaning by a technician often costs $200–$400, depending on coil accessibility and condition. If the coil must be removed for deep cleaning, costs can exceed $500. Always get a written quote upfront.
Related articles
Explore related maintenance, equipment, and hiring questions.
How to check an HVAC contractor before hiring
Use a documented shortlist: business identity, applicable credentials, job experience, a written scope, and a clear handover.
How to compare HVAC quotes using the same scope
Use an itemized comparison worksheet to separate equipment, labor, exclusions, allowances, and warranty terms before choosing a contractor.
Nest Learning Thermostat (4th gen) vs ecobee Premium
Both models offer remote room sensors. Compare the exact generation, wiring compatibility, controls, and installed quote before choosing.