How to Flush Your Heating System Before Winter
Get your radiators winter-ready with this decision guide. Covers safe DIY steps, costs, warning signs you need a pro, and tools to compare local heating contractors.
Flush before winter, but match the method to the sludge severity
Radiator sludge silently steals 15–30% of your heat. A DIY water drain can fix light sediment, but heavy magnetite requires a professional power flush. Use our decision table to choose the right path and protect your boiler investment.
What Matters Most
- Cold radiator bottoms and black bleed water are the two strongest sludge indicators.
- DIY drain-and-refill plus inhibitor costs under $100 and is safe for most homeowners.
- Heavy sludge demands a pro power flush ($400–$1,200) with a pre-inspection if boiler is >15 years old.
- Always add corrosion inhibitor after any flush to delay re-sludging by years.
- Get at least three quotes and ask for a leak guarantee before approving a power flush.
Strengths
- DIY option is low-cost and immediately restores some radiator output.
- Professional power flush restores near-original efficiency and includes deep cleaning.
- Inhibitor dosing is a simple, lasting protection you can do yourself.
- Decision tree gives clear, symptom-based guidance without guesswork.
Weaknesses
- DIY flushing may not remove magnetite sludge and could leave debris in the system.
- Older boilers risk hidden leaks when sludge is dislodged by power flushing.
- Power flush costs vary widely and are not always necessary—misdiagnosis can waste money.
- None of these steps address boiler burner or gas issues; a separate tune-up may be needed.
Decision summary: When to DIY vs call a pro
| Scenario | Usually do | Why |
|---|---|---|
| One radiator cooler at bottom; clear bleed water | DIY gravity drain + inhibitor | Light particulate-only; professional flush not needed |
| Multiple radiators cold at bottom; black bleed water | Professional power flush | Magnetite sludge requires high-pressure pump and chemicals |
| Boiler banging (kettling) or system older than 15 years | Pro inspection first, then decide | Hidden heat exchanger damage possible; flushing could reveal leaks |
Should You Flush Your Heating System Before Winter?
A hydronic heating system (boiler and radiators) can lose 15–30% efficiency due to internal sludge, rust, and scale. Flushing restores heat output and lowers energy bills. This guide helps you decide whether a DIY gravity drain is sufficient or if a professional power flush is required—while always respecting critical safety boundaries.
Quick Answer: Is a Heating System Flush Worth It?
Yes, if you see these signs: radiators cold at the bottom, banging or gurgling noise from the boiler (kettling), rising fuel bills, or black water when bleeding a radiator. A simple DIY water flush may clear light sediment for under $100. But if the water is thick and sludgy, a professional power flush ($400–$1,200 editorial estimate) is more thorough and safer for older equipment.
Safety Boundaries – What Homeowners Can and Cannot Do
Safe Homeowner Tasks
- Bleed radiators to check water color and air presence.
- Turn off the boiler and let it cool completely before any work.
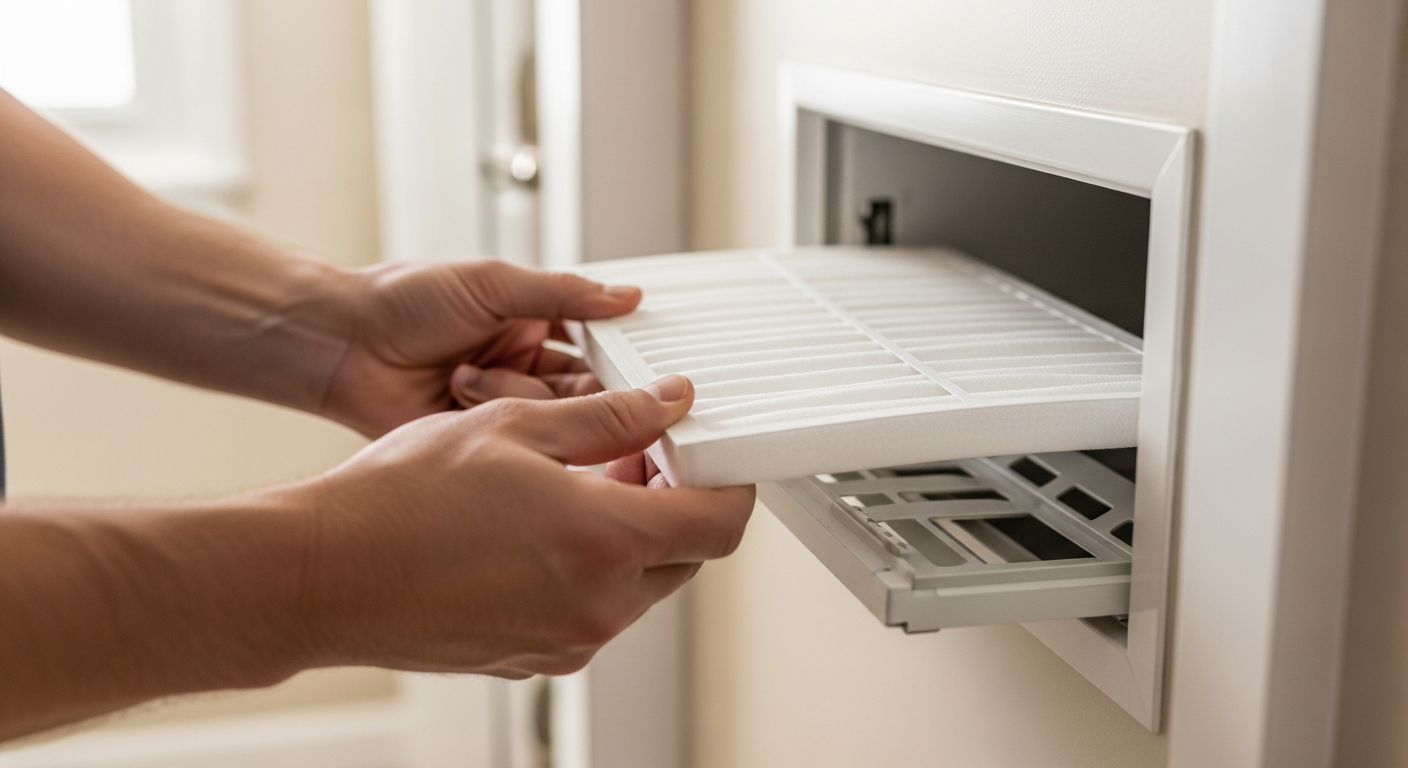
- Drain the system via a boiler drain valve (if accessible and manufacturer-approved).
- Re-fill and bleed the system, then add a corrosion inhibitor.
Pro-Only Tasks (Do Not Attempt)
- Any work involving gas supply, combustion, or burner adjustments.
- Power flushing with high-pressure equipment.
- Adding strong chemical cleaning agents—misuse can damage seals and the heat exchanger.
- Opening the boiler cabinet or touching electrical components.
- Forcing a flush on a system with signs of internal corrosion leaks—dislodging sludge may reveal pinhole leaks.
Cost and Decision Table: DIY vs Professional Flush
| Scenario | Usually Do | Editorial Cost Estimate | Why |
|---|---|---|---|
| 1–2 radiators slightly cooler at bottom; boiler quiet | DIY gravity drain & refill + inhibitor | $30–$100 (inhibitor, hose, bleed key) | Light sediment clears with simple flushing; low risk |
| Multiple radiators cold at bottom; black water when bleeding | Professional power flush | $400–$1,200 | High-pressure pump and chemicals needed to dislodge magnetite sludge |
| Boiler banging (kettling) or >15 years old | Pro inspection first, then flush if safe | Diagnostic visit $80–$200; plus flush if recommended | Flushing could disturb heat exchanger deposits, causing leaks |
Prices vary by system size, location, and urgency. Always obtain multiple quotes.
Decision Tree: DIY or Pro Flush?
- Is any radiator hot at the top but stone-cold at the bottom?
Yes → sludge is present. Go to step 2.
No → system may just need balancing or bleeding air; no flush needed. - When you bleed a radiator, does the water run black with metallic particles?
Yes → moderate to heavy sludge; skip to step 4.
No (clear or slightly discolored) → light sediment. You may attempt a DIY drain-and-refill (step 3). - DIY drain-and-refill: Attach a hose to the boiler drain, let water out until it runs clear (system off and cool). Refill, bleed, and add inhibitor. Do not use chemicals or pressure.
- Heavy sludge: Hire a pro for a power flush. Get at least three quotes and ask for a before/after report.
Use Our Tools to Plan Your Flush
If your boiler is over 10 years old, consider the Repair or Replace Calculator to see if a new high-efficiency unit makes more sense than a flush. Get an upfront cost picture with our HVAC Cost Estimator, then verify contractor bids with the Quote Checker. Search for qualified heating contractors near you.
Contractor Checklist: Questions to Ask Before Approving a Power Flush
- “Are you experienced with my boiler brand and hydronic system type?”
- “Do you use a pump-and-dump power flush machine or a closed-loop system? Which is better for my system?”
- “What chemicals will you use, and are they compatible with my heat exchanger (aluminum, stainless steel, cast iron)?”
- “Will you perform a leak test before and after, and provide a written guarantee against flush-induced leaks?”
- “Do you include a corrosion inhibitor and a balancing service after the flush?”
- “Can you provide a thermal image or flow report to prove the improvement?”
Regional and Home-Specific Considerations
- Cold climates (Northern states & Canada): Annual bleeding and inhibitor check are essential to prevent freeze-ups. Sludge accelerates corrosion in the off-season.
- Old homes (pre-1950s): Large cast-iron radiators and steel pipes may hold decades of sludge. A power flush may be too aggressive; consider a gentle chemical clean by a pro.
- Coastal areas: Salt air can corrode external boiler parts; a pro should inspect the entire system before flushing.
- Well-water homes: Hard water scale buildup can mimic sludge. A pro can test and use appropriate descaling agents.
Methodology – How Our Recommendations Are Built
Cost estimates are editorial ranges synthesized from contractor surveys, industry reports, and market research (2024–2025 data). They are not binding quotes. Our decision logic relies on established hydronic system physics and field experience from certified HVAC technicians. Always consult a local licensed professional for site-specific advice.
Frequently Asked Questions
How often should I flush my heating system?
Every 5–10 years, or whenever you notice performance drops. Annual inhibitor checks can extend the interval.
What’s the difference between a power flush and a gravity flush?
A gravity flush is just opening the drain and letting water flow out (like a garden hose). A power flush uses a specialized pump and chemicals to scrub radiator internals at high velocity.
Can flushing damage my old boiler?
Yes, if sludge is plugging a pinhole leak. Dislodging it can reveal the leak. A pro inspection with a borescope or pressure test is wise before flushing any boiler over 15 years old.
How much does a professional power flush cost?
Editorial estimate: $400–$1,200, depending on number of radiators, system complexity, and local labor rates. Always get multiple itemized quotes.
Can I add inhibitor myself after flushing?
Yes—adding inhibitor is a safe DIY step. Follow the product’s dosing instructions, typically added via a radiator or the feed tank after final bleeding. This prevents new sludge formation.
For more pre-winter tips, see our guide on preparing your HVAC for winter and fall HVAC maintenance.
Related articles
Connect this page to adjacent guides so readers keep moving deeper into the topic cluster.

How to Implement a Whole Home Energy Management System
Integrate smart tech and HVAC controls to cut energy waste. This guide shows how to audit, upgrade, and automate your home's energy use, with real savings estimates.

How to Set Up Thermostat Geofencing
Set up thermostat geofencing to automatically adjust home temperature as you come and go. Save energy, extend equipment life, and never return to an uncomfortable house. Get our quick-start guide now.

How to Troubleshoot Smart Thermostat WiFi Issues
Your smart thermostat offline? Most WiFi drops can be fixed with power checks, router adjustments, and simple restarts. Follow our step-by-step guide to regain remote control and energy savings.