Post Hurricane HVAC Inspection Checklist
Ensure your home remains safe and comfortable after a storm with our essential post-hurricane HVAC inspection guide for homeowners.

Safety First: Before You Begin Your Inspection
After a major storm passes, your first instinct is to get your home back to normal. However, your HVAC system requires a cautious approach to avoid electrical hazards or permanent mechanical damage.
Never turn your air conditioner or heater on immediately if you suspect water damage. Standing water and electrical components are a lethal combination, and starting a compromised compressor can lead to a total system failure.
Before touching any equipment, ensure the power is off at the circuit breaker. If you see standing water around your outdoor unit or inside your crawlspace, wait for it to recede completely before proceeding with this checklist.
Phase 1: External Unit Assessment
High winds and storm surges are the primary enemies of your outdoor condenser. Begin by walking around the perimeter of the unit to look for obvious structural damage.
Check for Projectile Damage
Hurricanes turn everyday yard items into high-velocity projectiles. Inspect the aluminum fins on the side of your unit for flattening or punctures, which can restrict airflow and reduce efficiency.
If the damage is extensive, you may need a professional to comb the fins. This is also a great time to review tips for HVAC maintenance in coastal areas to prevent long-term salt corrosion.
Verify Unit Alignment
Storm surges and heavy rain can wash away the soil or sand beneath your equipment pad. If your condenser is leaning at a significant angle, it can stress the refrigerant lines and cause leaks.
Check the copper piping connecting the unit to your house. Any kinks, cracks, or hissing sounds indicate a refrigerant leak that requires immediate professional repair via a technician found on HVACDatabase.com.
Phase 2: Identifying Water and Flood Damage
Floodwater is often contaminated with salt, silt, and chemicals. Even if the water has receded, the residue left behind can be incredibly destructive to electrical components.
The Submersion Rule
If water rose high enough to cover the electrical panel or the compressor of your outdoor unit, do not attempt to start it. Internal components like the capacitor, fan motor, and contactor are likely compromised.
The same applies to indoor units located in basements or crawlspaces. Water-damaged insulation inside an air handler can quickly become a breeding ground for mold, affecting your indoor air quality.
Phase 3: Indoor System and Ductwork Review
Once you have verified the outdoor unit is safe, move inside to check the distribution system. High winds can often cause shifts in your home’s structure that impact your ductwork.
Inspect Duct Integrity
Check for disconnected ducts in your attic or crawlspace. If you notice a sudden drop in airflow or hear strange noises, your ducts may have pulled apart during the storm.
If you hear a new vibrating sound, you might want to learn why your ductwork makes a booming sound after high-pressure weather events. Sealing leaks now will save you significantly on energy bills later.
Thermostat and Sensors
Check your thermostat display for error codes. If your system uses advanced technology, you might need to recalibrate your setup or check tips for using remote thermostat sensors if they were displaced by wind or vibration.
Phase 4: Cleaning and Clearing Debris
Hurricane-force winds drive leaves, pine needles, and mud into every crevice of your HVAC system. This debris acts as an insulator, causing the motor to overheat.
- Remove any branches or trash caught in the fan grill.
- Gently hose down the coils to remove mud and salt (use low pressure only).
- Clear any debris from the condensate drain line to prevent indoor flooding.
- Replace your air filter immediately, as it likely trapped high levels of dust and spores during the storm.
When to Call a Professional
Some repairs simply cannot be DIY. If you encounter any of the following, keep the power off and use HVACDatabase.com to find a licensed contractor in your area:
- The unit makes a grinding, shrieking, or buzzing noise upon startup.
- You smell a pungent, electrical burning odor.
- The circuit breaker trips immediately when you try to turn the system on.
- There is visible mud or silt inside the electrical compartments.
Remember that scheduling a professional evaluation is often a requirement for insurance claims. Many homeowners find that a post-storm check is the perfect time to evaluate their overall maintenance schedule. For instance, comparing a spring AC tune-up vs fall furnace tune-up costs can help you budget for the rest of the year.
Preventative Maintenance for Future Seasons
Once your system is back up and running, consider long-term reliability. Many experts suggest that spring is the best time for an HVAC tune-up to prepare for the peak of hurricane season. If you live in a multi-story home, you should also look into tips for energy-efficient HVAC in multi-story homes to ensure even cooling during humid post-storm recoveries.
Staying proactive ensures that when the next storm hits, your system is in the best possible shape to withstand the elements. When in doubt, always consult with a professional listed on HVACDatabase.com to protect your home and your investment.
Understanding which tune-up matters more can also help you prioritize repairs if your budget is tight following storm recovery efforts.
Related articles
Connect this page to adjacent guides so readers keep moving deeper into the topic cluster.
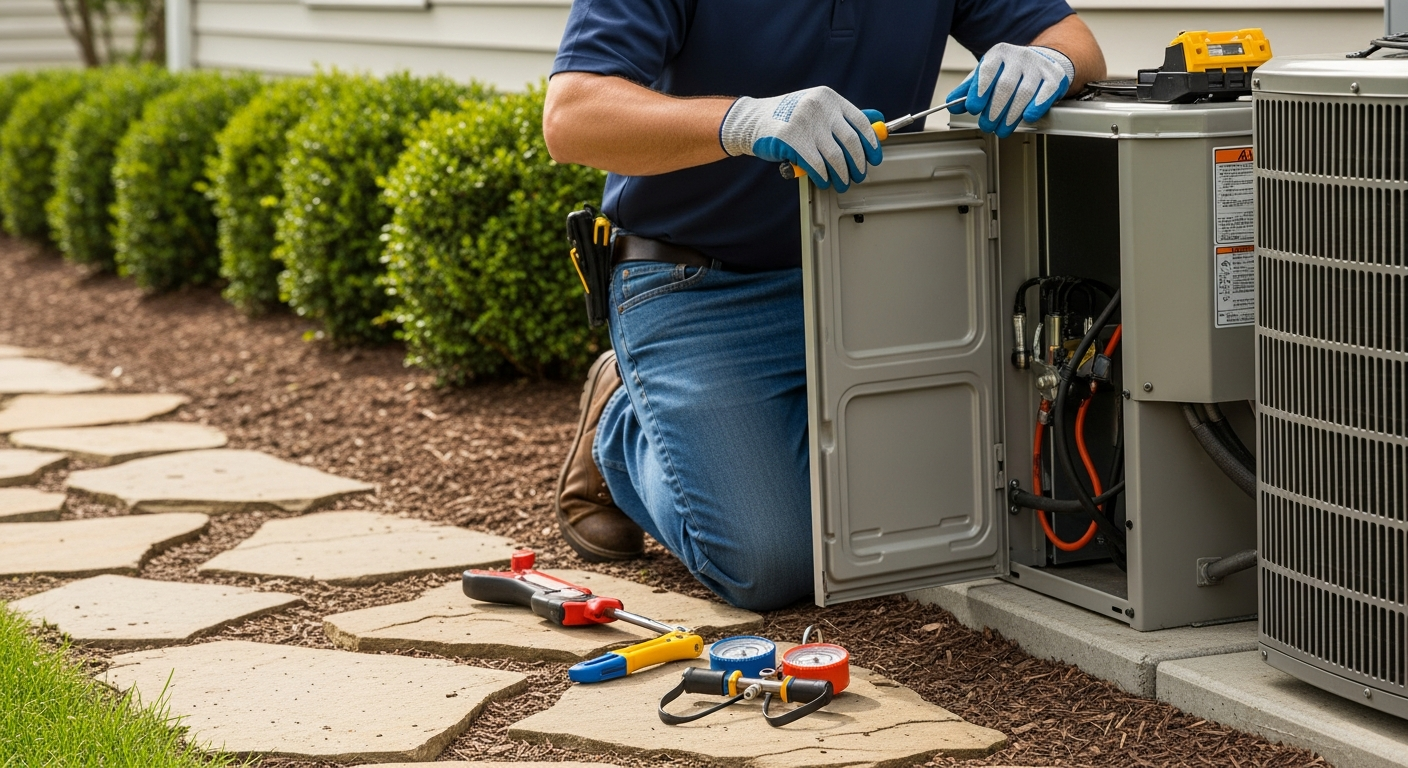
What HVAC Certifications to Look For
Hiring a certified HVAC technician ensures safety, efficiency, and expert service. Learn which credentials to look for before booking your next repair.
Tips for Choosing an HVAC Contractor for Ductless Systems
Discover how to select a specialized professional for your ductless mini-split installation with our comprehensive guide to hiring the right HVAC contractor.
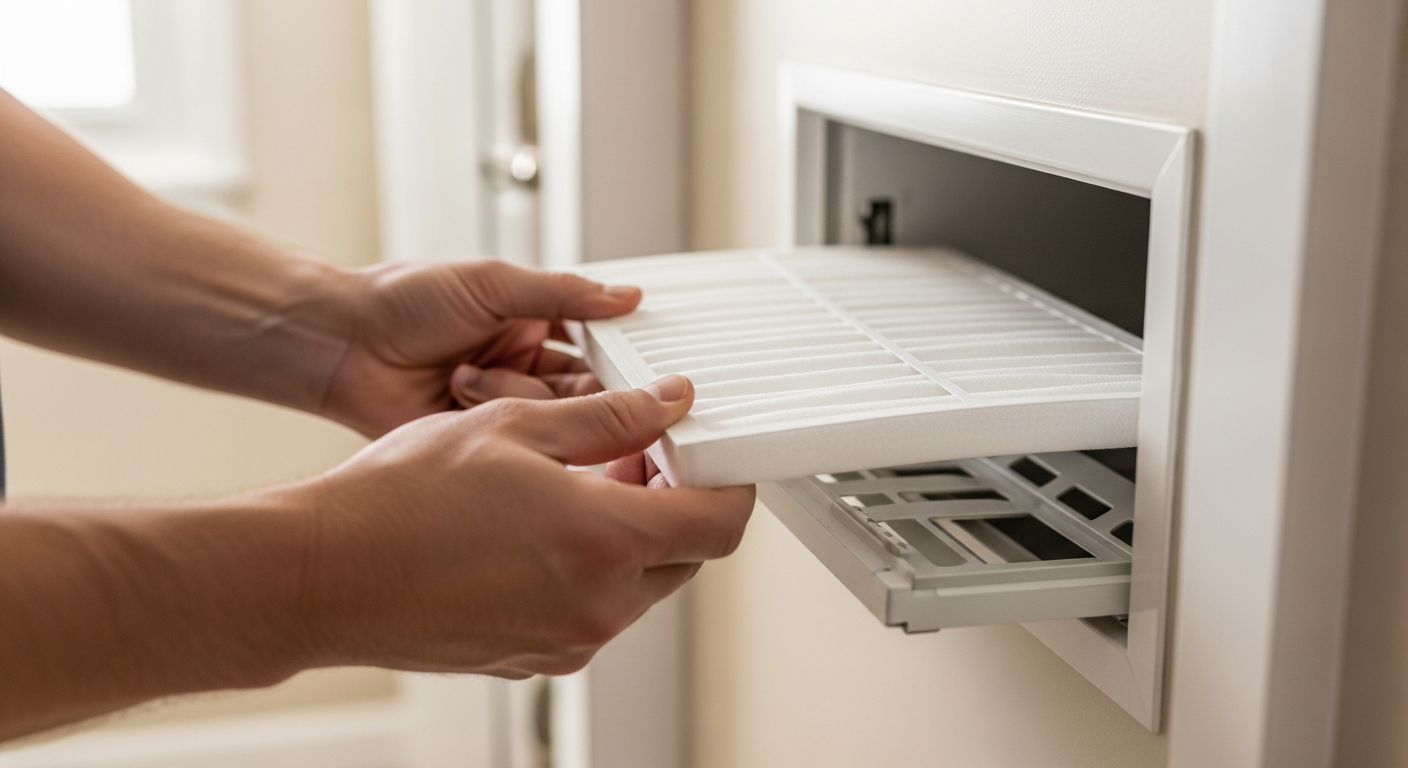
How to Create a Year-Round HVAC Maintenance Calendar
Stay ahead of costly repairs by following our comprehensive year-round HVAC maintenance guide designed to keep your home comfortable in every season.